
How to Take Stunning Photos of Your Flowers: Tips for Farmers and Enthusiasts

Photography has been a passion of mine since my girls were babies. Graham gifted me my first DSLR camera, and I used it to capture countless special and everyday moments—like the girls playing in the fall aspens or during family trips to the redwoods or Oregon coast. These snapshots happened years before I ever sowed my first flower seed as a farmer.
When we started Sierra Flower Farm, my love for photography blended naturally with my new passion for flowers. Before the first bloom in the garden bed, I was already building our website and creating social media accounts. Back then, my photo library consisted of just a few close-up shots of German chamomile, zinnias, and a single stem of sweet pea.
From the beginning, I was committed to showcasing only what we grew ourselves. While those early photos weren’t many or particularly polished, they were authentic to where we were on our flower farming journey. I photographed everything—from seeds germinating in late winter to planting phases and, finally, the vibrant blooms. By the end of that first season, I had built a modest but meaningful collection of photos.
Fast forward a few seasons, and Graham rekindled his passion for videography and photography, which allowed me to step in front of the camera as the face of our business. Our “date nights” often became golden hour photo sessions, with me holding a bundle of flowers while our girls played in the background. These sessions have become a cherished ritual, blending family moments with the beauty of the farm.
Photography is an essential tool in today’s world, especially for flower farmers. Flowers are a visual delight, and even on platforms like Instagram, where you can’t touch or smell them, a striking photo can make someone want them. It can help a bride choose you as their florist or build anticipation for a pop-up sale.
Whether you use your phone or a DSLR, these tips will help you elevate your flower photography:


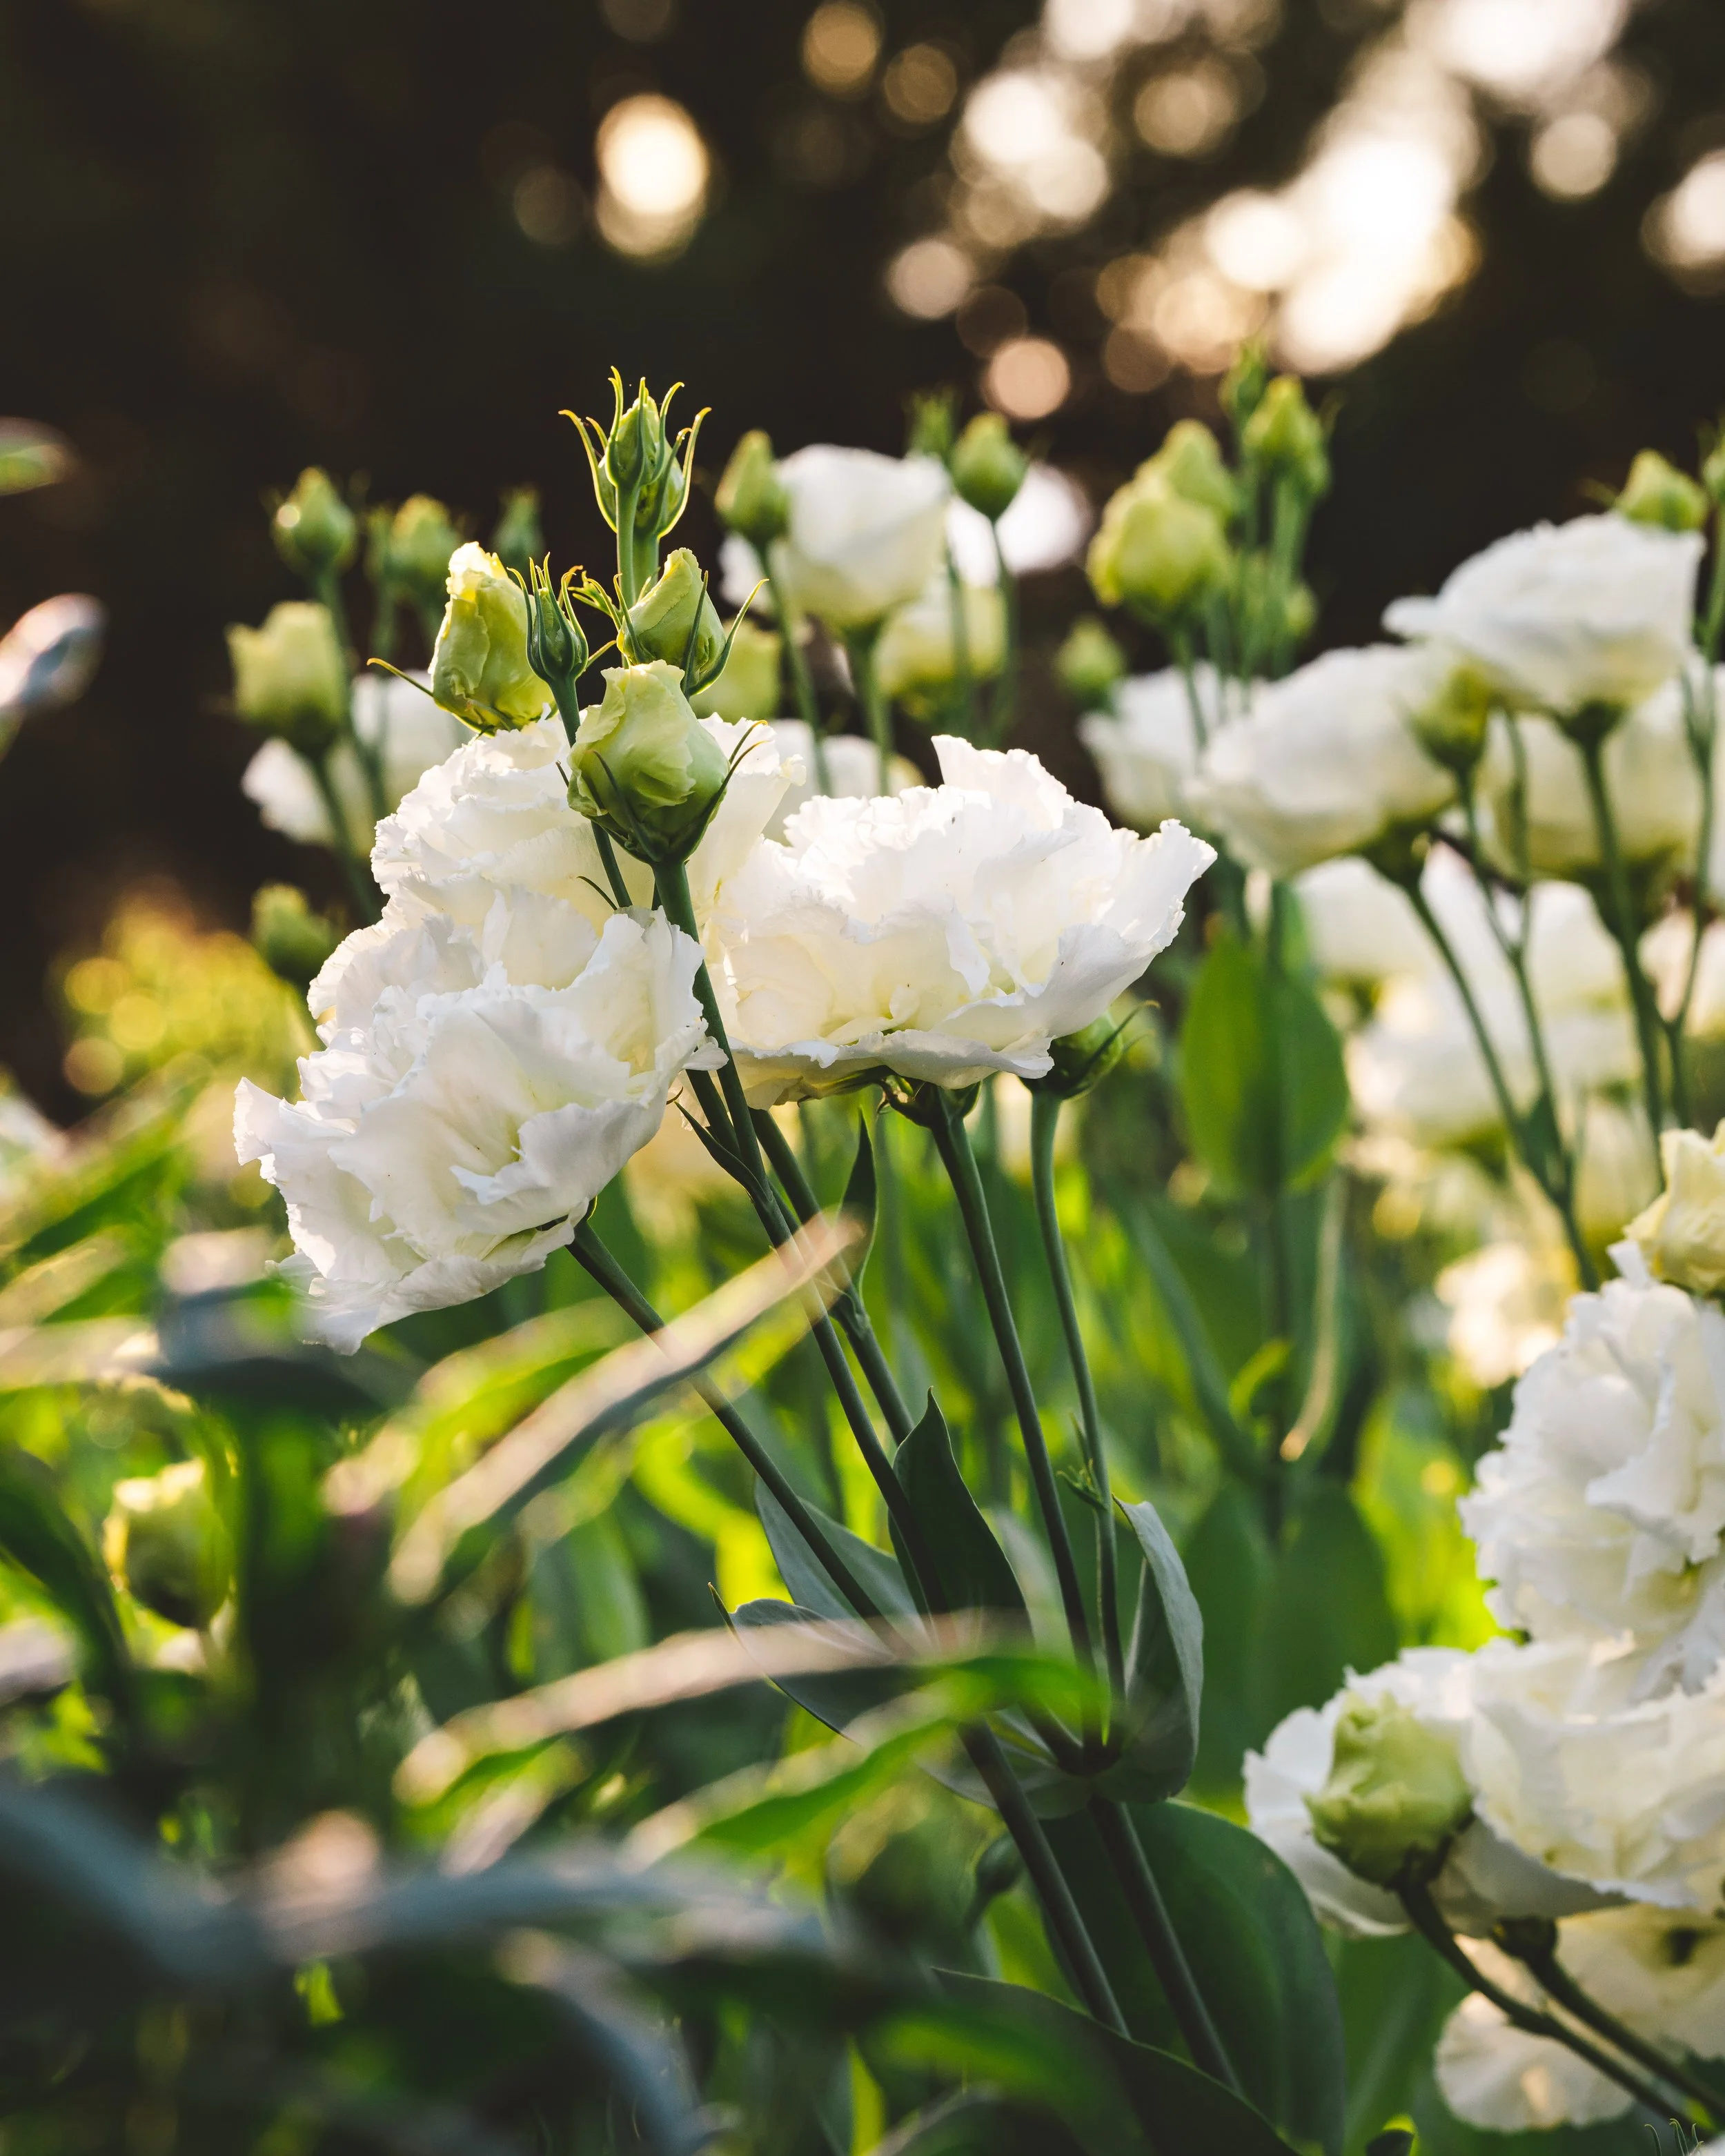
1. Have a Clear Subject
The subject is the focus of your photo—what you want to highlight. It could be a flower in the field, a person, a building, a bouquet, or a floral arrangement.
For example, in a photo of a dahlia field, your eye might be drawn to one flower in sharp focus while the others fade into the background. Even in a busy frame, a well-defined subject anchors the photo.
Including a person can make your photos even more compelling. For flower farmers, featuring yourself with your blooms builds trust and creates a relatable story for your audience.


2. Avoid Harsh Light
Harsh midday light can create unflattering shadows and wash out colors. It’s not ideal for showcasing the true beauty of your flowers—or yourself.
In Northern Nevada’s high desert, the midday sun is intense, making it difficult to capture flattering shots. The best time to photograph flowers is during the cooler parts of the day, much like the optimal time for harvesting blooms.


3. Take Advantage of the Golden Hour
The “Golden Hour”—just after sunrise or before sunset—bathes everything in soft, warm light, transforming your field into a vibrant and inviting scene.
For us, the evening golden hour is magic. The exhaustion of the day fades, and the glow transforms the farm. Even if you don’t dive into photography, take advantage of this light to make your subjects look stunning.


4. Embrace Cloudy Days
If you have cloudy skies, rejoice! Clouds act as a natural diffuser, softening the light and reducing harsh shadows.
On overcast days, I’ve captured beautiful shots without the need to wait for golden hour.


5. Use Backlighting When Needed
If you must photograph during harsh light, try backlighting—placing your subject so the light source is behind them. This technique creates a soft, glowing outline and minimizes harsh shadows on the face or flowers.


6. Compositional Techniques
Mastering composition can transform your flower photography, creating depth, focus, and visual impact. Here are four key techniques to enhance your photos:
Leading Lines
Leading lines are a powerful compositional tool that guide the viewer’s eye toward the subject of your photo. These lines can be anything that creates a natural pathway for the eye to follow, drawing attention to the focal point of your image.
In flower farming, leading lines often occur naturally:
Rows of Flowers: The clean, parallel rows in a field are ideal for creating leading lines that direct focus toward a single flower, a person, or the expanse of your field.
Wedding Aisles: When photographing events, the aisle can serve as a strong leading line, drawing attention to the ceremony setup or the couple.
Flower Stems: Even small elements, like the stem of a flower, can act as a leading line to guide the viewer’s gaze.
By thoughtfully incorporating leading lines into your photos, you create depth and visual interest, making your subject stand out while giving the image a sense of flow and direction. This technique works well for both large-scale shots of fields and intimate close-ups of floral designs.
Rule of Thirds
The Rule of Thirds is a classic compositional technique that can elevate your photos by creating balance and visual interest. Imagine dividing your frame into a grid of nine equal sections—three horizontal rows and three vertical columns. The key elements of your photo should align with these grid lines or their intersections to naturally draw the viewer’s eye.
In flower photography, you can use the Rule of Thirds to:
Position Your Subject: Place a flower, bouquet, or person at one of the four intersection points to create a visually appealing composition.
Frame the Scene: Align rows of flowers or other elements along the horizontal or vertical lines of the grid.
Balance Sky and Ground: When shooting in the field, use the Rule of Thirds to balance the horizon, ground, and sky in your photo. For example, place the horizon on the upper or lower third of the frame rather than splitting the image in half.
The Rule of Thirds helps avoid overly centered or static photos, giving your images a more dynamic and professional feel. While it’s a guideline—not a strict rule—it’s a great starting point for composing beautifully balanced shots.
Subject Separation
Subject separation is a technique used to make your subject stand out by creating visual distance between it, the background, and other elements in the frame. This draws the viewer’s attention directly to the subject, giving your photo a clean and professional look.
One of the most effective ways to achieve subject separation is by creating a blurred background, also known as a shallow depth of field. This can be done using:
A Wide Aperture: On a camera, set your lens to a wide aperture (e.g., f/2.8 or lower). The wider the aperture, the more blurred the background will appear.
Portrait Mode: If you’re using a smartphone, “portrait mode” mimics this effect by artificially blurring the background while keeping the subject in focus.
Subject separation works particularly well for flowers, allowing the details of a single bloom or bouquet to take center stage while the background melts away into soft colors and shapes. It also adds a polished, artistic quality to your photos.
When setting up your shot, try to position your subject far enough from the background to enhance the blur. This not only highlights your subject but also reduces distracting elements in the frame. Whether photographing a single flower, a floral arrangement, or a person, subject separation helps your images feel intentional and visually striking.
Controlling the Horizon Line
One of the most impactful compositional techniques we use in our photographs is controlling the horizon. The horizon helps break up the photo and creates a sense of depth and balance by strategically placing different parts of your subject in front of it.
This technique is especially useful when photographing in a flower field. To control the horizon line, you’ll need to move around and adjust your perspective. Try getting down to the level of your subject to capture a balance of the ground, the horizon, and the sky. Using the Rule of Thirds here can be a helpful guide—divide your frame into thirds and aim for a third of ground, a third of horizon, and a third of sky.
When controlling the horizon, your subject placement is critical. Avoid letting the horizon cut awkwardly through your subject, such as at their neck or head. Instead, position the horizon so it flows naturally, either above or below your subject in a way that complements the overall composition.
Here’s how we typically approach it:
50/50 Split: Many of our photos feature a balanced 50/50 split of ground and sky, with the horizon running through the middle.
Two-Thirds Ground, One-Third Sky: Another common choice is framing the ground as the bottom two-thirds of the image, with the sky filling the top third. This composition works well when you want to emphasize the lushness of a flower field or other foreground details.
While there’s no absolute right or wrong way to place the horizon, including it in your shot generally improves the composition. Be mindful not to point your camera too low, as this can make your photos feel cramped or incomplete. The horizon adds structure, giving your images a sense of scale and openness, especially in a beautiful outdoor setting.
By layering these techniques—leading lines, the Rule of Thirds, subject separation, and horizon control—you’ll create photos with depth, focus, and artistry. Practice combining them to develop a unique compositional style that highlights the beauty of your flowers and farm.

7. Editing Your Photos
Composing and lighting your subject is only half the battle in creating a great photo. The other half happens after the shot is taken—in the editing process. Back in the days of film photography, this step took place in the darkroom, where photographers would develop film, adjust grain, crop with an enlarger, and carefully bring their images to life. Today, with digital photography, these same principles apply, but the tools are more accessible, whether you’re editing on your phone or a computer.
Modern digital cameras and even phone cameras produce images that are intentionally “flat” straight out of the camera. These images lack strong contrast between highlights and shadows, and the colors might appear muted. While this may seem underwhelming at first glance, it’s actually a good thing. A flat image stores more information, giving you the flexibility to bring out its full potential during the editing process. As Ansel Adams famously said, “[y]ou don’t take a photograph, you make it.”
For flower farmers, editing is a key step in showcasing your blooms as accurately and beautifully as possible. Trends are shifting away from heavily filtered or overly manipulated images, which makes this flower farmer happy! True-to-life editing helps set better expectations for clients, especially for brides or buyers choosing blooms based on photos.
Here are some basic tips to help you make the most of your editing process:
Keep It Natural: Aim for edits that enhance the image without altering its authenticity. Flowers are naturally stunning, so avoid filters or heavy-handed adjustments that distort their true colors. Staying true to the blooms ensures that clients know exactly what to expect.
Adjust Contrast and Exposure: Images out of the camera tend to be evenly exposed, resulting in a flat look. Increase the contrast slightly to make highlights and shadows pop while pulling down exposure slightly for richer colors. This approach is often more effective than artificially boosting saturation.
Light Touch on Saturation: While it’s tempting to enhance the vibrancy of colors, too much saturation can make flowers look unnatural. Subtle adjustments to saturation or vibrancy will bring out the beauty of your blooms while keeping them realistic.
Crop and Level: Cropping helps balance the composition, especially for social media platforms like Instagram, where a 4:5 ratio maximizes visual real estate. Use this step to straighten the horizon or adjust the framing to ensure your subject is perfectly positioned.
Whether you’re using built-in editing tools on your phone or professional software like Adobe Lightroom, the goal is to refine your photos while staying true to their natural beauty. Over time, you’ll develop a workflow that highlights your flowers authentically and leaves a lasting impression on your audience.
Final Thoughts
Photography is more than just a marketing tool—it’s a way to share your flower farming journey with the world. You don’t need a fancy camera to capture beautiful photos; you just need to practice and embrace the process.
Over time, you’ll build a collection of images that tell the story of your farm, create connections with your audience, and showcase the magic of flowers. So grab your camera, step outside, and start snapping!

We are looking forward to sharing more blooms with you soon.
Jessica & Graham