Nitty Gritty: Wreath Making for the Flower-Farmer-Florist
It’s that time of year again where the first snow is magical, a mug of hot cocoa is the best and everyone says we smell like… fresh pine! Yup, it is wreath making season!
We offer a few options for the holidays to our customers and wreaths have always been one of our bigger sellers. Holiday offerings is a way for us to fully take advantage of our off-season months, use up some of our dried goodies from the field and keep us fresh in our customers’ minds. Back in the day, we started with making the more traditional hand-wired wreaths but as demand grew: hand-wiring became too slow of a process and we were losing our sanity due to the time it takes to tediously hand-wire the wreaths. Not to mention, I like making fluffy wreaths and the hand-wired ones were not stout enough for my liking, at least for our more full sized evergreen ones. Don’t get me wrong, I do find hand-wired wreaths to be beautiful and fulfilling to zen out and create but as a flower farming business we quickly out grew that method. We wanted to be able to make more stout wreaths that were beautiful and in a fraction of the time. Mom guilt also settles in around the holidays; I just needed to buy back some time to make cookies and be able to do fun activities with my girls!
Though this post is mainly focusing on using a clamp wreath making machine, there is some relevant information for those who are hand-wiring wreaths as well (but I bet by the end of one wreath making season you’ll be ready for the upgrade too!).

Time for an upgrade!
Enter the wreath clamp machine.
It is an absolute game changer!
The clamp machine allows us to skip over individually wiring bundles, is more ergonomically friendly and is easier on your hands (no more pokes from floral wire!). Did I mention that the wreaths take a fraction of the time? Plus I have a greater peace of mind knowing that the wreath is solid: no bunches falling off the base from customers being too rough or from the ingredients drying and loosening from the wire prematurely. I have had multiple customers even in just the last few days commenting on how happy they are about the wreath being so tough, even when their hooks fail them- the wreaths survived!
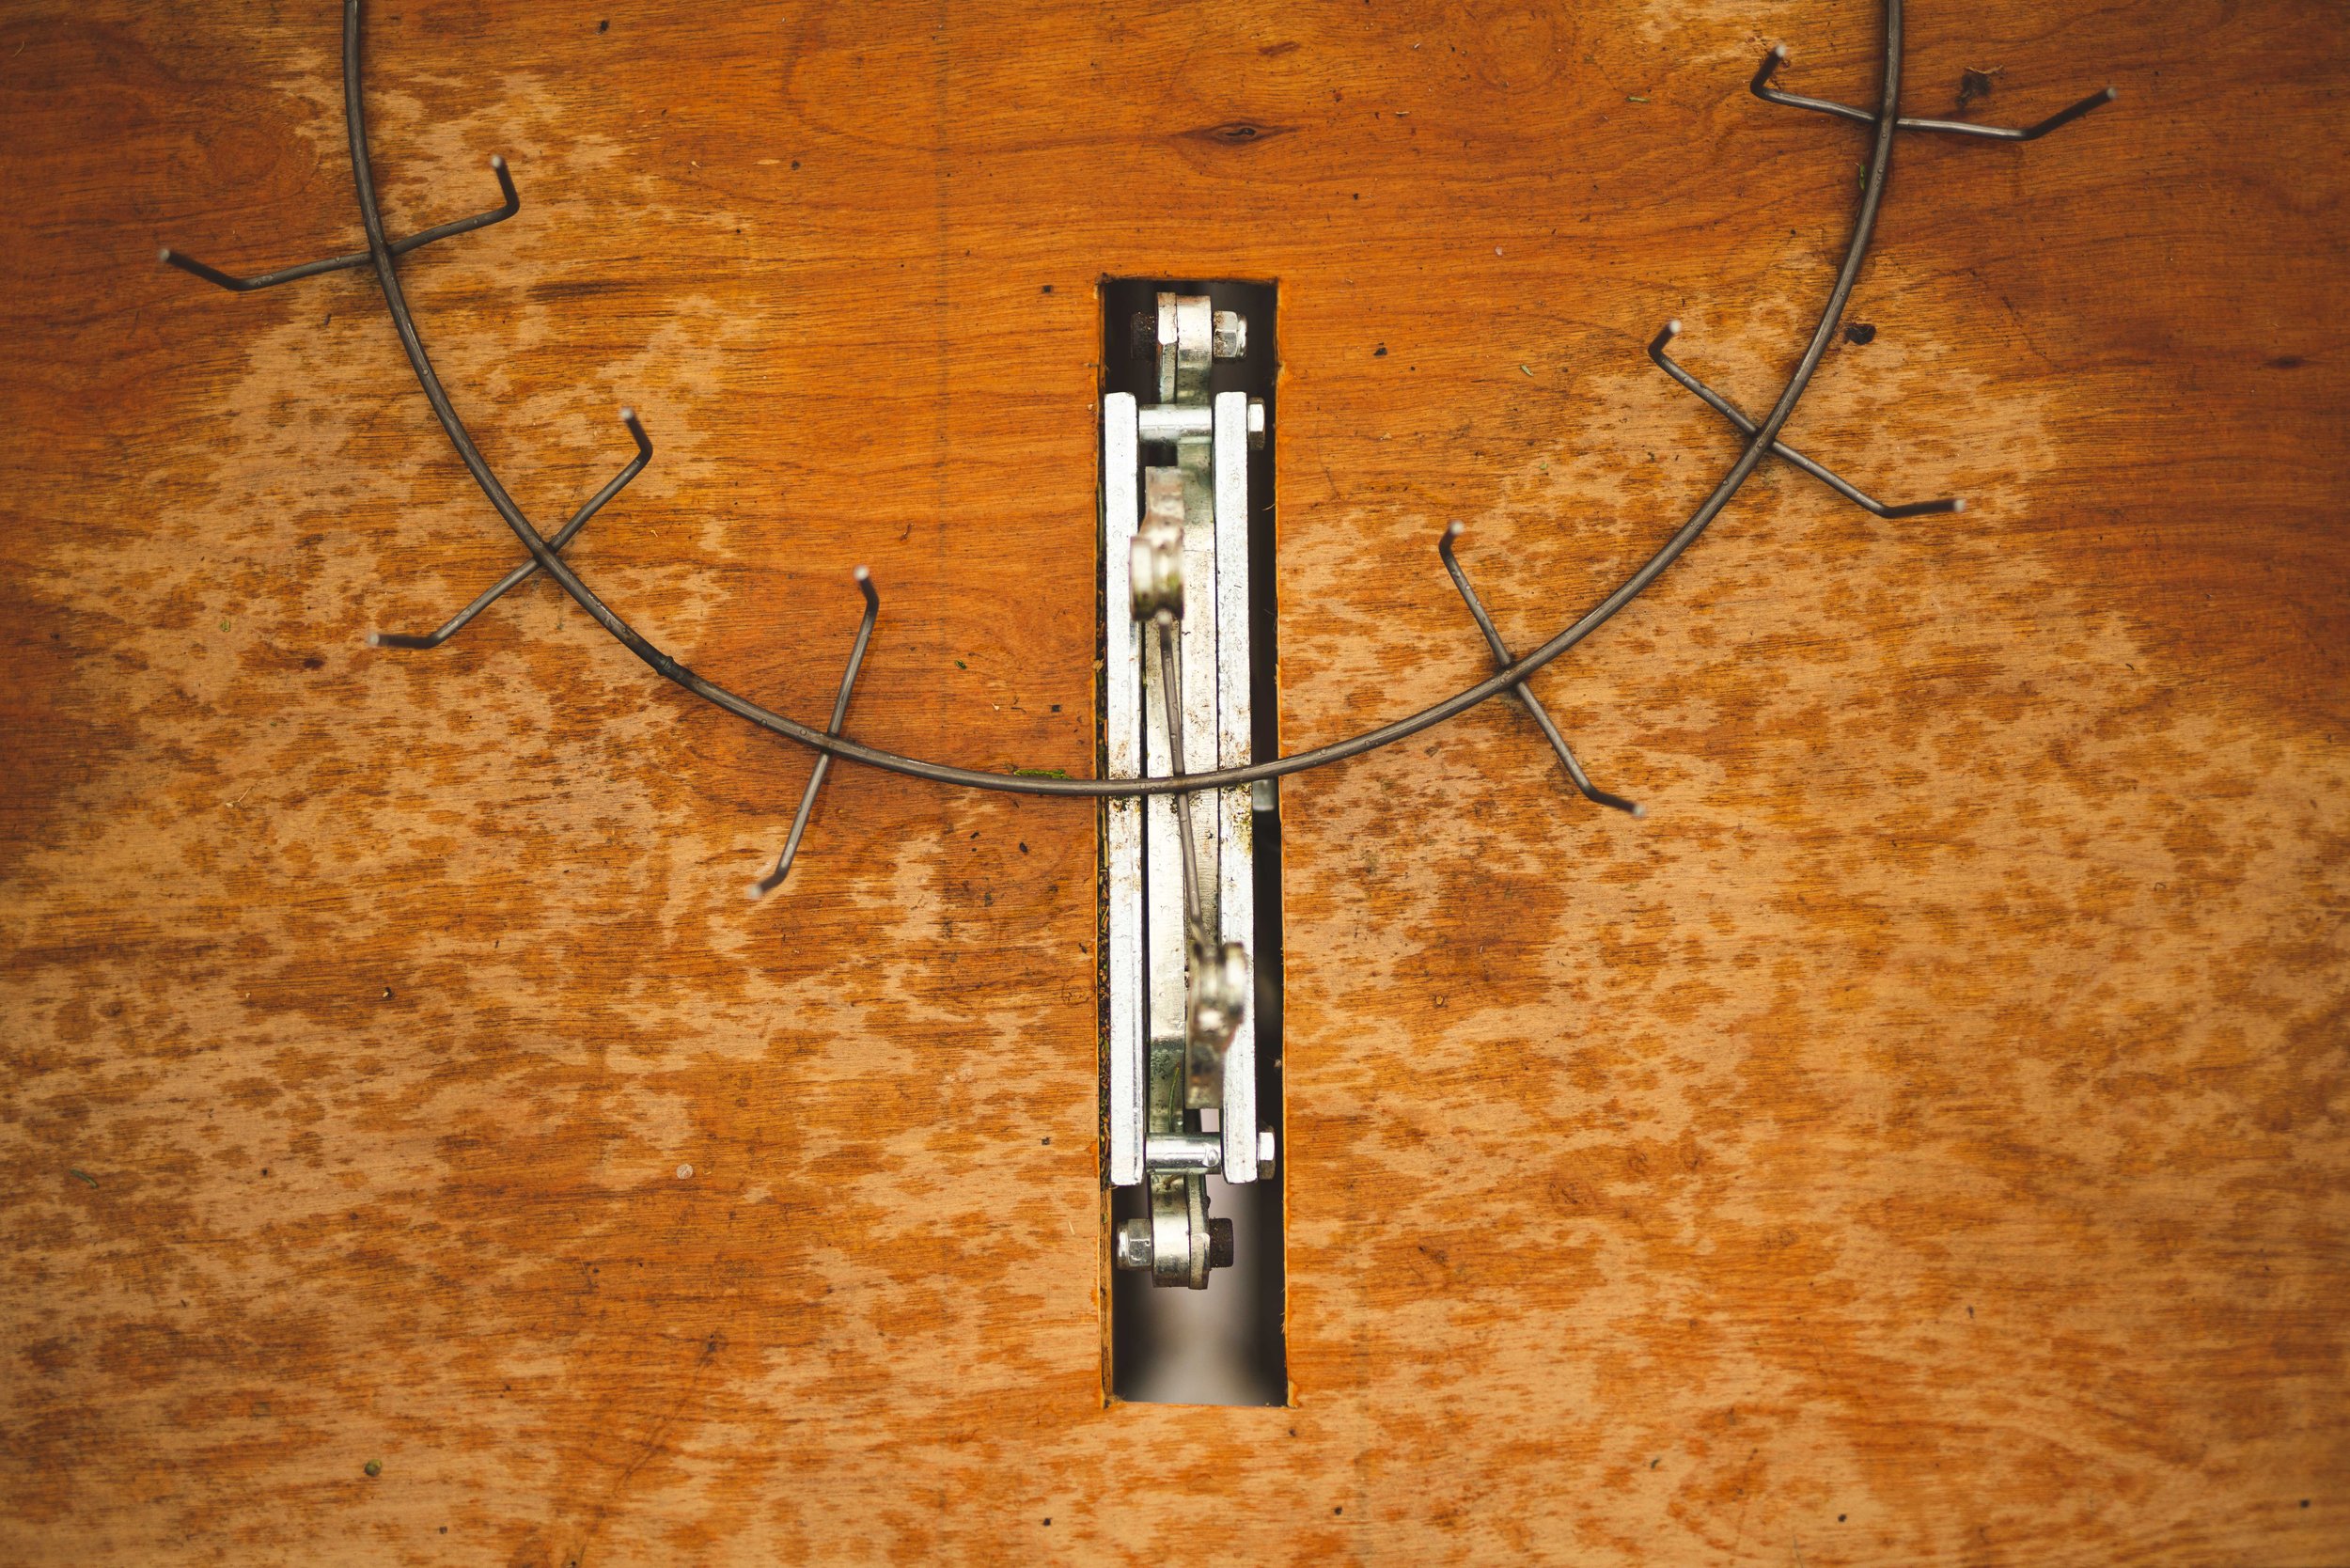
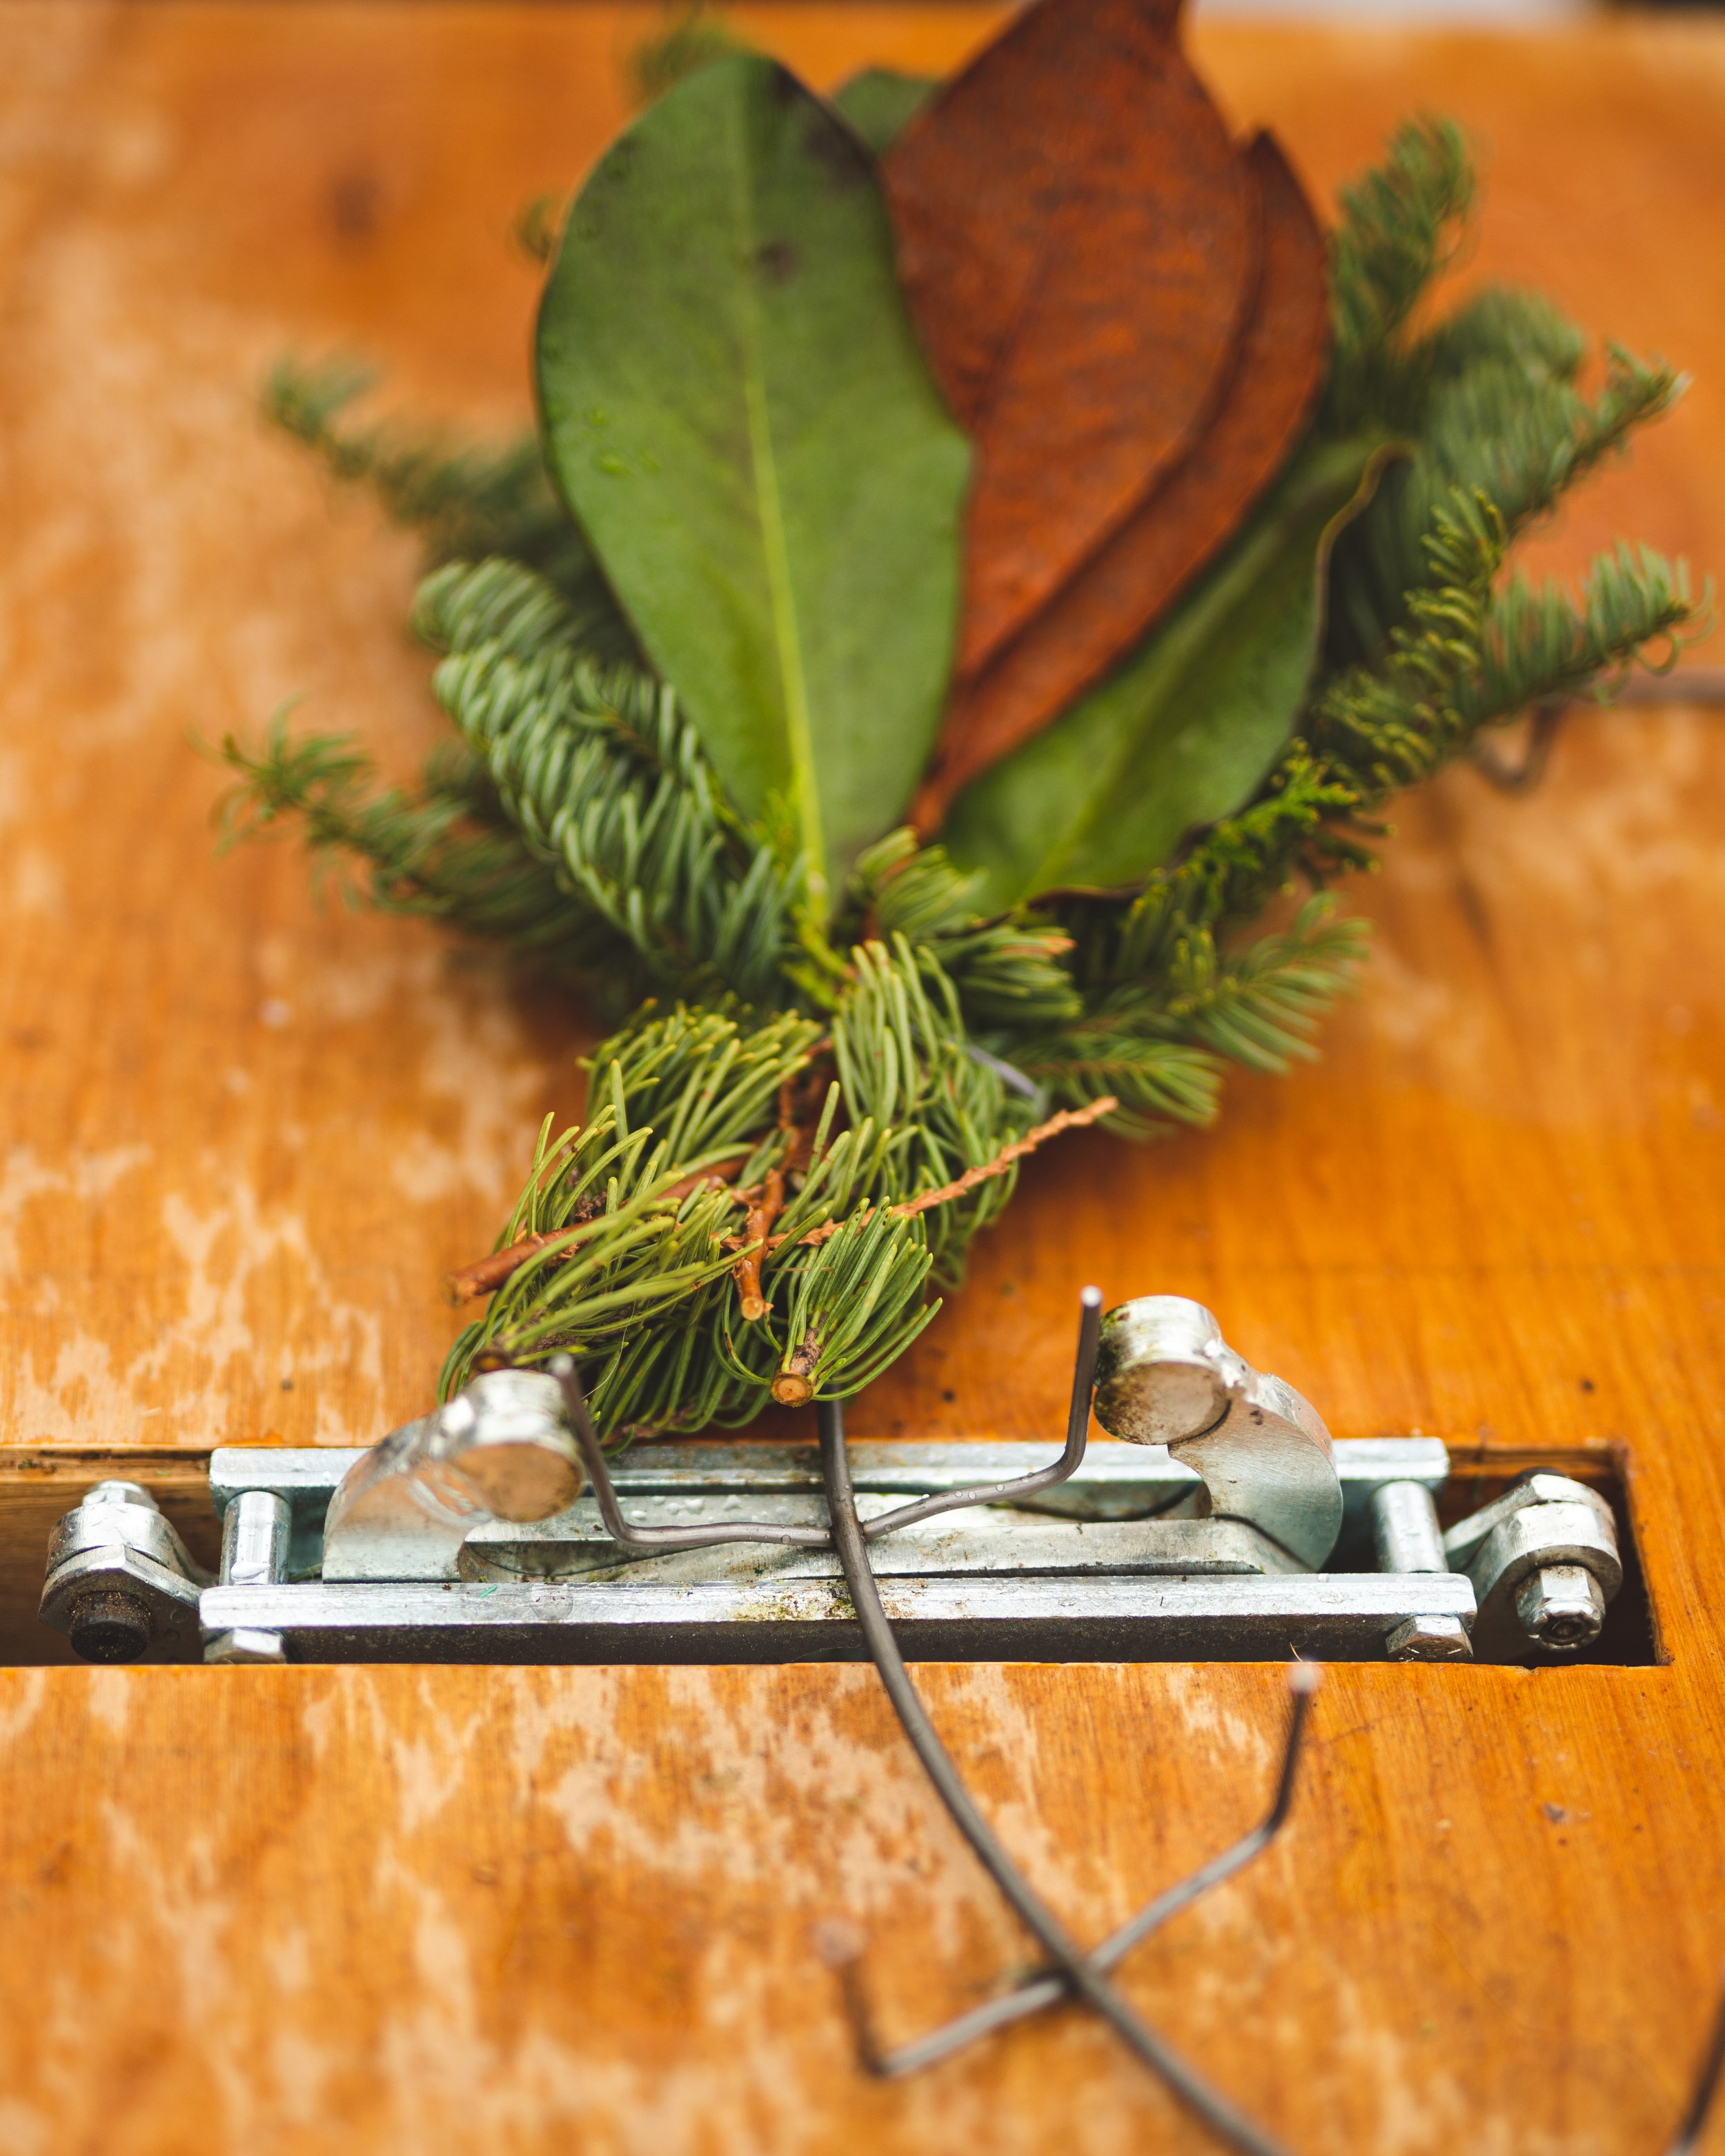
Not only has moving to using a wreath clamp machine increased our efficiency (which means profitability too!), it increased the quality of our product moving from amateur to professional. We snagged our wreath clamping machine from Mitchell Wreath Ring. We opted to buy just the hardware unit and made the table ourselves from some scrap wood Graham had on hand. Within a couple hours we had our wreath clamping machine up and running! Along with the actual machine itself you’ll also need the wreath clamp bases. There are a lot of different size/shapes; we opted for the fourteen inch which is the standard size. You can snag those from Mitchell’s as well or we’ve also gotten them from Santa’s Supply. Santa’s Supply has great customer service and their shipping was easier to swallow this year than Mitchell’s, yikes!

Selling Wreaths, the business side
To Sell Wreaths or Not to Sell Wreaths?
Deciding whether to offer holiday wreaths and when to start taking orders can be difficult to navigate for a newer flower farmer. As with everything when it comes to flower farming, you will be preparing for the holidays earlier than you think. We look at holiday offerings as the homestretch for our selling season. It does make for a longer season when you could just be ready to take a break and focus on the next season but it is cash flow and if you are a creative person it gives you that outlet. If you have it in you to push through, it can set you up for a worry-free winter when cash flow is more scarce.
Wreath Selling Timeline
Back in the day, I used to wait until November/December to start taking orders then I found out that was a bit on the late side for some people! I would get comments from potential customers “Oh, I already have my wreath, if I’d known I would have bought it from you!” The past couple seasons I have opened holiday orders the week before Halloween. This is beneficial for a couple reasons: it helps me determine if I will need to place any additional orders along with getting customers thinking about us and committing to us for their holiday needs.
We take pre-orders on our online shop, send out multiple email campaigns and push on social media. For the most part, we also get a majority of repeat customers. Our online store is a lifesaver. We really try to have everyone purchase their wreaths through our online store, it helps me to be able to better keep track. Also, If they have any special requests I just ask them to leave a note for me on the order form.
We have found that customers like the ease of having their holiday decorations ordered before Thanksgiving. However, not everyone wants to get in the Christmas spirit this early, so we offer a couple different pick up dates, for those that want them for the Thanksgiving holiday and for those who would prefer them after. Our goal this year was to be done with wreath making by the first week of December, and we hit that goal! Our grand finale this year was a holiday pop-up at a local business for our town’s holiday kick off weekend and it went great! The wreath clamp machine is all covered and packed away in time for the snow to make its way later this week. On a more personal/mental health level, I am ready to be done filling orders so it’s nice to have accomplished selling all our holiday goodies minus some amaryllis and bouquet subscriptions.
Pricing
Wreath pricing is a balancing act and it will really depend on how much you are spending on ingredients. For us, we keep our prices a little low at about $65 each for a fourteen inch base wreath with sales tax built in. We have found this to be a sweet spot for the time being, where most customers happily pay our asking price but we also have a few people that balk at it (which tells me we aren’t underselling ourselves).
Side note: Don’t let those big box store prices fool you, wreath making on a small scale takes time- even with using the clamp machine. We are not a full time wreath making company that has wreaths as a primary focus. We are more “hands-on” with our product, selective on who we will order materials from, grow our own ingredients, forage goodies on our own, then intimately create a wreath one at a time (usually just me by myself!). Don’t be afraid to charge your worth and don’t aim down to those $20 wreaths. Figure out your ingredients, how much will be used in your wreath. Once you know what you are using, figure out the cost per stem like you would for any bouquet and arrangement. Even if you are foraging, you can look up wholesale prices on the greenery to figure out a proper markup which should be 2.5-3 times your cost or you can take another approach and figure out your cost and time into the foraging and go from there. We did our math and with the way I design, our price range is profitable for us, especially compared to hand-wired wreaths. We are using less components and the clamped wreaths are much less labor intensive.
Getting Wreaths in Customer’s Hands
With our wreaths, customers have the choice of a few different locations to pick up from. We use our hosting businesses for our bouquet subscription pickups for holiday pickups. This is helpful in bringing foot traffic into our hosting businesses and our subscription members are already familiar with the pickup locations. As a thank you, we gift our hosts a wreath or amaryllis of their choice (always keep your business friends happy!).
Side note: Last year, due to covid, we did offer home delivery. That wiped us out! If you do offer delivery, be sure to charge accordingly and maybe find a friend who will help divide those deliveries with you. I’m still recovering from those deliveries!

Wreath Ingredients and Sourcing them
Even though we switched to using the clamping machine to assemble the wreaths, this does not mean we lost the personal touch when it comes to sourcing ingredients. Fortunately for us, we live a short drive away from the Sierras and also live close to groves of wild evergreens not to mention many neighbors love to give us their juniper or other evergreen clippings. The BLM and Forestry for our area allows us to purchase permits to cut down our own trees, depending on the region and variety of the tree you are allowed two to five trees. This is offered by the forestry as an effort for us not only to be able to enjoy a tree locally harvested from our area but to help thin out the trees for better wildfire management. In my book, this is a win-win! Another way to get some greenery is to go to your local Christmas tree farms, Christmas tree lots or even some garden centers and big boxed stores. These places are trimming the bottoms of the Christmas trees and are being thrown away, go ask them if they are willing to sell you some branches but most of them are happy to just give them to you while giving you odd stares.
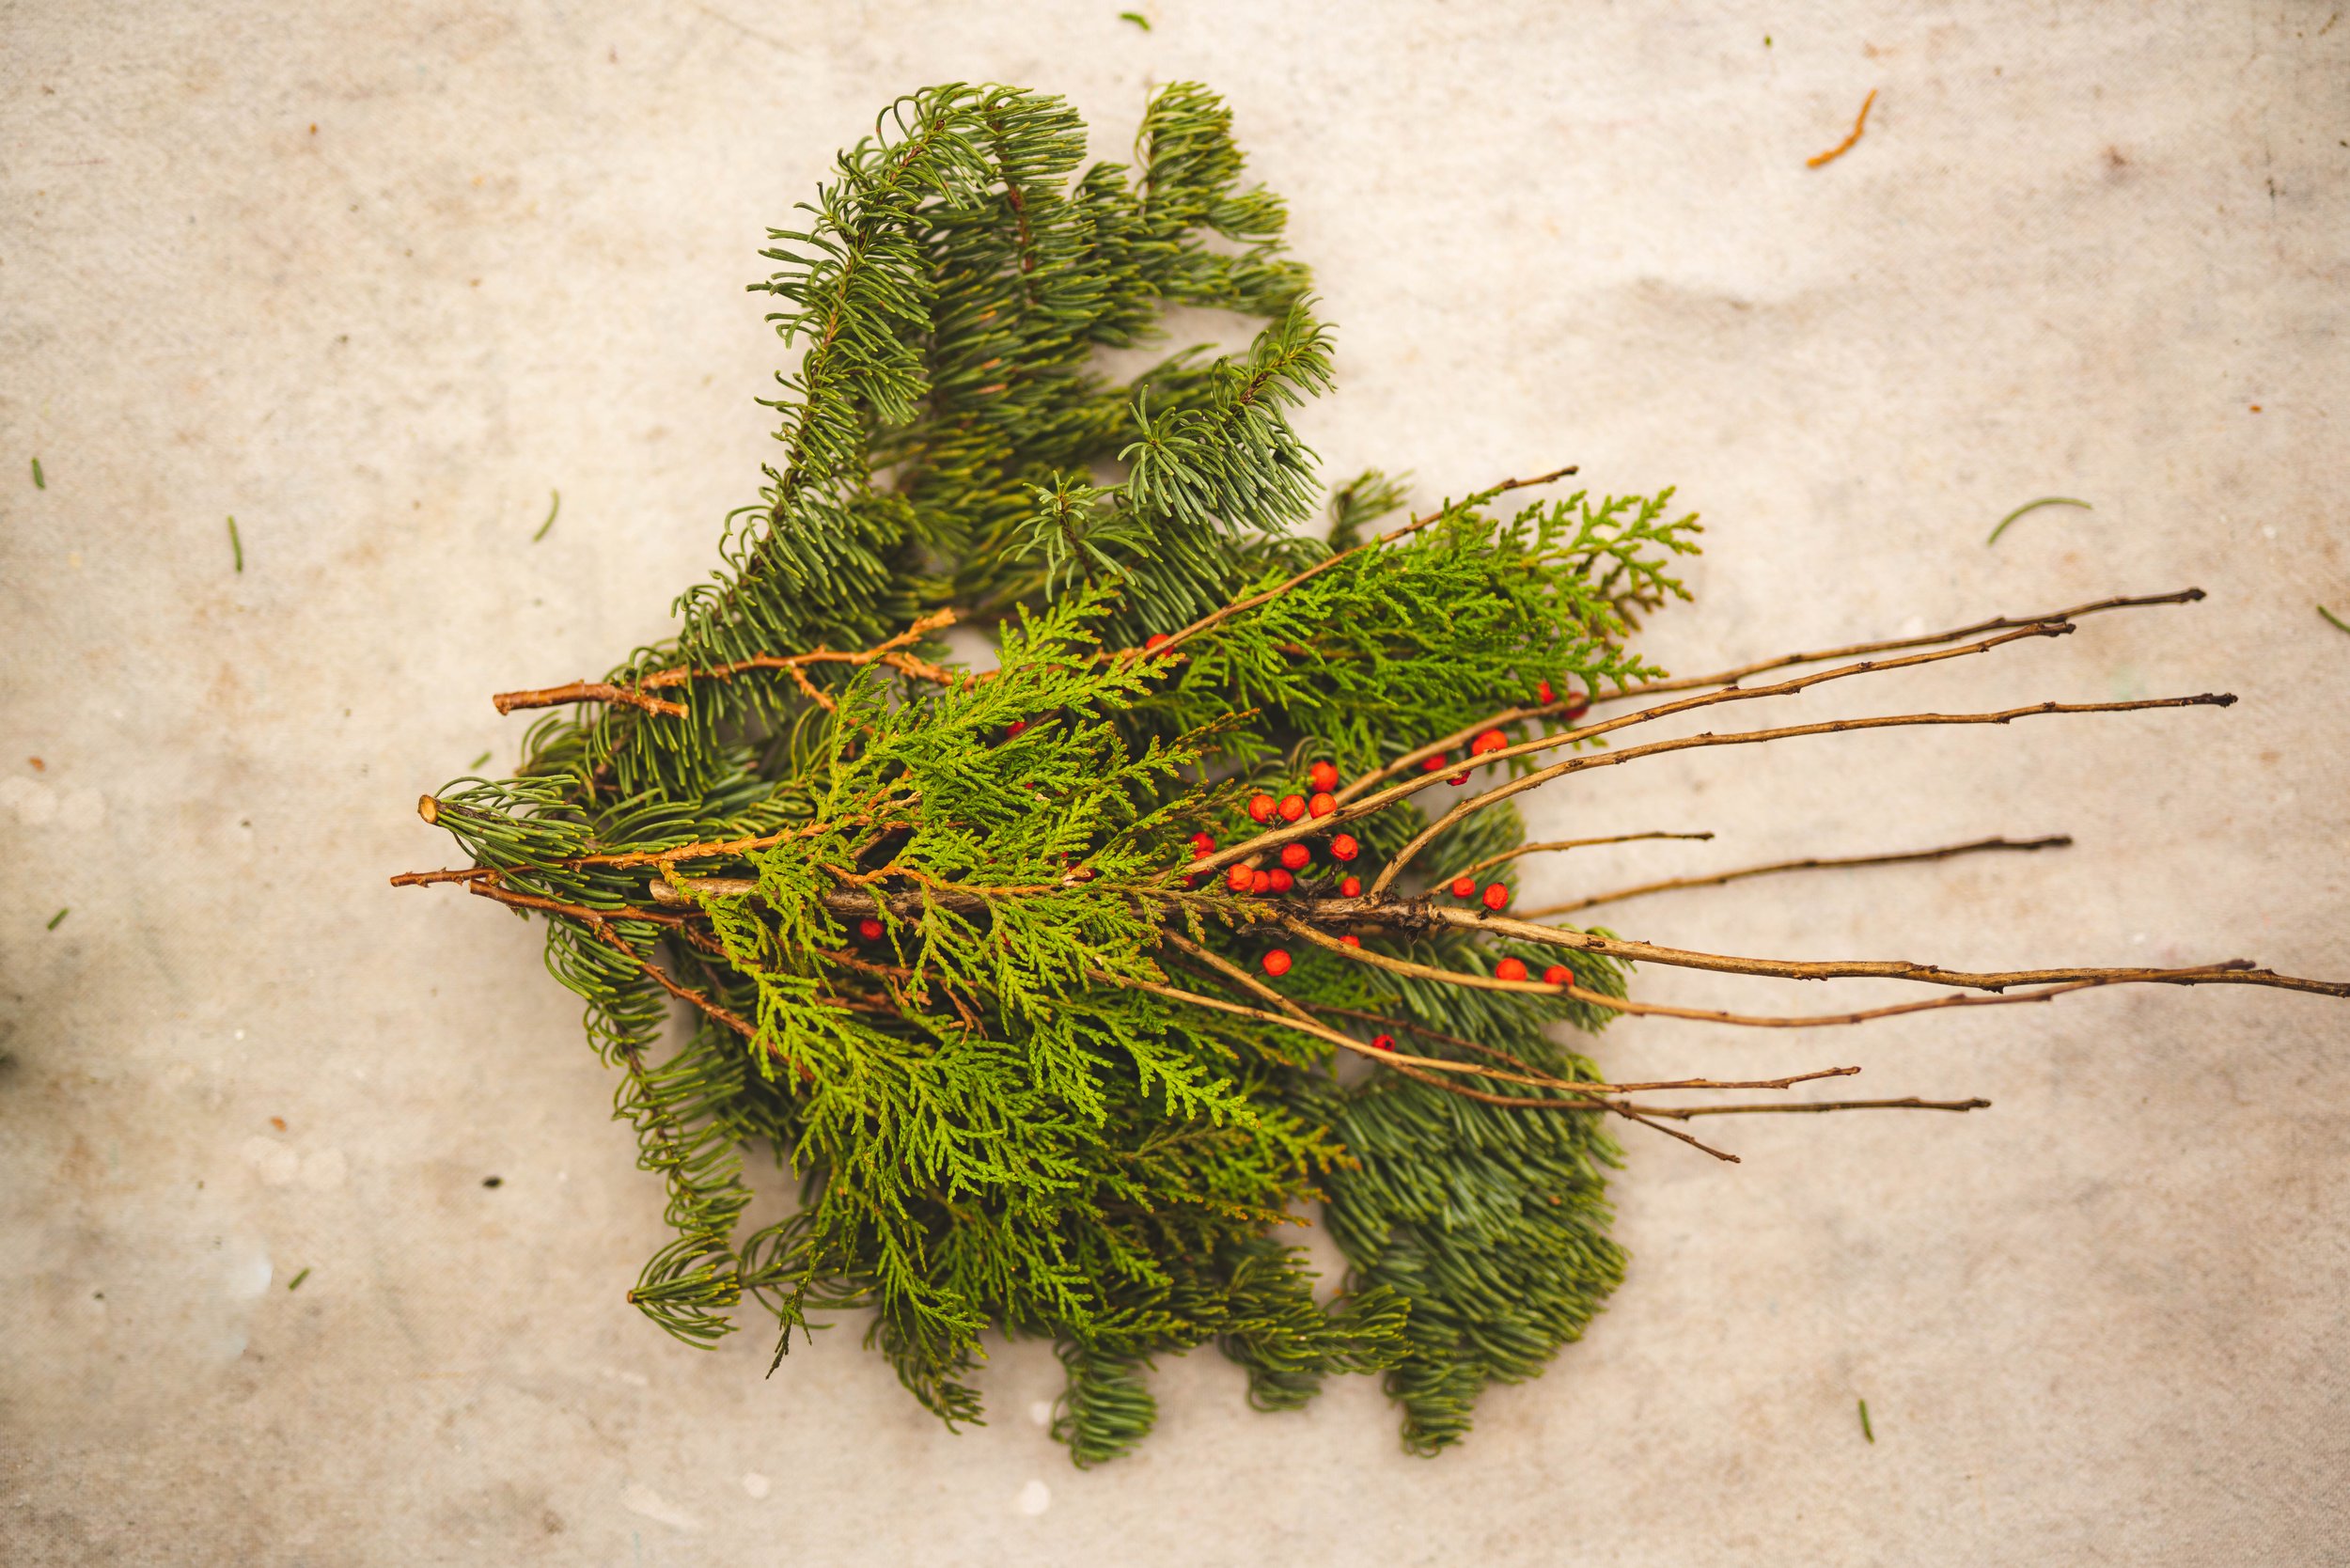
As a base for our wreaths, we typically use Douglas fir or juniper, since these are common varieties in our region. I love how fluffy the Douglas fir is, so it doesn’t take much to fill a wreath! I also use various accent greenery such as juniper branches with berries, arborvitae which we have growing on our property, magnolia leaves, holly and dusty miller amongst others. My favorite variety of pine cones to use are the white pine ones that remind me of miniature sugar pine cones.
Pro-tip with pine cones: bake them at 225F for about 20-30 minutes (depending on the amount of sap/size of pine cone). You want the sap to be melted. After baking, place on foil in single layers to cure for about twenty-four hours to cure the resin. We use bulb crates and layer foil to fit more pine cones with less space.
Some of the ingredients we do not grow or have access to locally so we order them. When choosing a company to work with we try to work with companies that are small, family owned and only sell US grown products. Purchasing a more eco-conscious product is still a main priority to us while balancing the needs of our customers. For this past season, we ended up snagging some gorgeous magnolia branches from Albin Hagstrom & Son and I was extremely happy with the quality and the great customer service. Another company we have used for the last four years has been Oregon Coastal Flowers, they always have a great product and I love their customer service as well. Julie is the best! Oregon Coastal is also where we get our moss for our amaryllis and swags. I love their variegated holly, ilex and have gotten some beautiful pussy willow from them in years passed as well. The key is to get your order in early with these companies since by the time you may actually be thinking about holidays, they may already be sold out! I place my orders for greenery and branches as soon as they open up their holiday offerings, typically mid October.
One recommendation I would give is: keep the ingredients simple, less is more.
The last couple years we whittle down our ingredient options for our customers. I do like giving them the option to choose the style wreath they like to keep that handcrafted made “just for you” touch with our customers. To keep from having to order a little bit of everything or getting the wreaths too complicated we give our customers a hand full of options for customizing their wreaths. By keeping it simple, we are able to be more efficient and profitable. Even though I love dried flowers, grasses and such in wreaths I save those for custom orders for customers who I know understand the care and fragility of those components. For our online sales, we decided to only offer ingredients that are robust, dry beautifully and are long lasting.
We give a few options to our customers of accent greenery and accents. This season we gave the accent greenery choices of juniper, magnolia, variegated holly or designer’s choice. For accent choices we gave the options of orange slices, pussy willow branches, pine cones or designer’s choice.
Now that we have all this boring business talk out of the way, let’s get into making wreaths with a clamp machine!
Assembling Wreaths
As mentioned, we snagged our wreath clamping machine from Mitchell’s. At first it was a little wonky to work with but by the time you are done with your first wreath, you will be a pro! Super easy! Getting used to lining up the prongs with the machine, holding the bundle correctly to not squish your fingers are the biggest challenges when using the clamp machine. From there, it’s just prepping your ingredients! One thing to note: make sure your branches aren’t too or overstuffed otherwise the clamp machine won’t hunker them down properly.
Along with our clamp machine and wreath rings we have on hand:
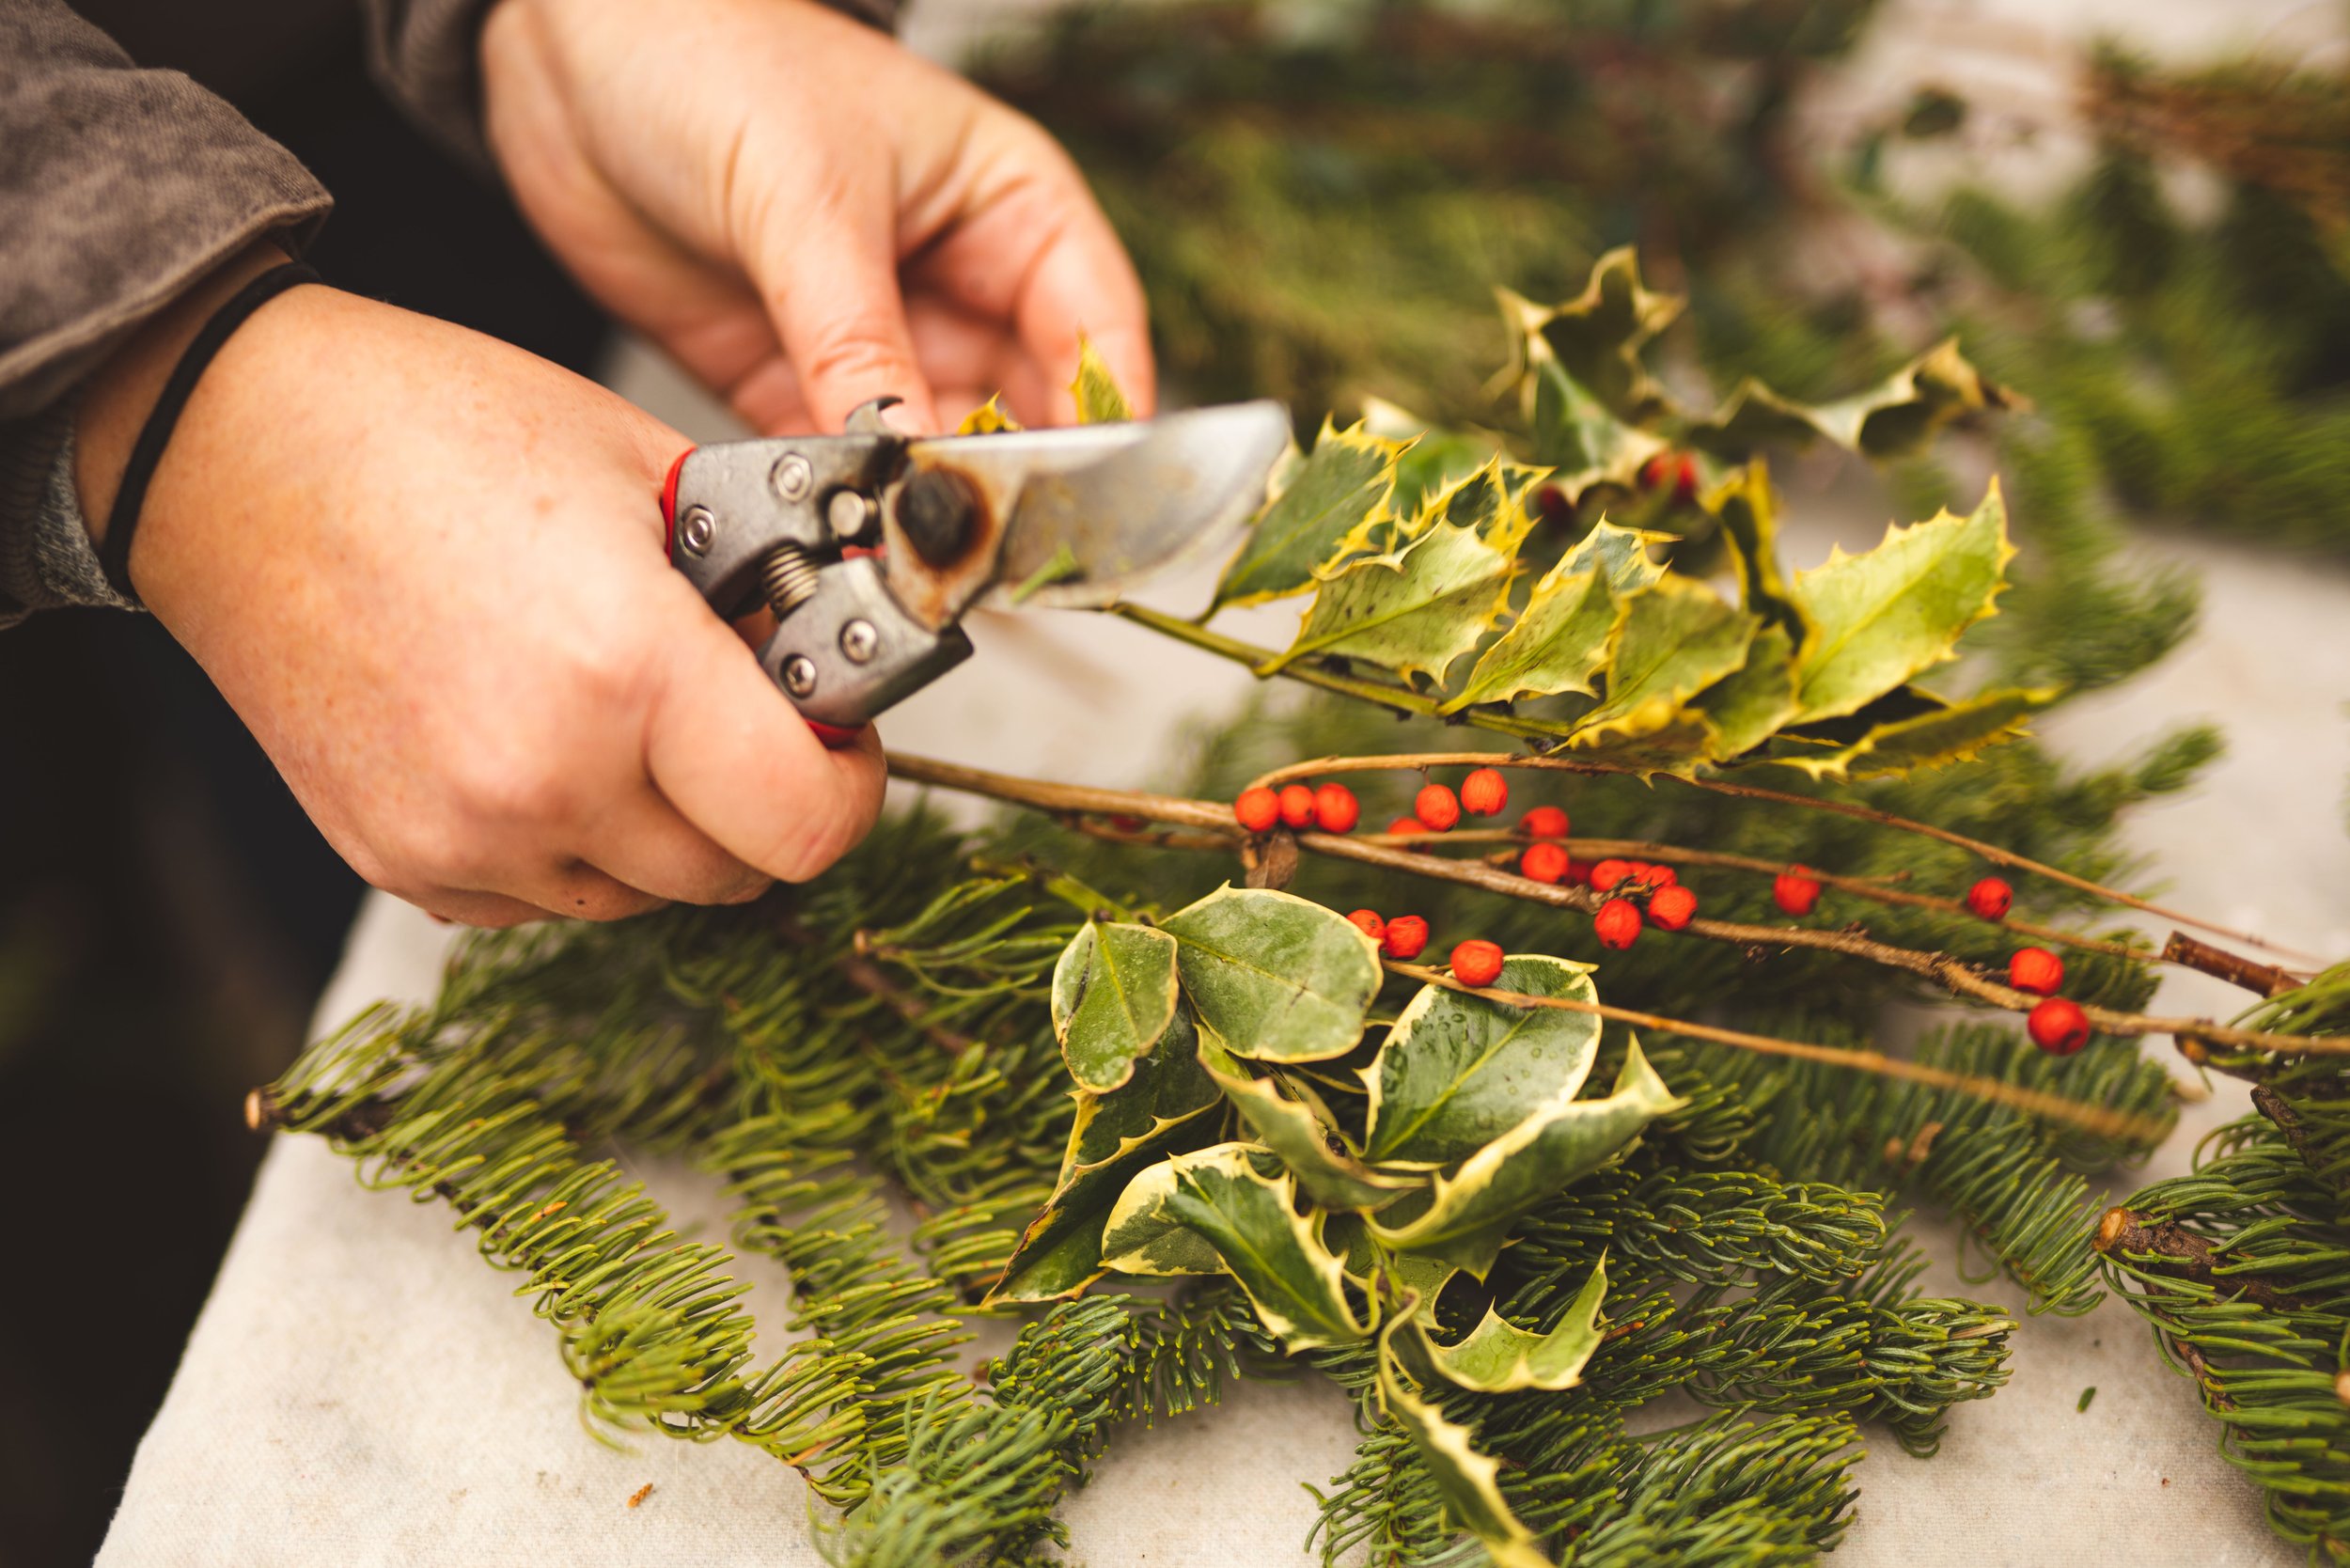
Pruners
Clippers
Wire cutters
Optional: Ribbon/Fabric other accents
Optional: Wilt Pruf or Crowning Glory
Kind of like assembling bouquets together during the season, we do a similar assembly line for wreath making. On a folding table perpendicular to my clamp machine I have my ingredients laid out. Prepping our ingredients, cutting to size to be able to grab the ingredients and quickly assemble.
From right to left I have my ingredients placed in order:
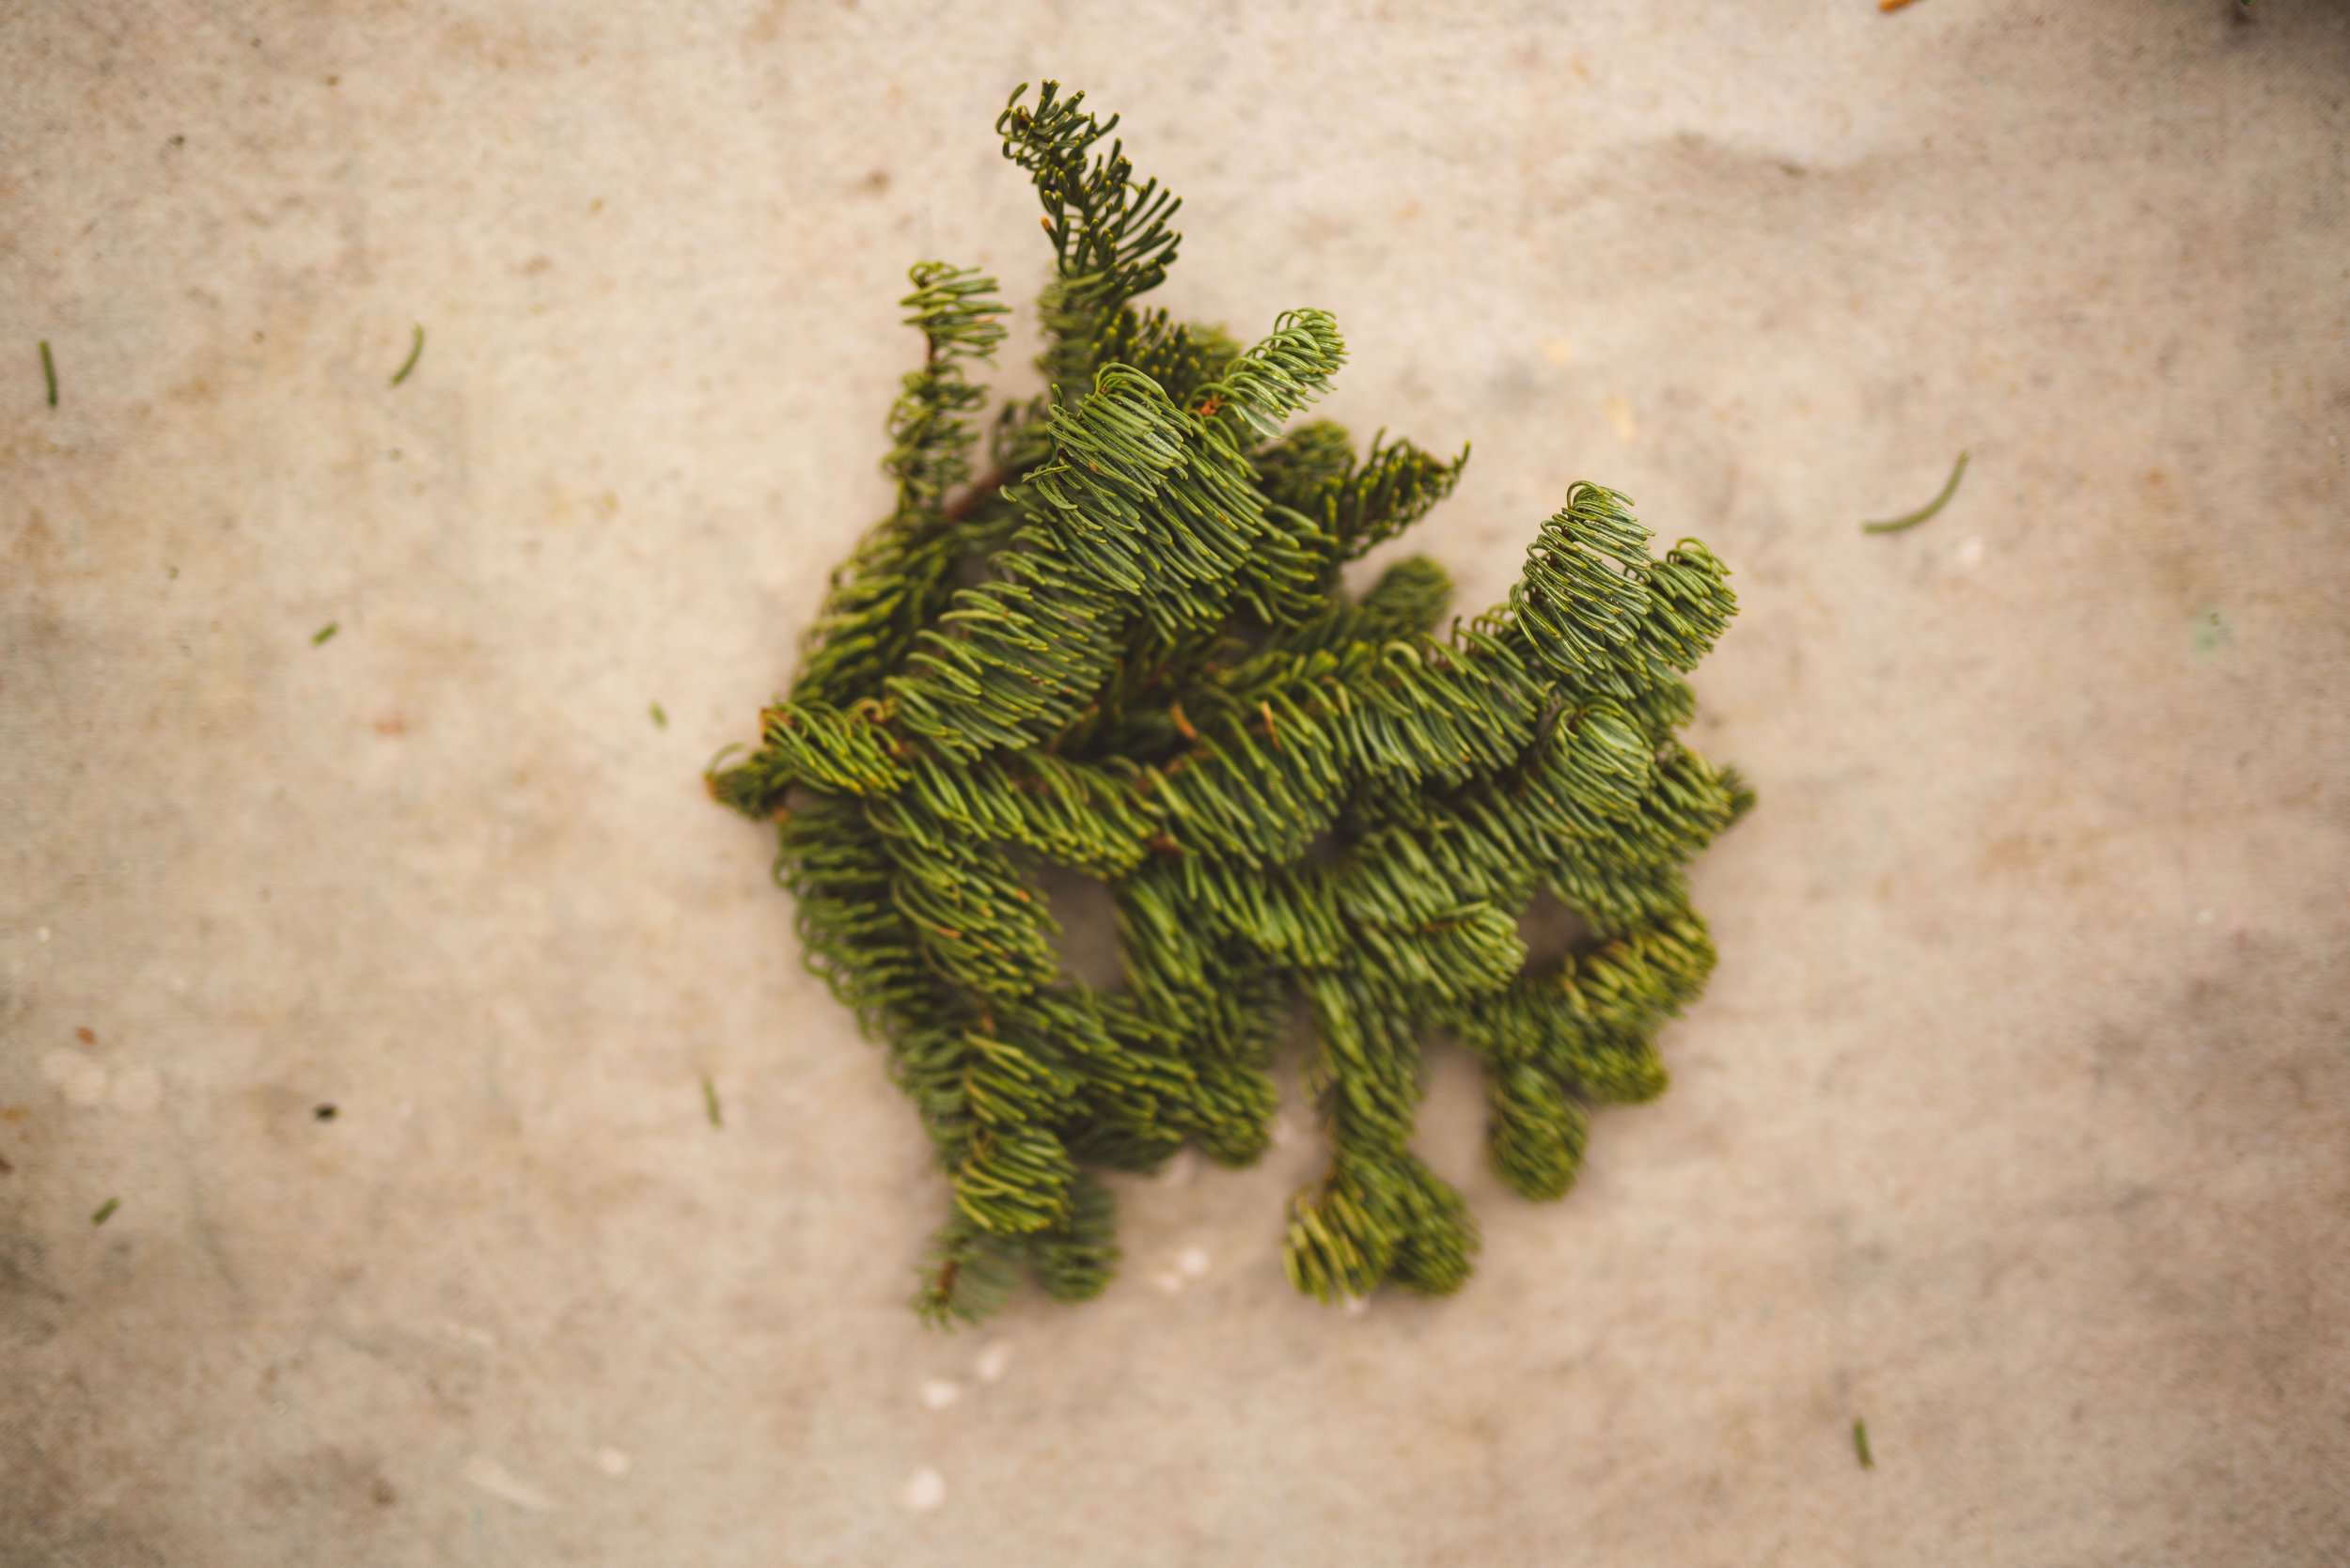
Base greenery (for us this is Douglas fir/juniper)
Accents that are to be clamped (pussy willow branches, red dogwood, curly willow)
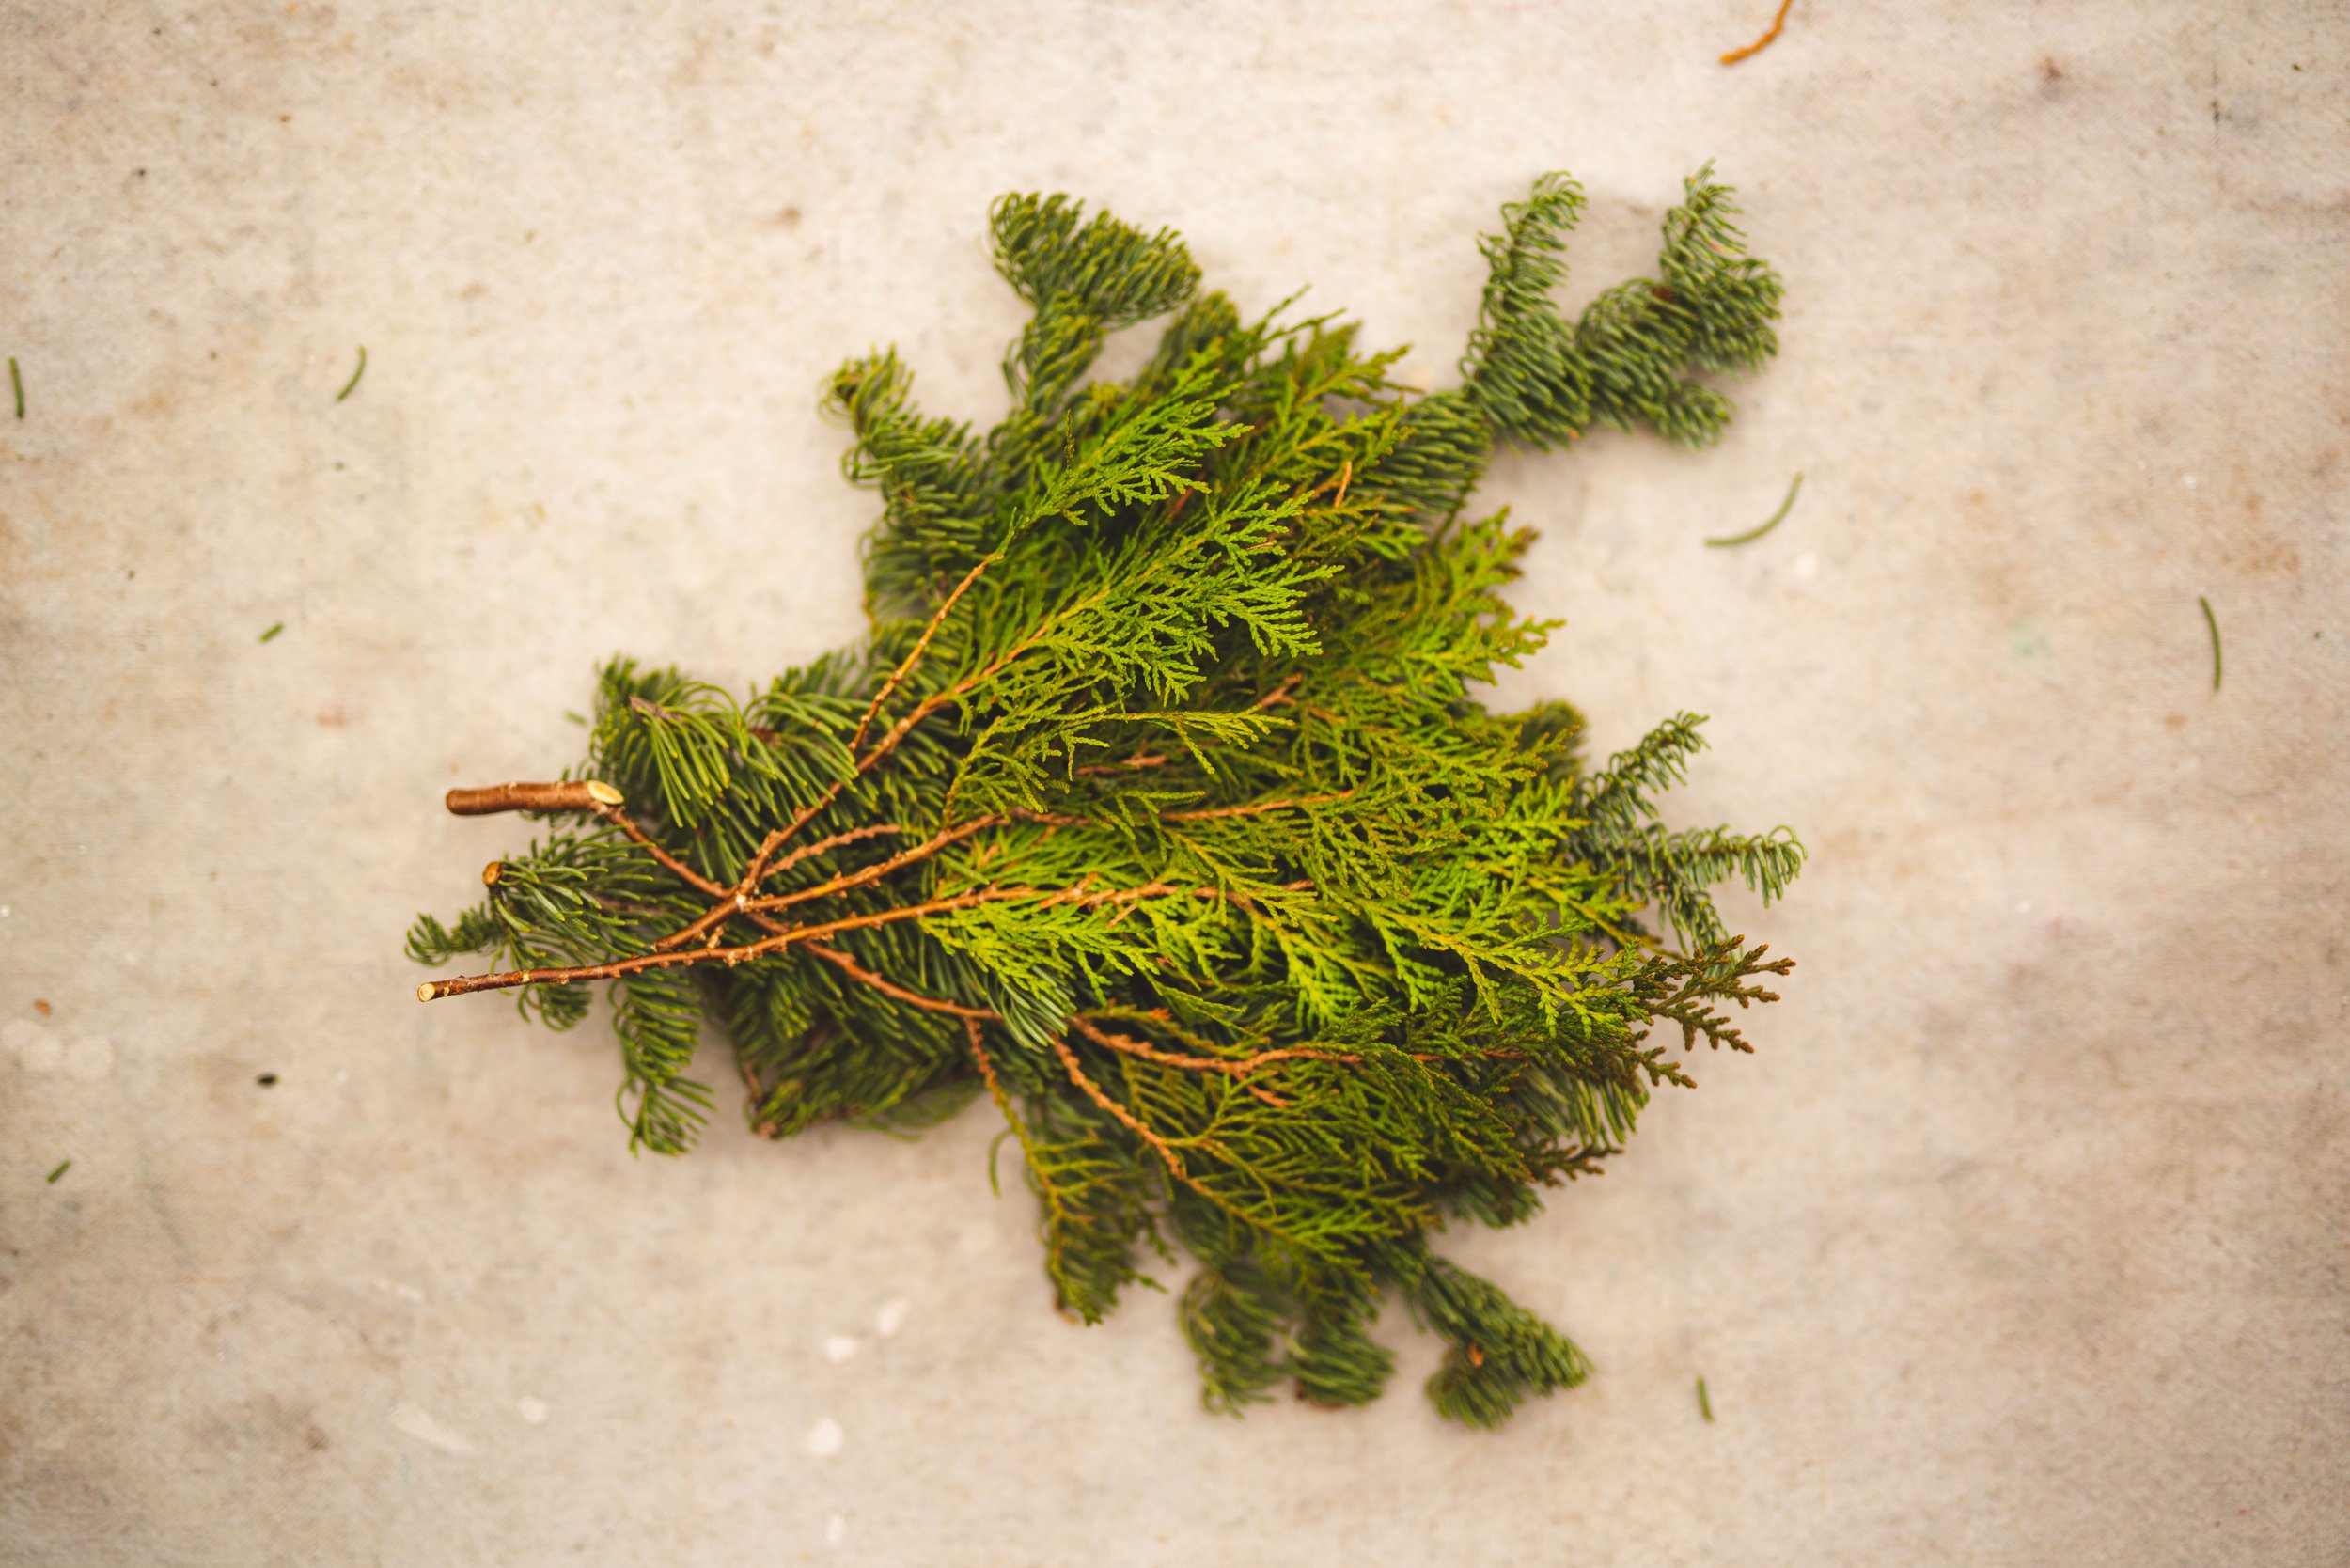
Base greenery two (optional, if using usually arborvitae or juniper)
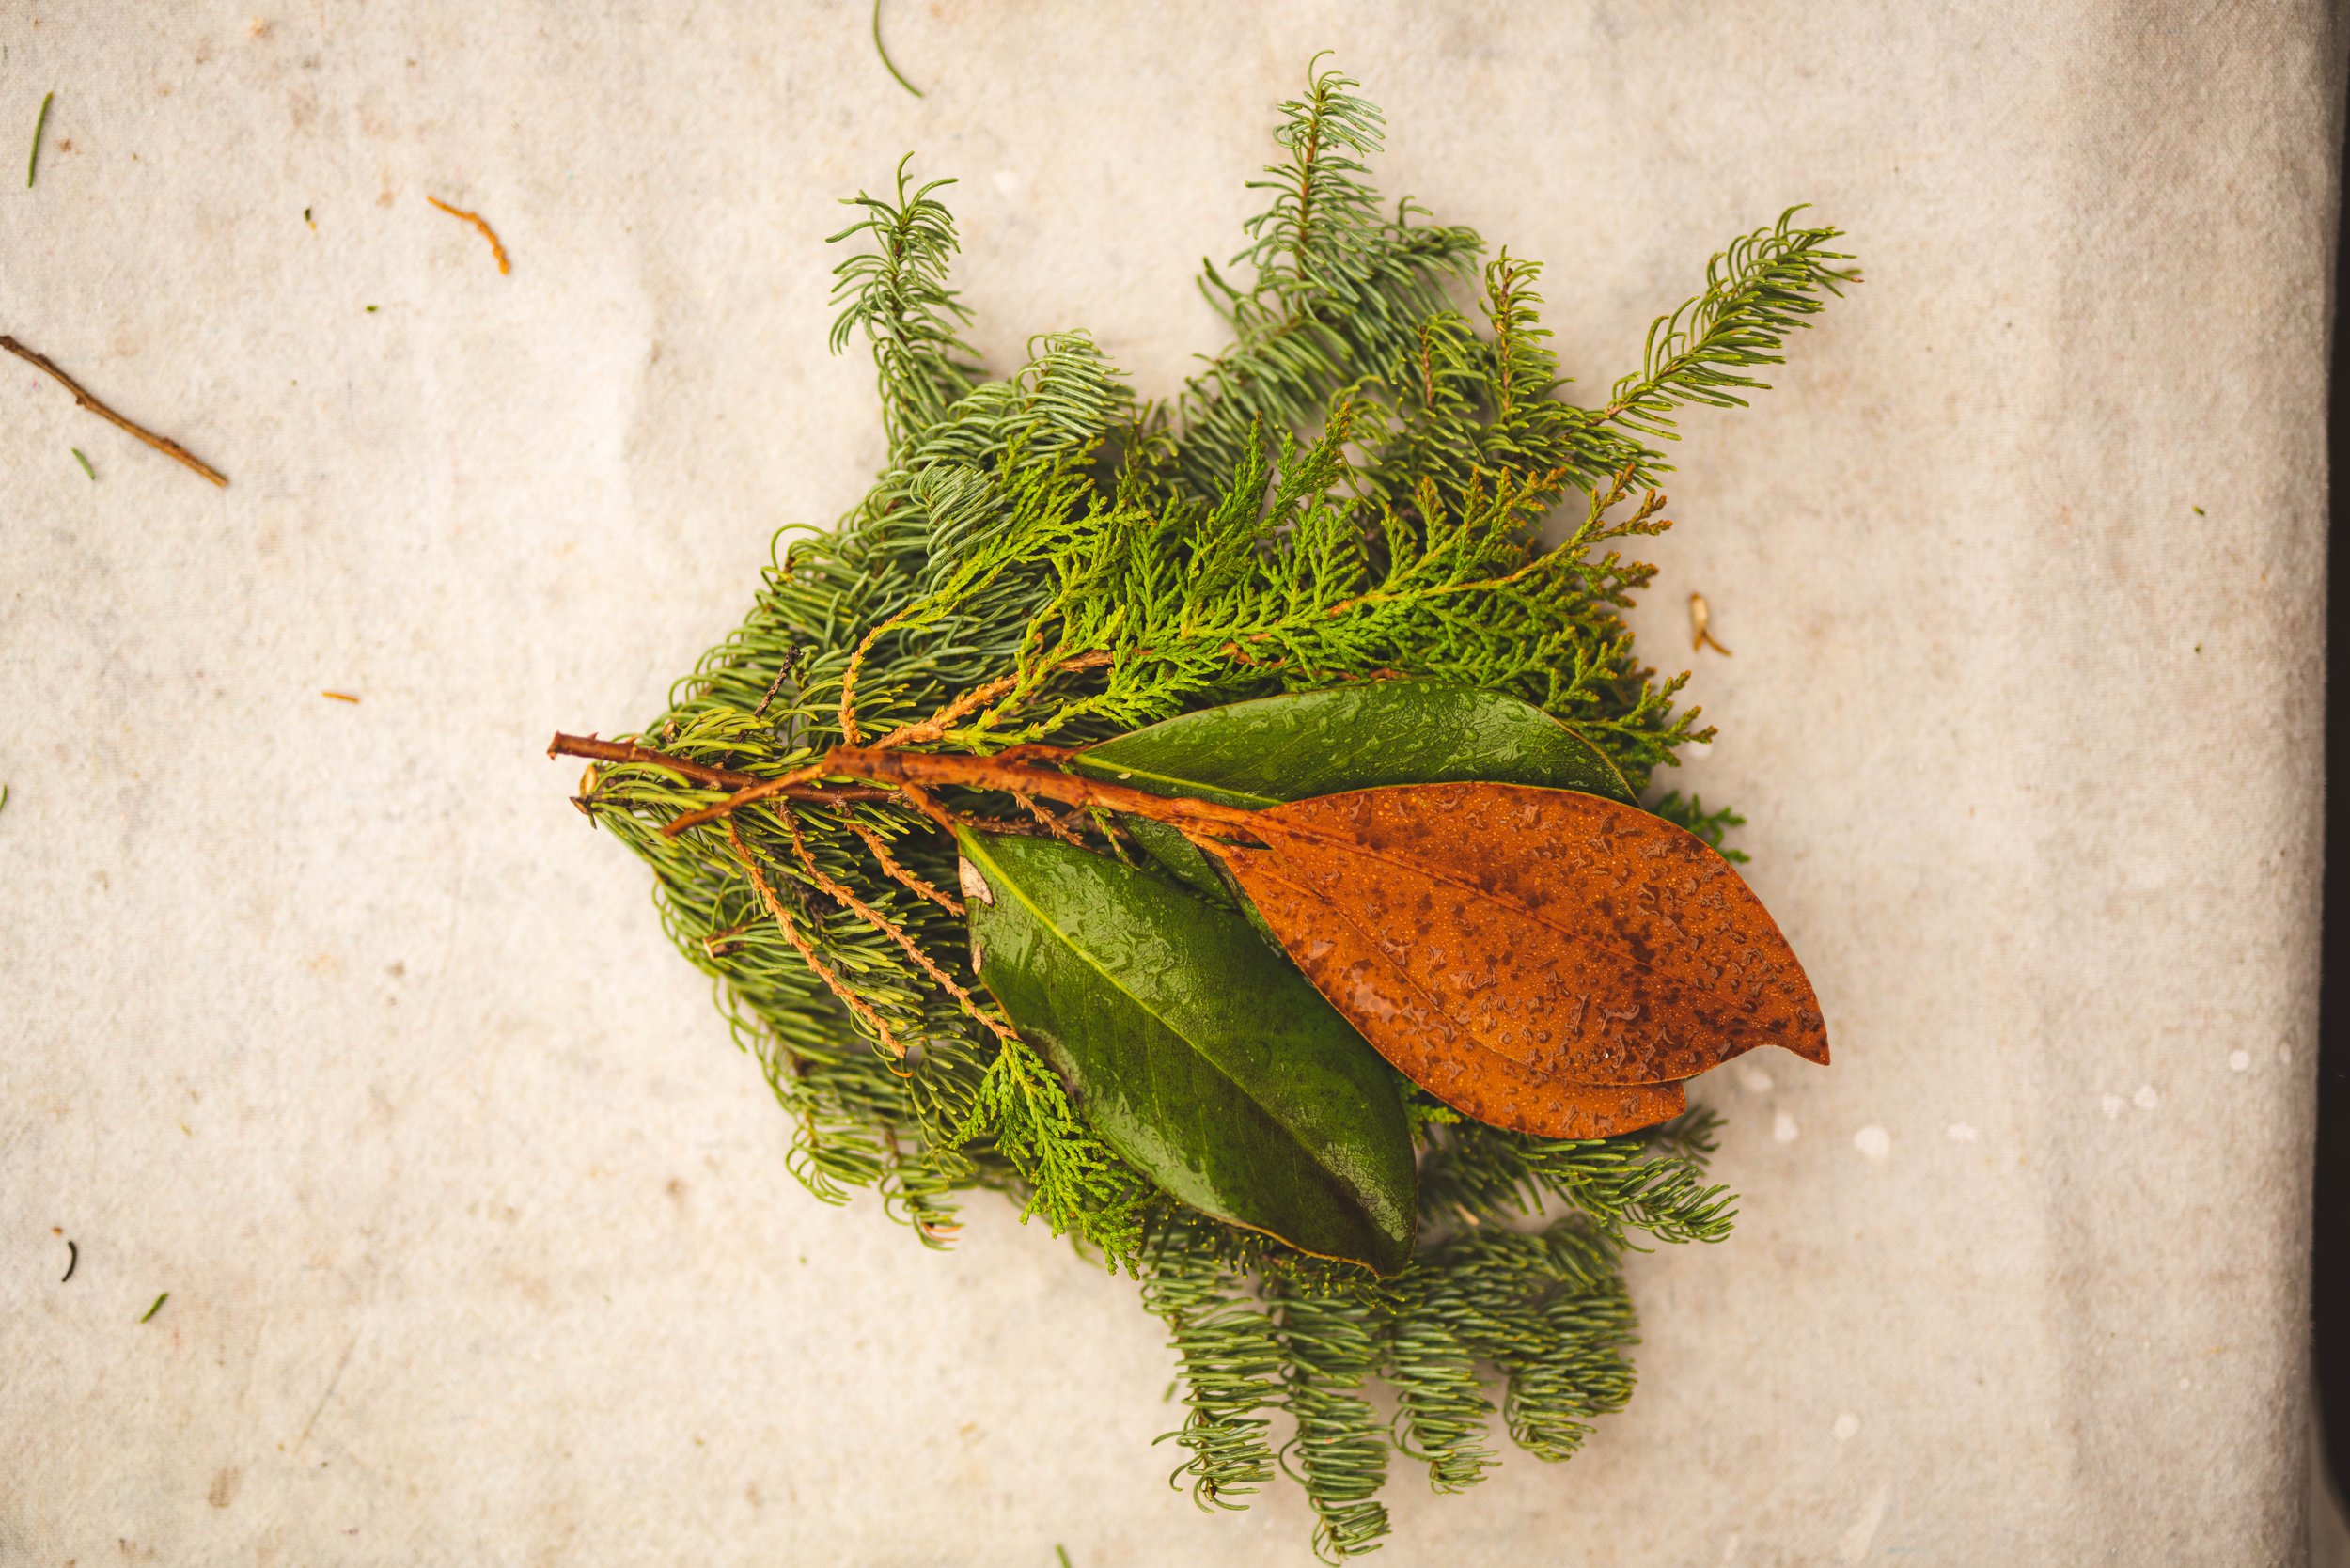
Accent Greenery (magnolia, holly, juniper berries, dusty miller, eucalyptus)
Accents to be wired (pine cones, dehydrated oranges).
Assembling the bunches:
Warning: this section is really wordy, I tried my best! If you are a visual person, scrolling down to the bottom of this post we have our video showing how we do it! We also have some additional tips not mentioned in the video in this section.
Making the bunches ahead of time and laying them out makes the process go much quicker. The wreath base we have has fourteen sections to clamp, so we prepare fourteen bunches.
I like to alternate bunches into two different designs. This stretches out the more expensive specialty accents and I think also allows them to be more highlighted without getting lost in the wreath. When assembling bunches think of them as miniature bouquets that are assembled laying flat. The key with a professional looking wreath is: layers and consistency.
For the length of the bunches, I aim to have the ends about halfway down in between prongs. You don’t want branches going down into the next prong, it starts becoming too bulky for the components to be securely clamped (plus it makes for a heavier wreath!). You also don’t want the bunches hanging too much outside the base, they will just sag or look unruly. My bunches average about six to eight inches, with accent branches sticking out a little longer to better seen.
When making the bunches I have: base greenery, accent to be clamped, second base greenery then the next bunch made with base greenery, second base greenery and accent greenery.
Example:
Bunch one:
Douglas fir (3)
Arborvitae (1-3)
Magnolia leaves (3)
Bunch two:
Douglas fir (3)
Ilex branch (1-2)
Arborvitae (1-3)
Pro-tip: when using fragile ingredients that can snap easily, layer some greenery over the top of them. For example, pussy willow branches to be covered by the arborvitae which helps protect the branches from the metal clamps while still securely attaching into the wreath.
For the Douglas fir, I use a mix of the tips from the branch (which are the prettiest!) with pieces that don’t have that nice tip but still help bulk out the wreath. I just tuck the not pretty pieces behind the nice tip piece to hide the cut off branch.
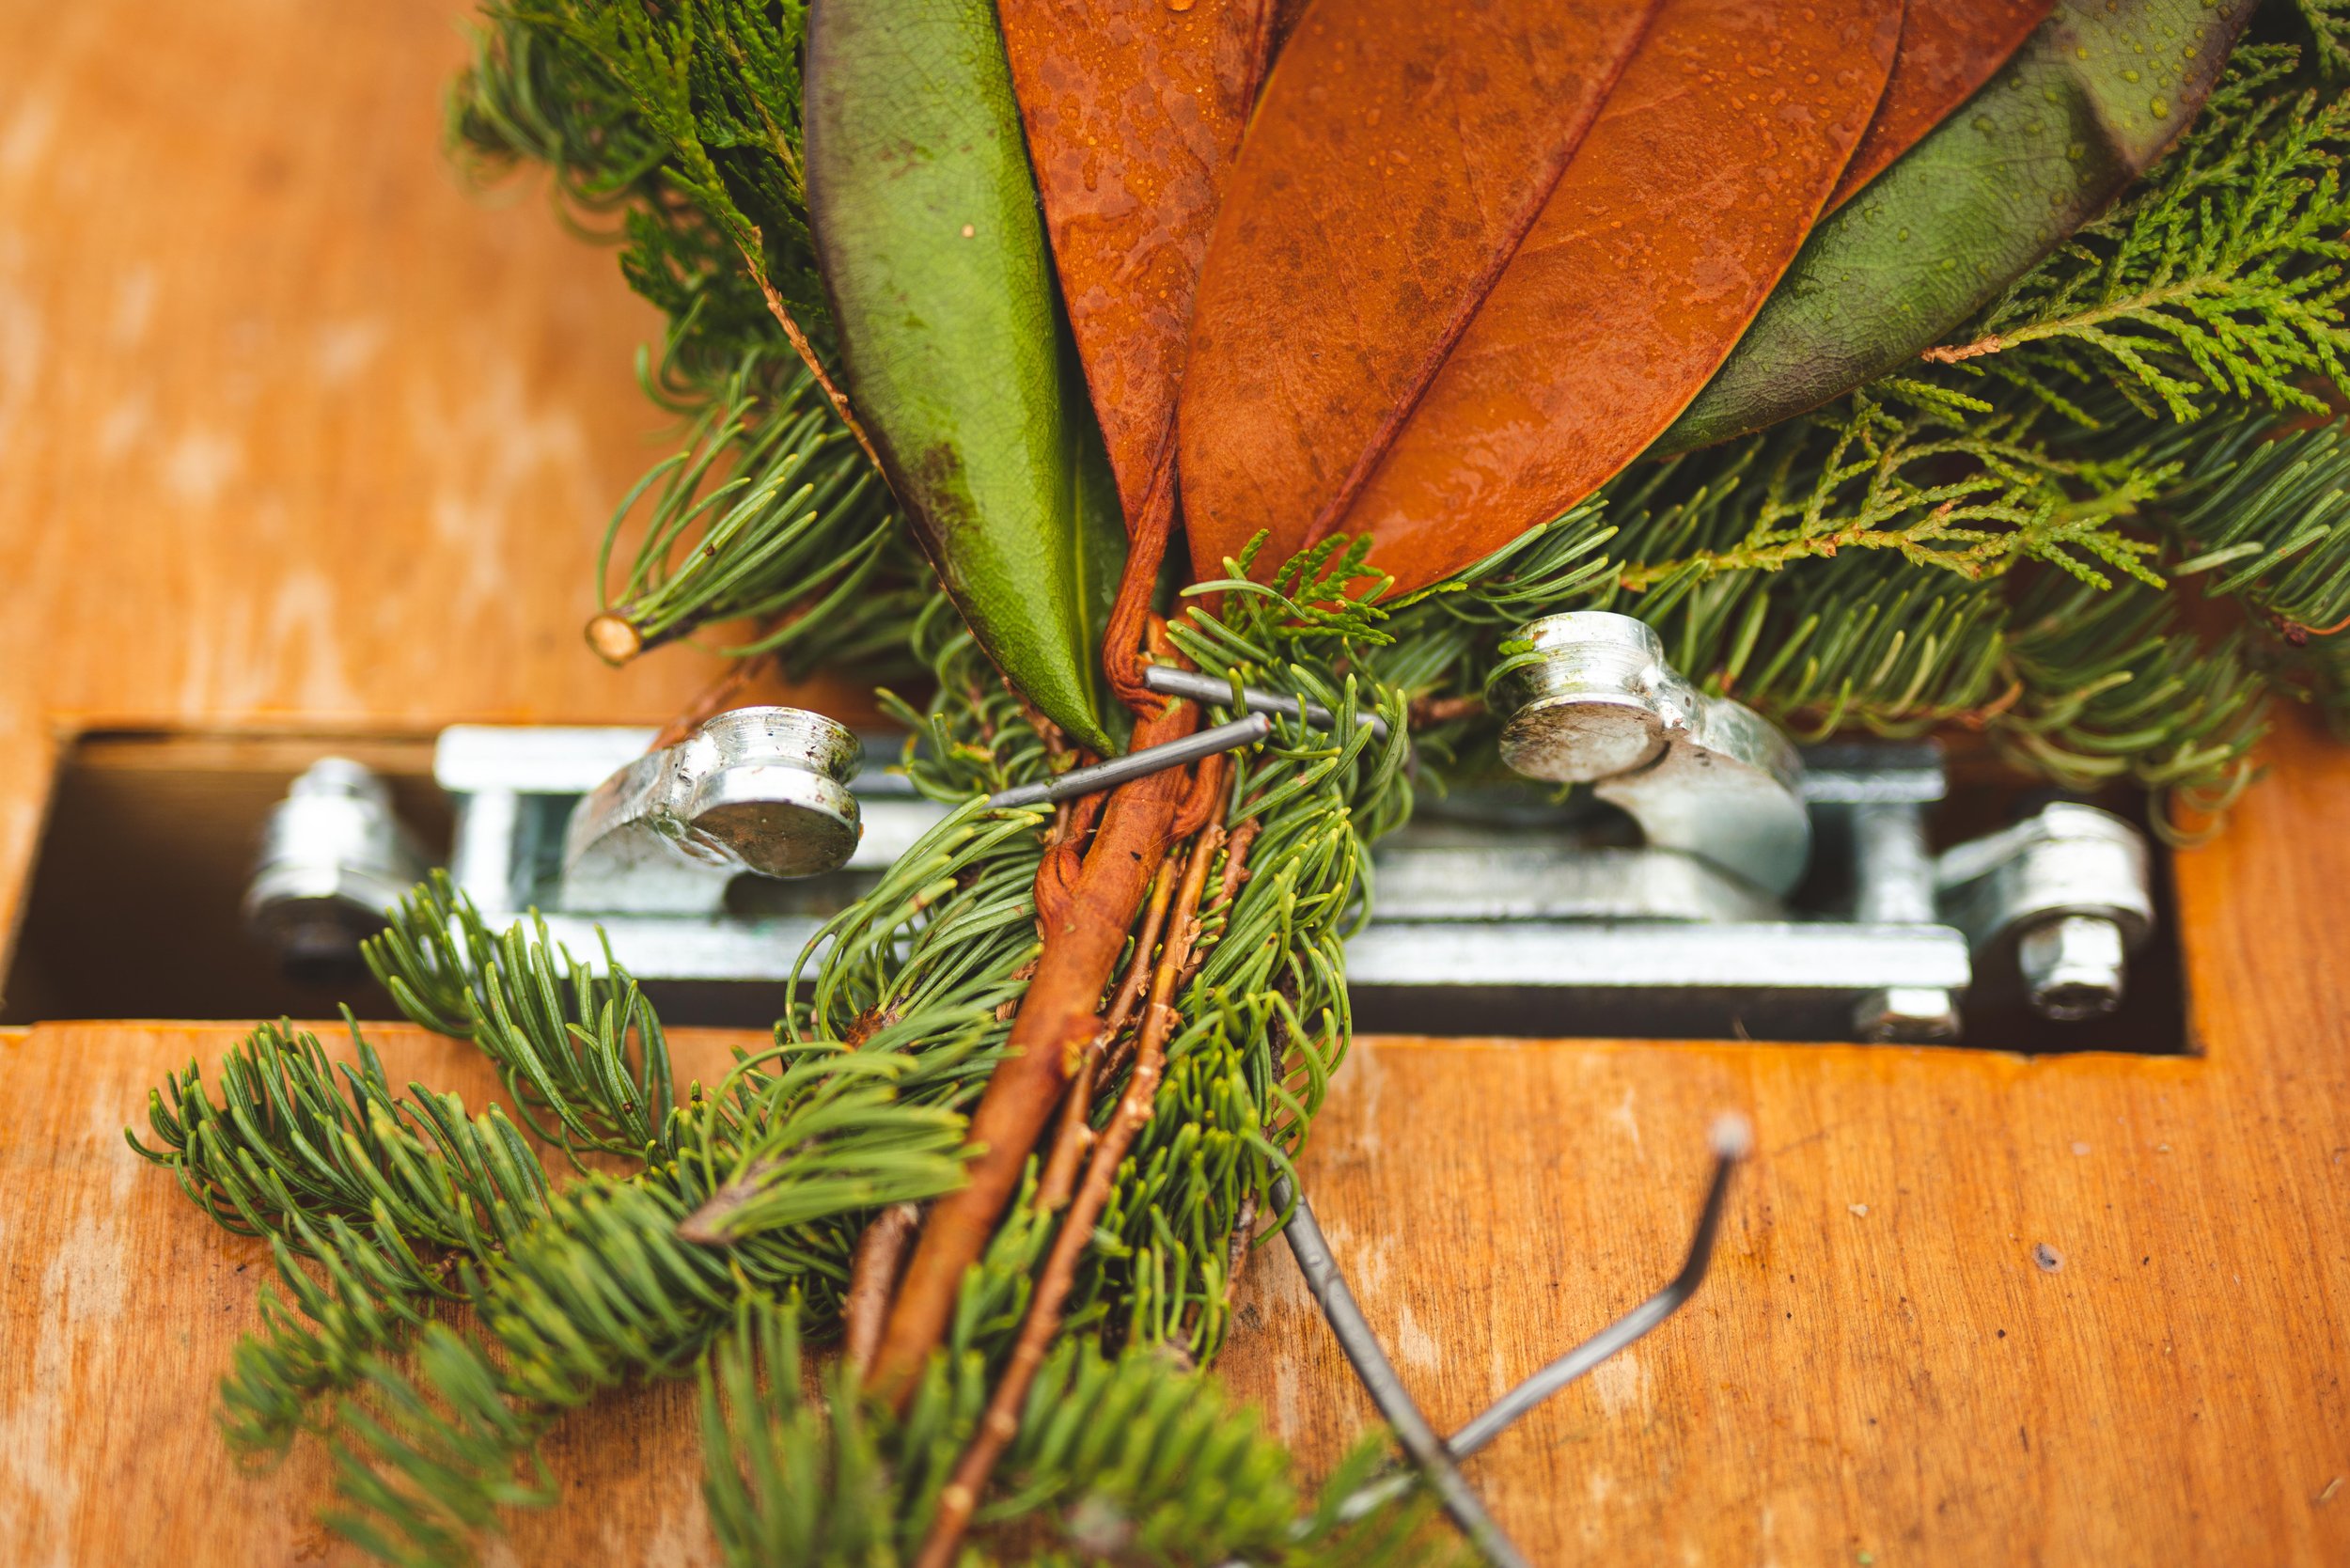
When I am using magnolia in wreaths, I prefer to use fresh and just clamp down on them. In time, they will dry but shouldn’t dislodge. If using dried, I hot glue them into a fan and wire on a branch but you could also just glue them into the wreath, I just find picking out the little hot glue strings annoying. Overall, if you can get fresh I recommend it, it makes it a lot quicker!
Keep your bunches slightly fanned, especially the base greenery, but mainly keep the components centered. The way the machine works, it will naturally clamp the ingredients at an angle to give that traditional swirled wreath look, another pro compared to hand-wiring!
Remember to make sure you don’t over stuff the prongs and try to use more slender branches. For a consistent look, keep about the same amount of ingredients. You will eventually be able to eye ball what you need to make your bunches look consistent. Depending on the branches used, more or less may be needed.

Laying out bunches and Wreath Making time!
I lay out my prepared bunches in two rows, grabbing alternate bunches. I usually start with the bunch of the accent greenery then move to the one with branches since the last bunch to get in can be a little tricky to get into the ring. Accent greenery is more forgiving than the branches which can be more easily snapped when manhandling that last bunch.
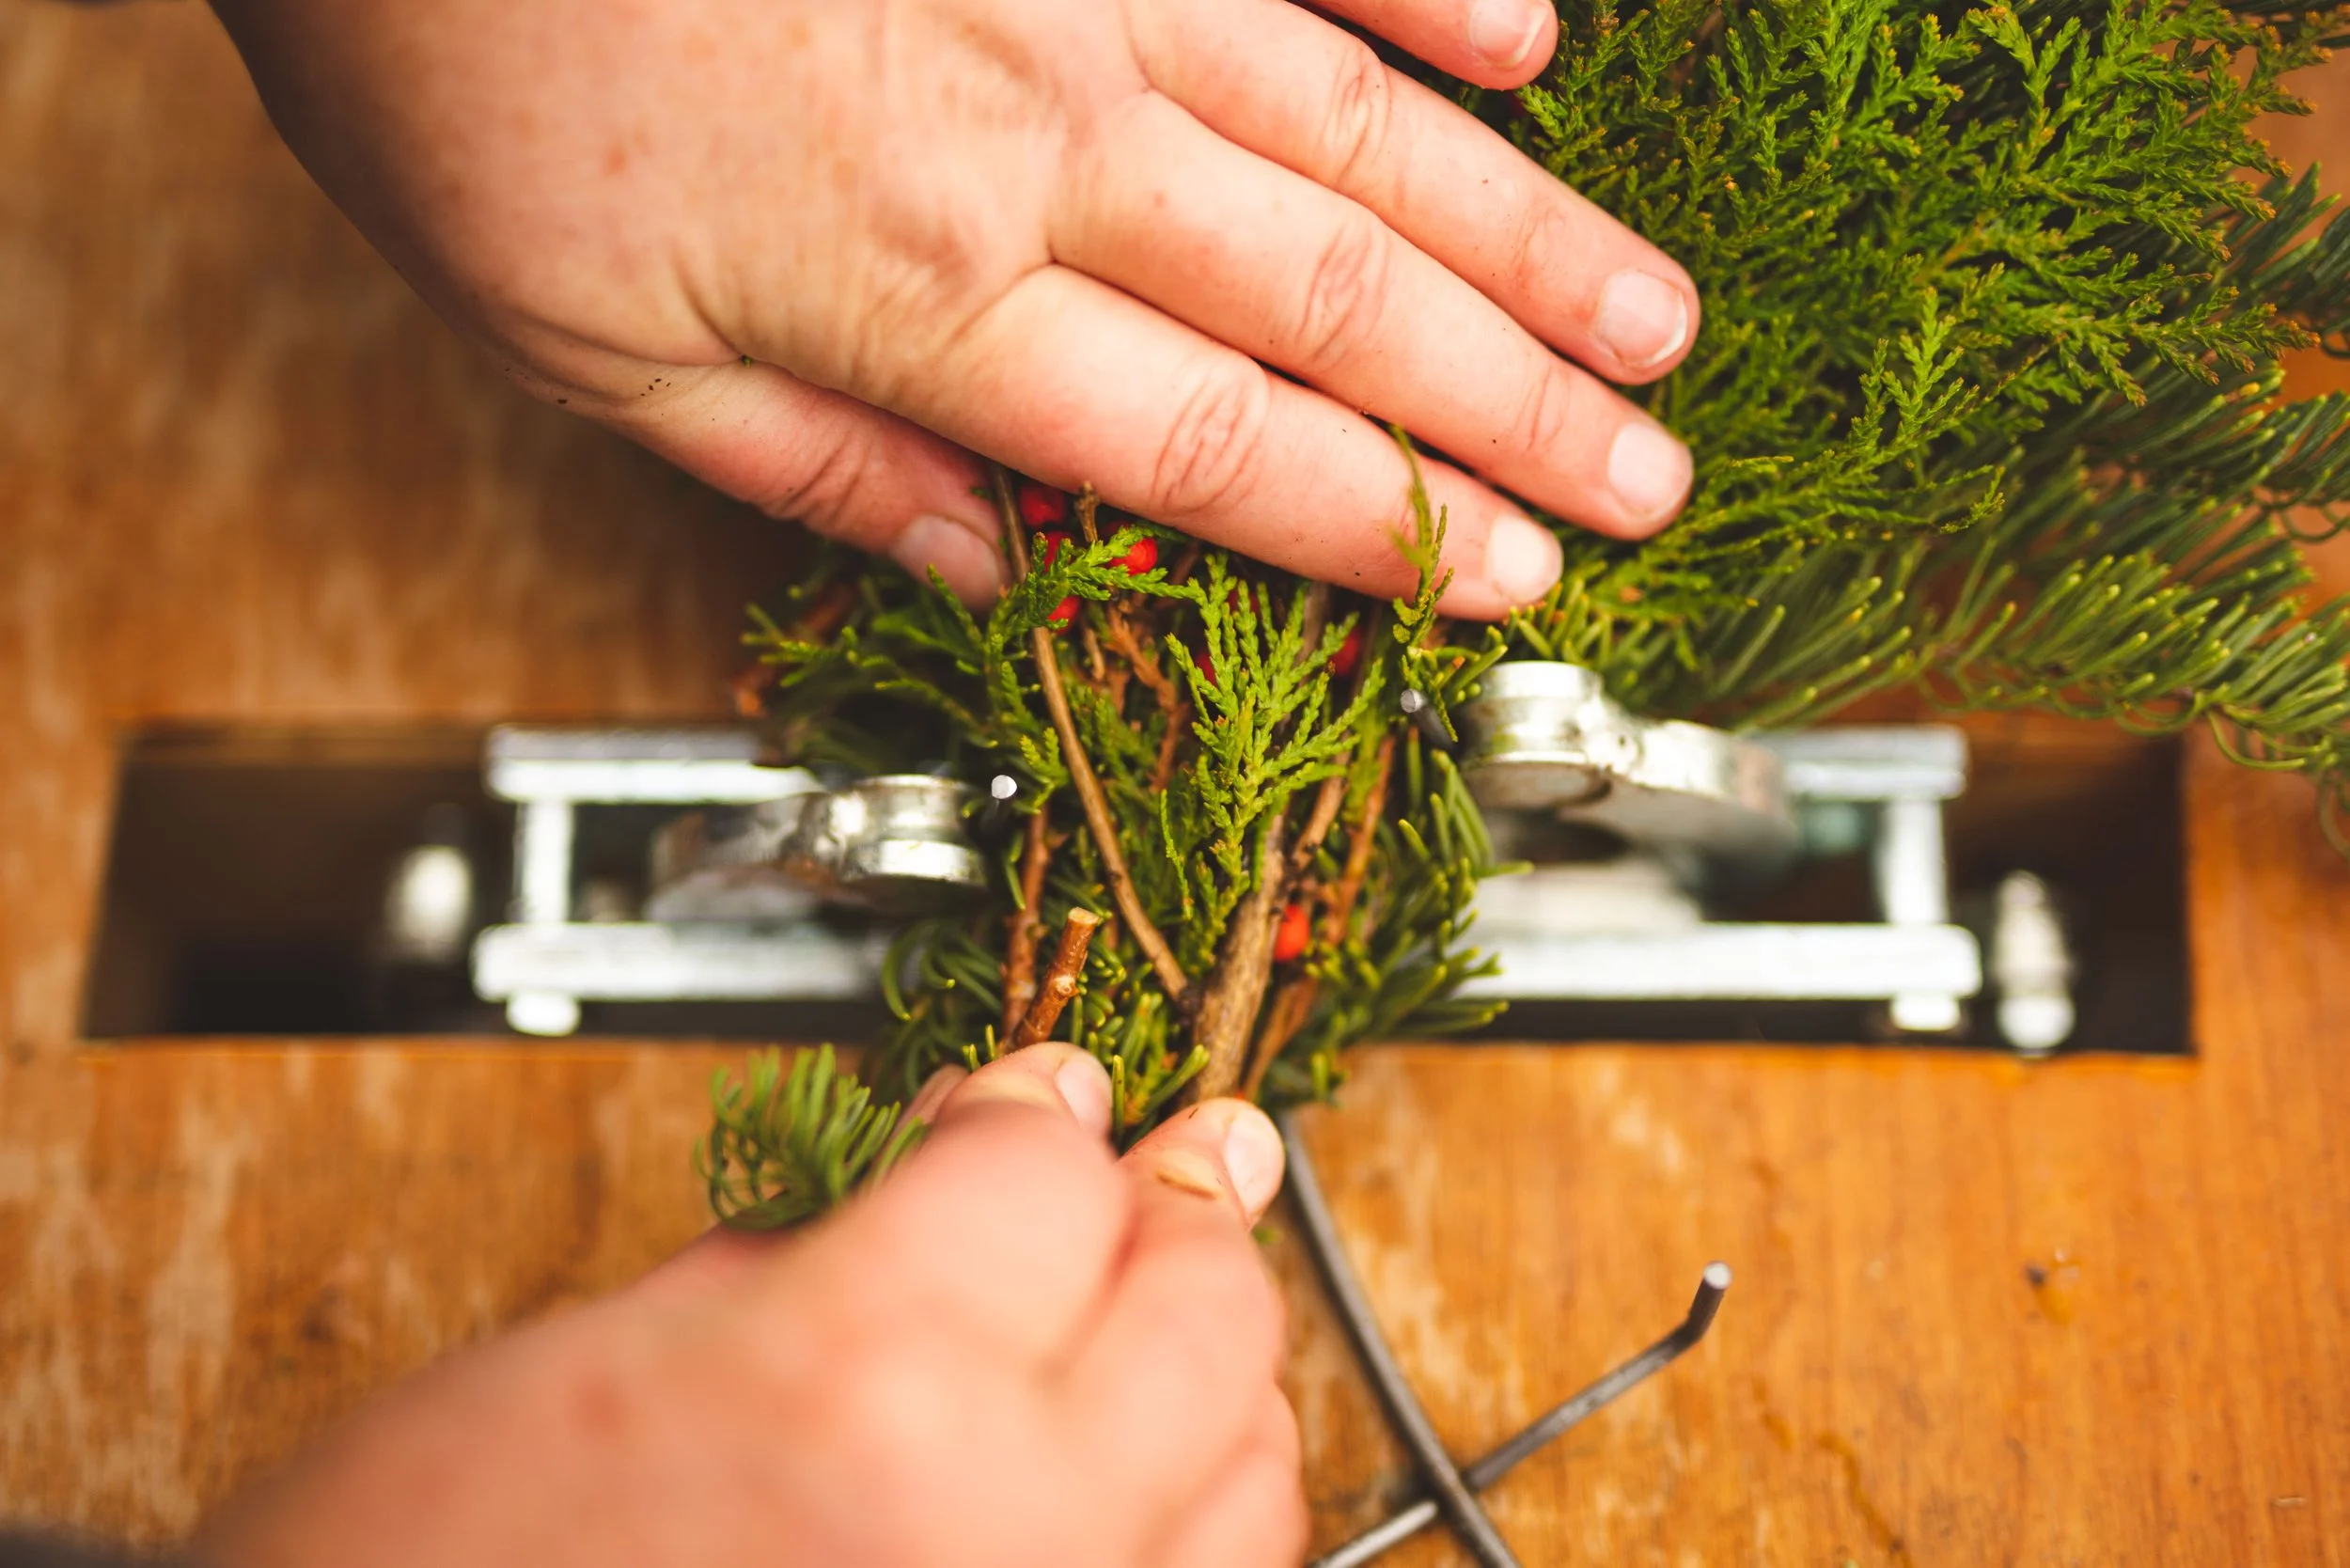
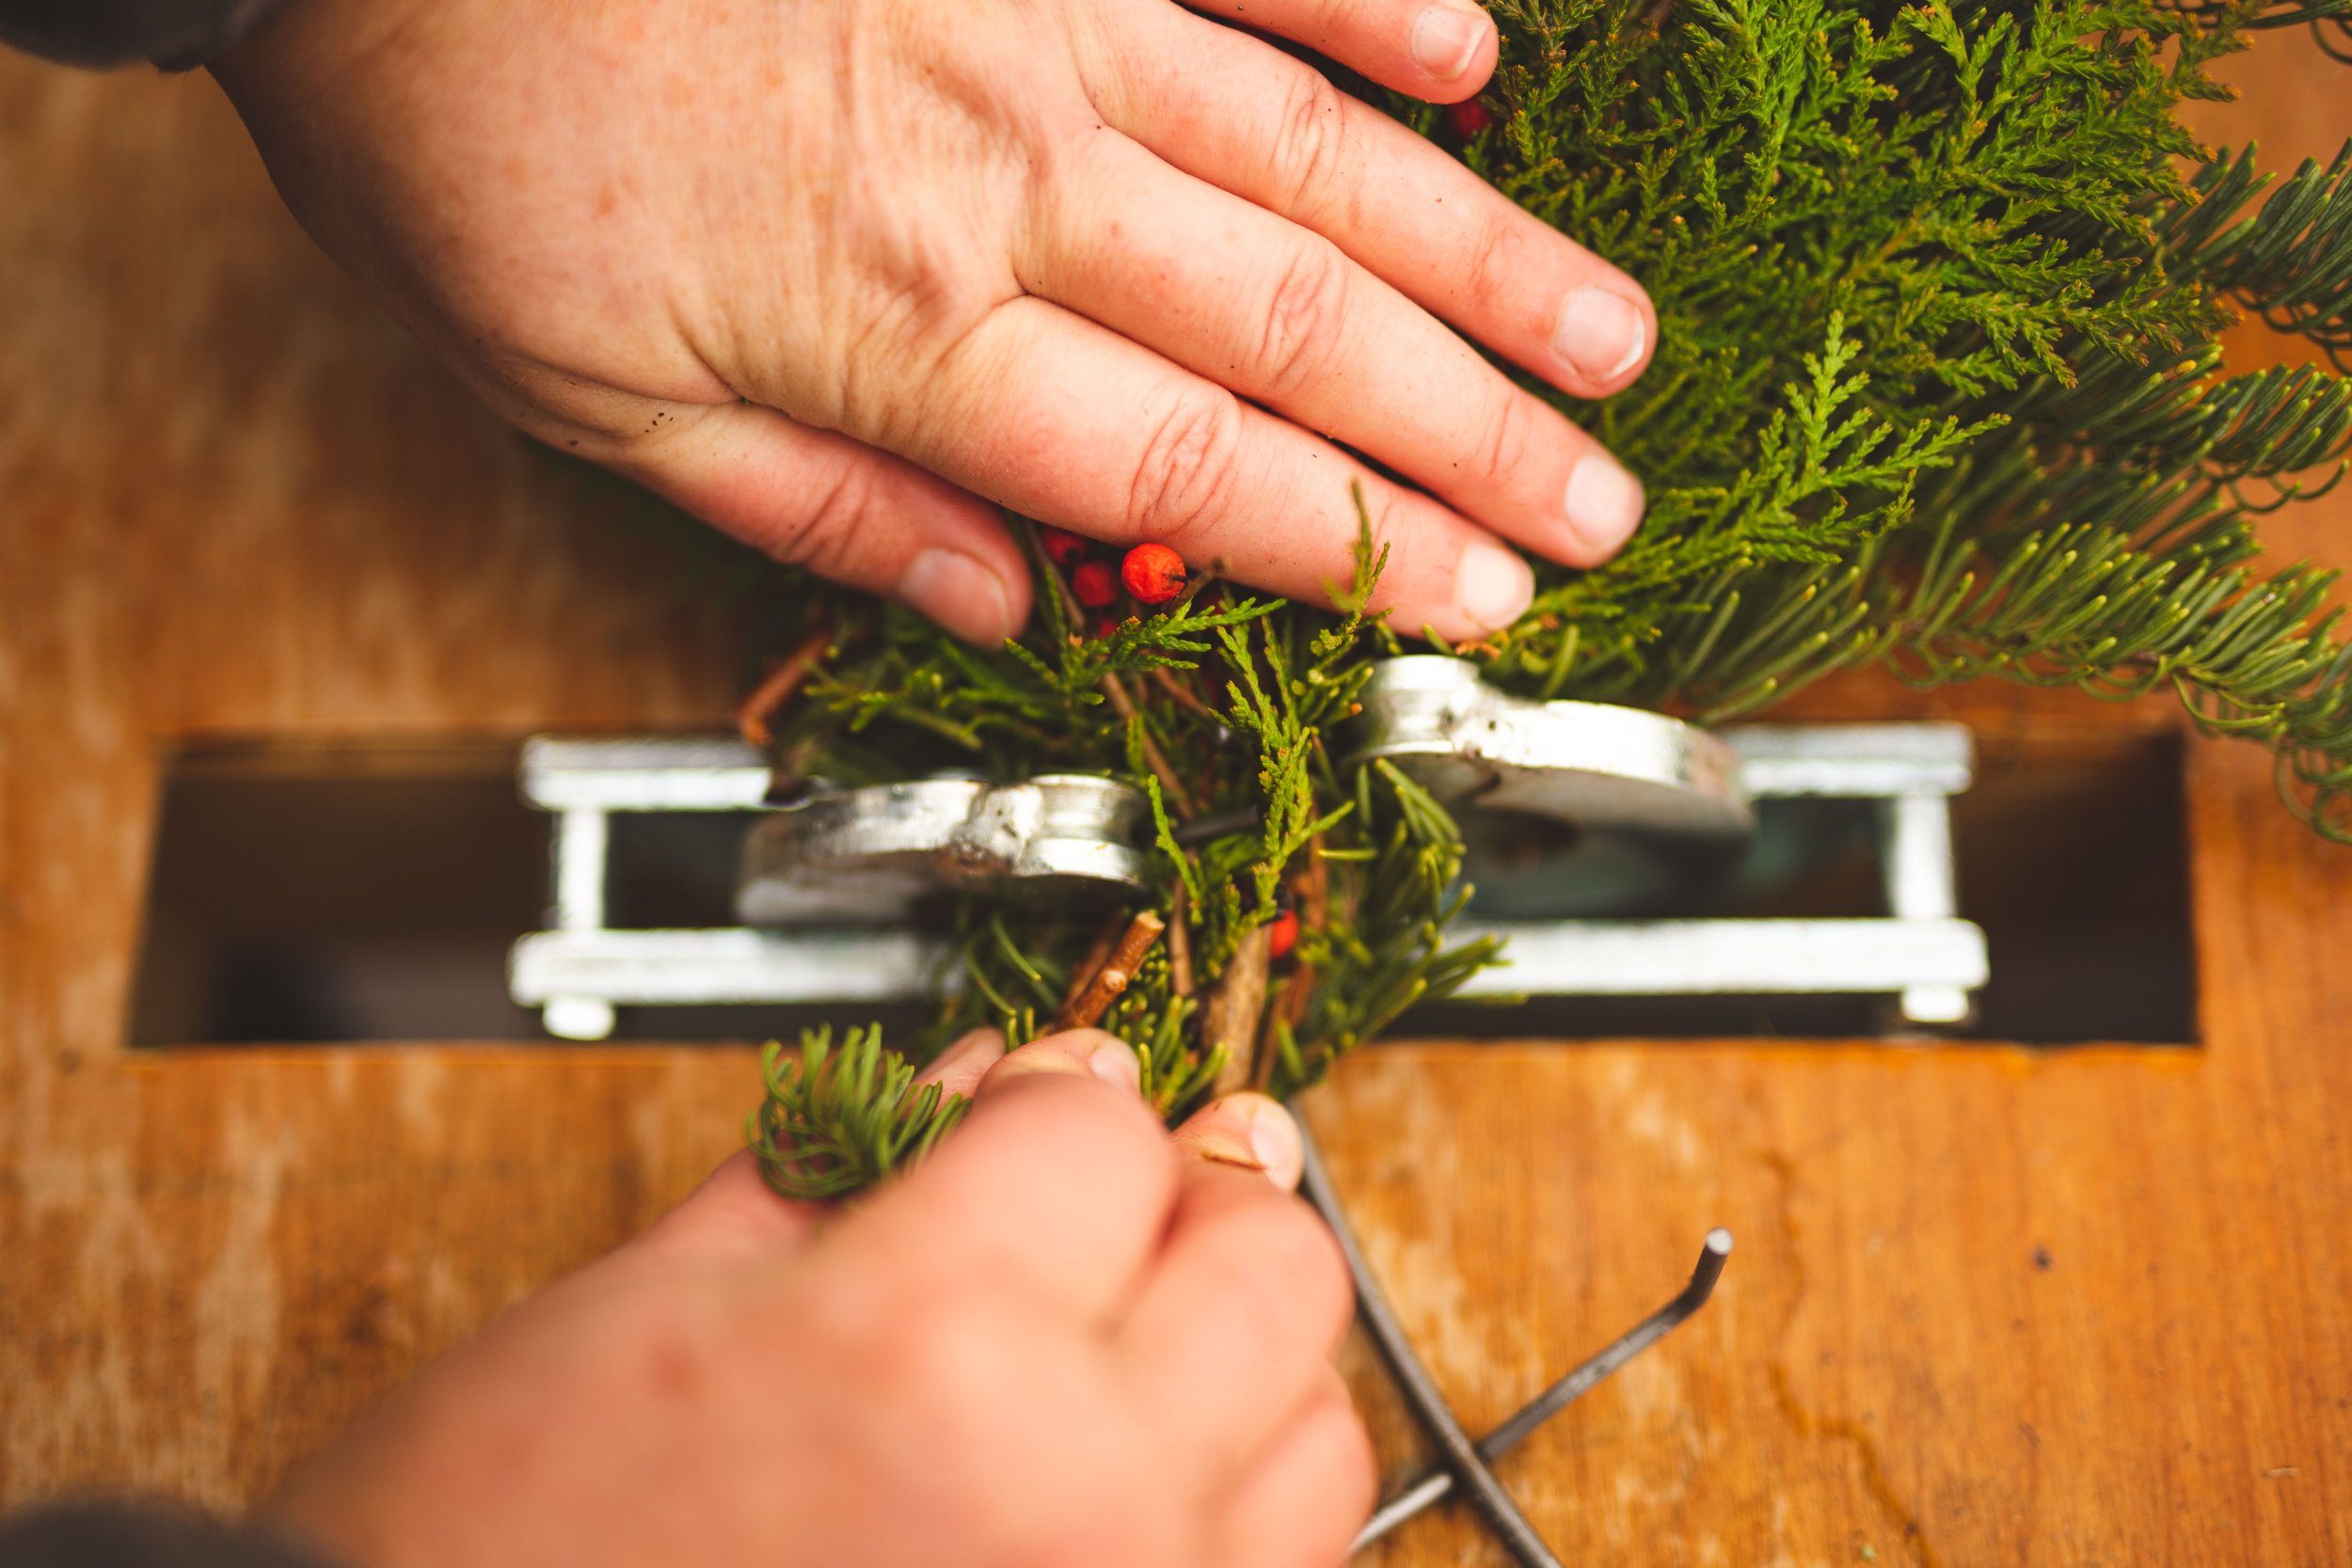
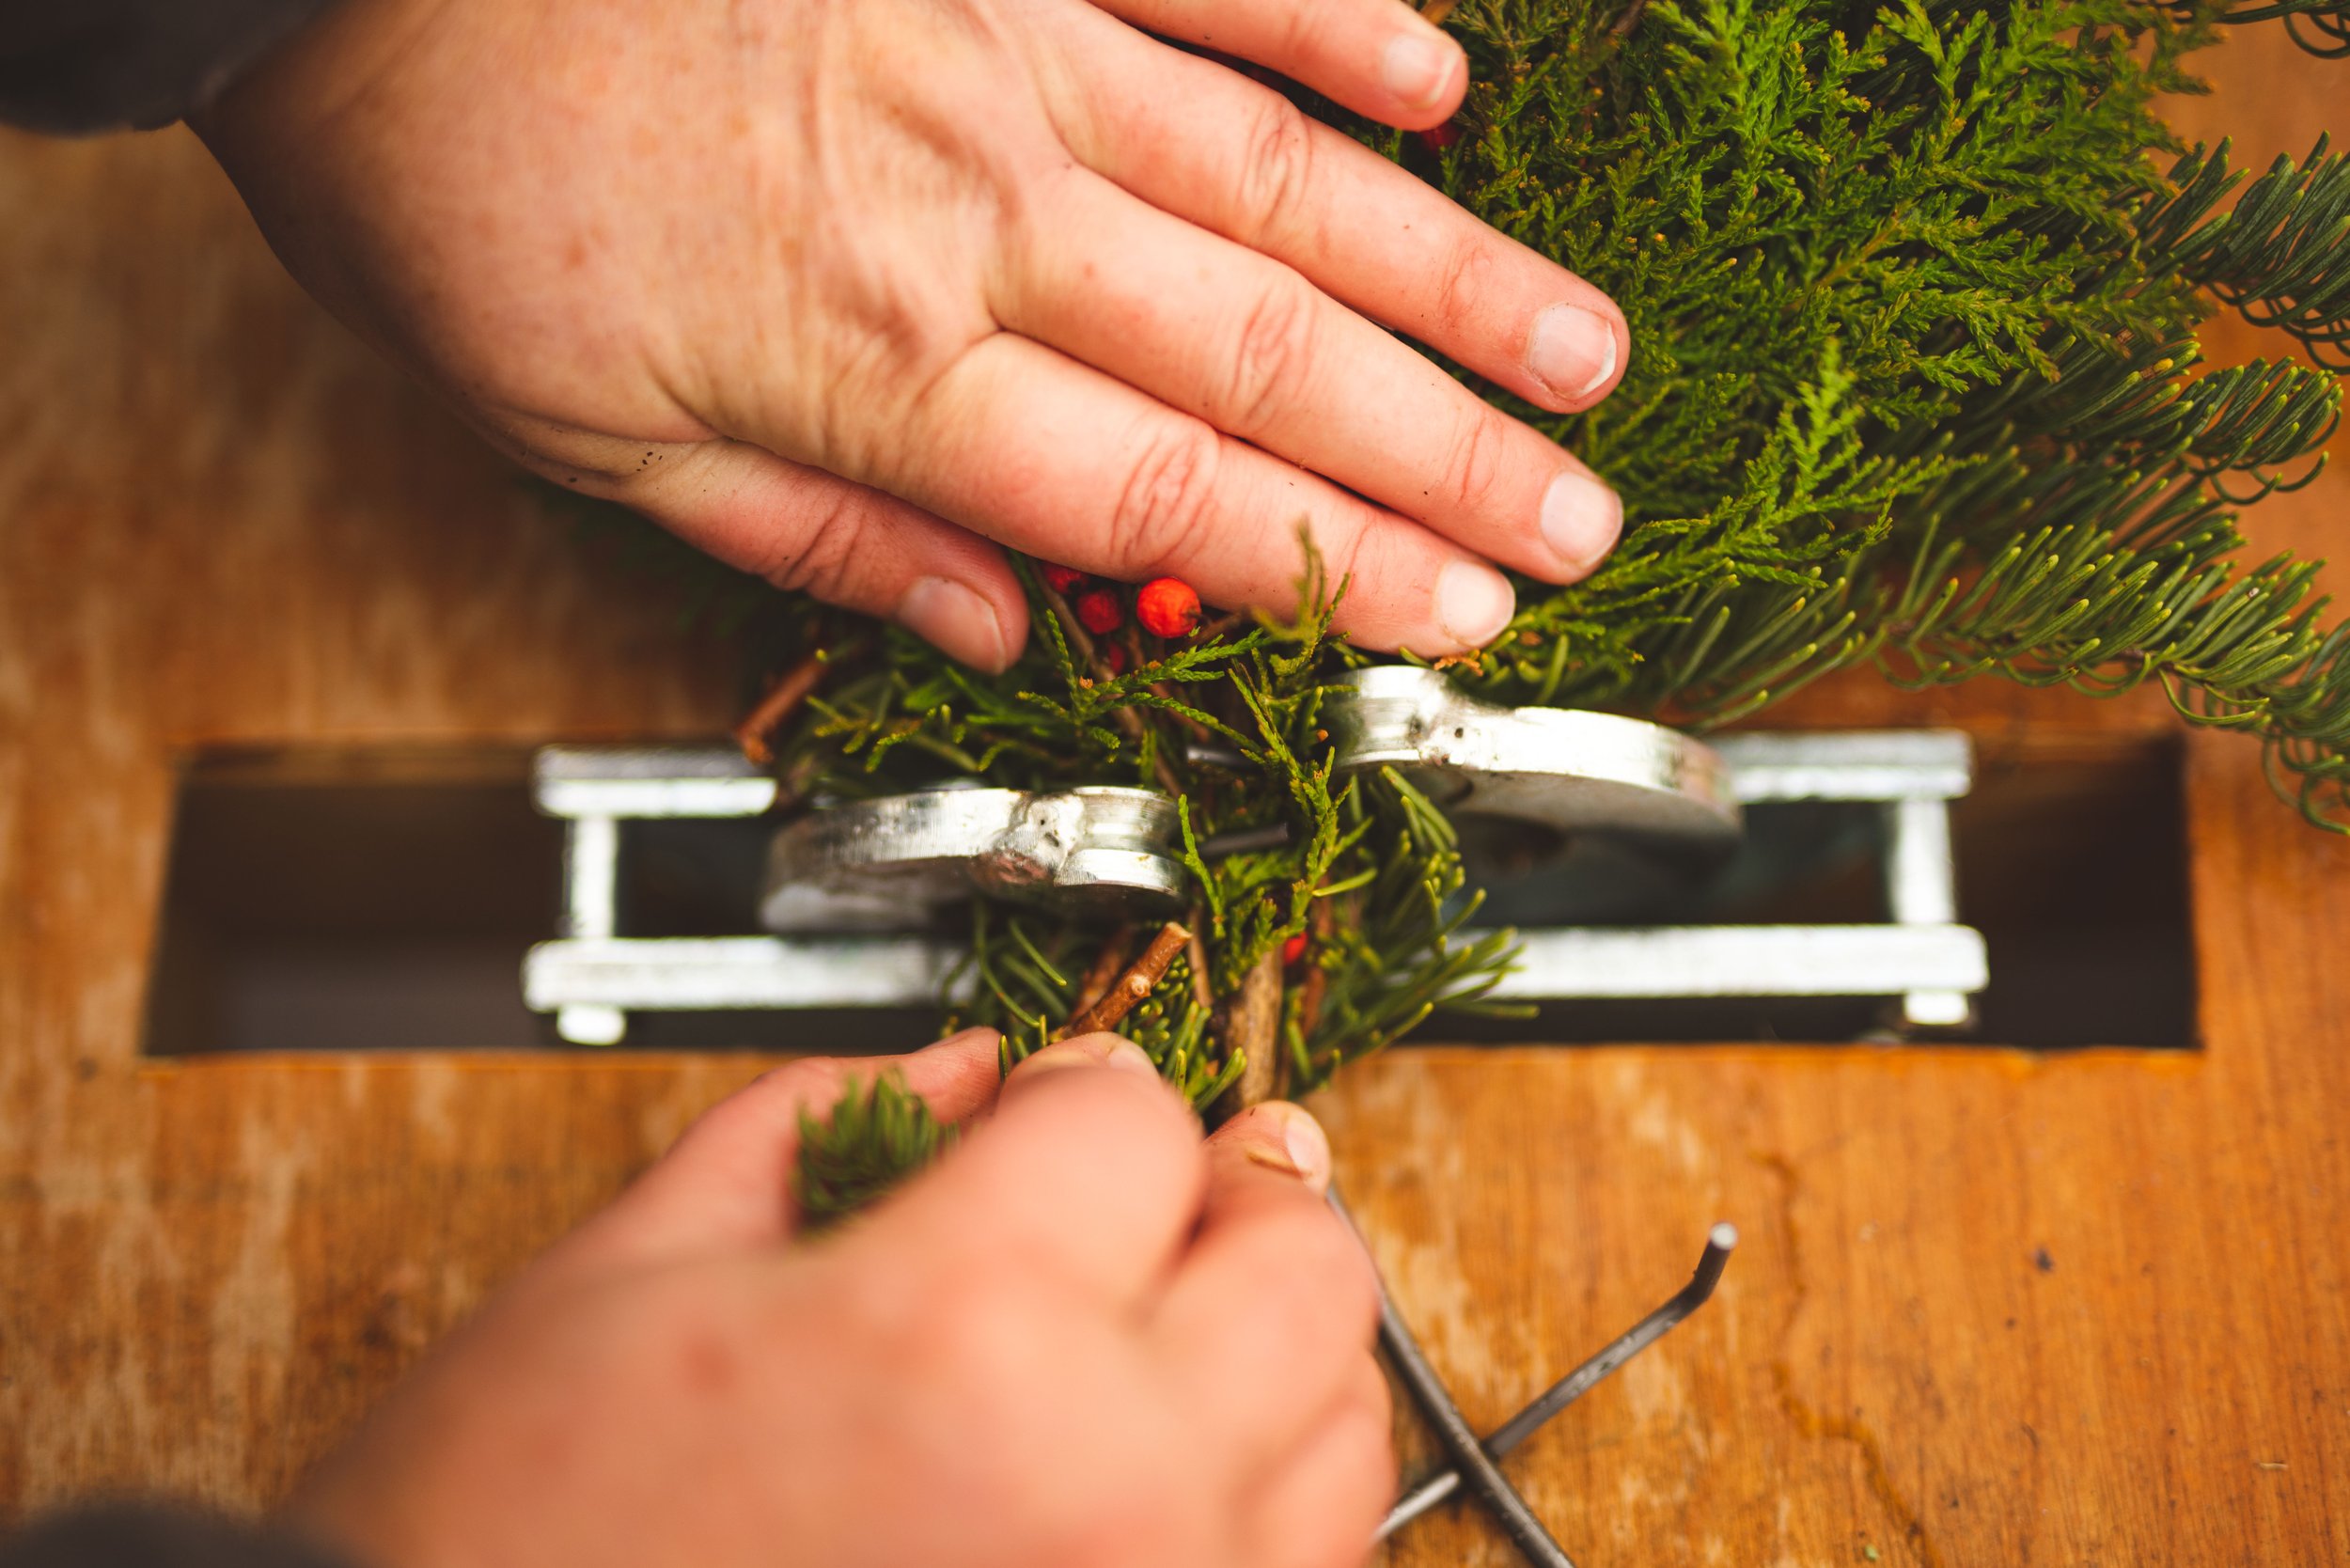

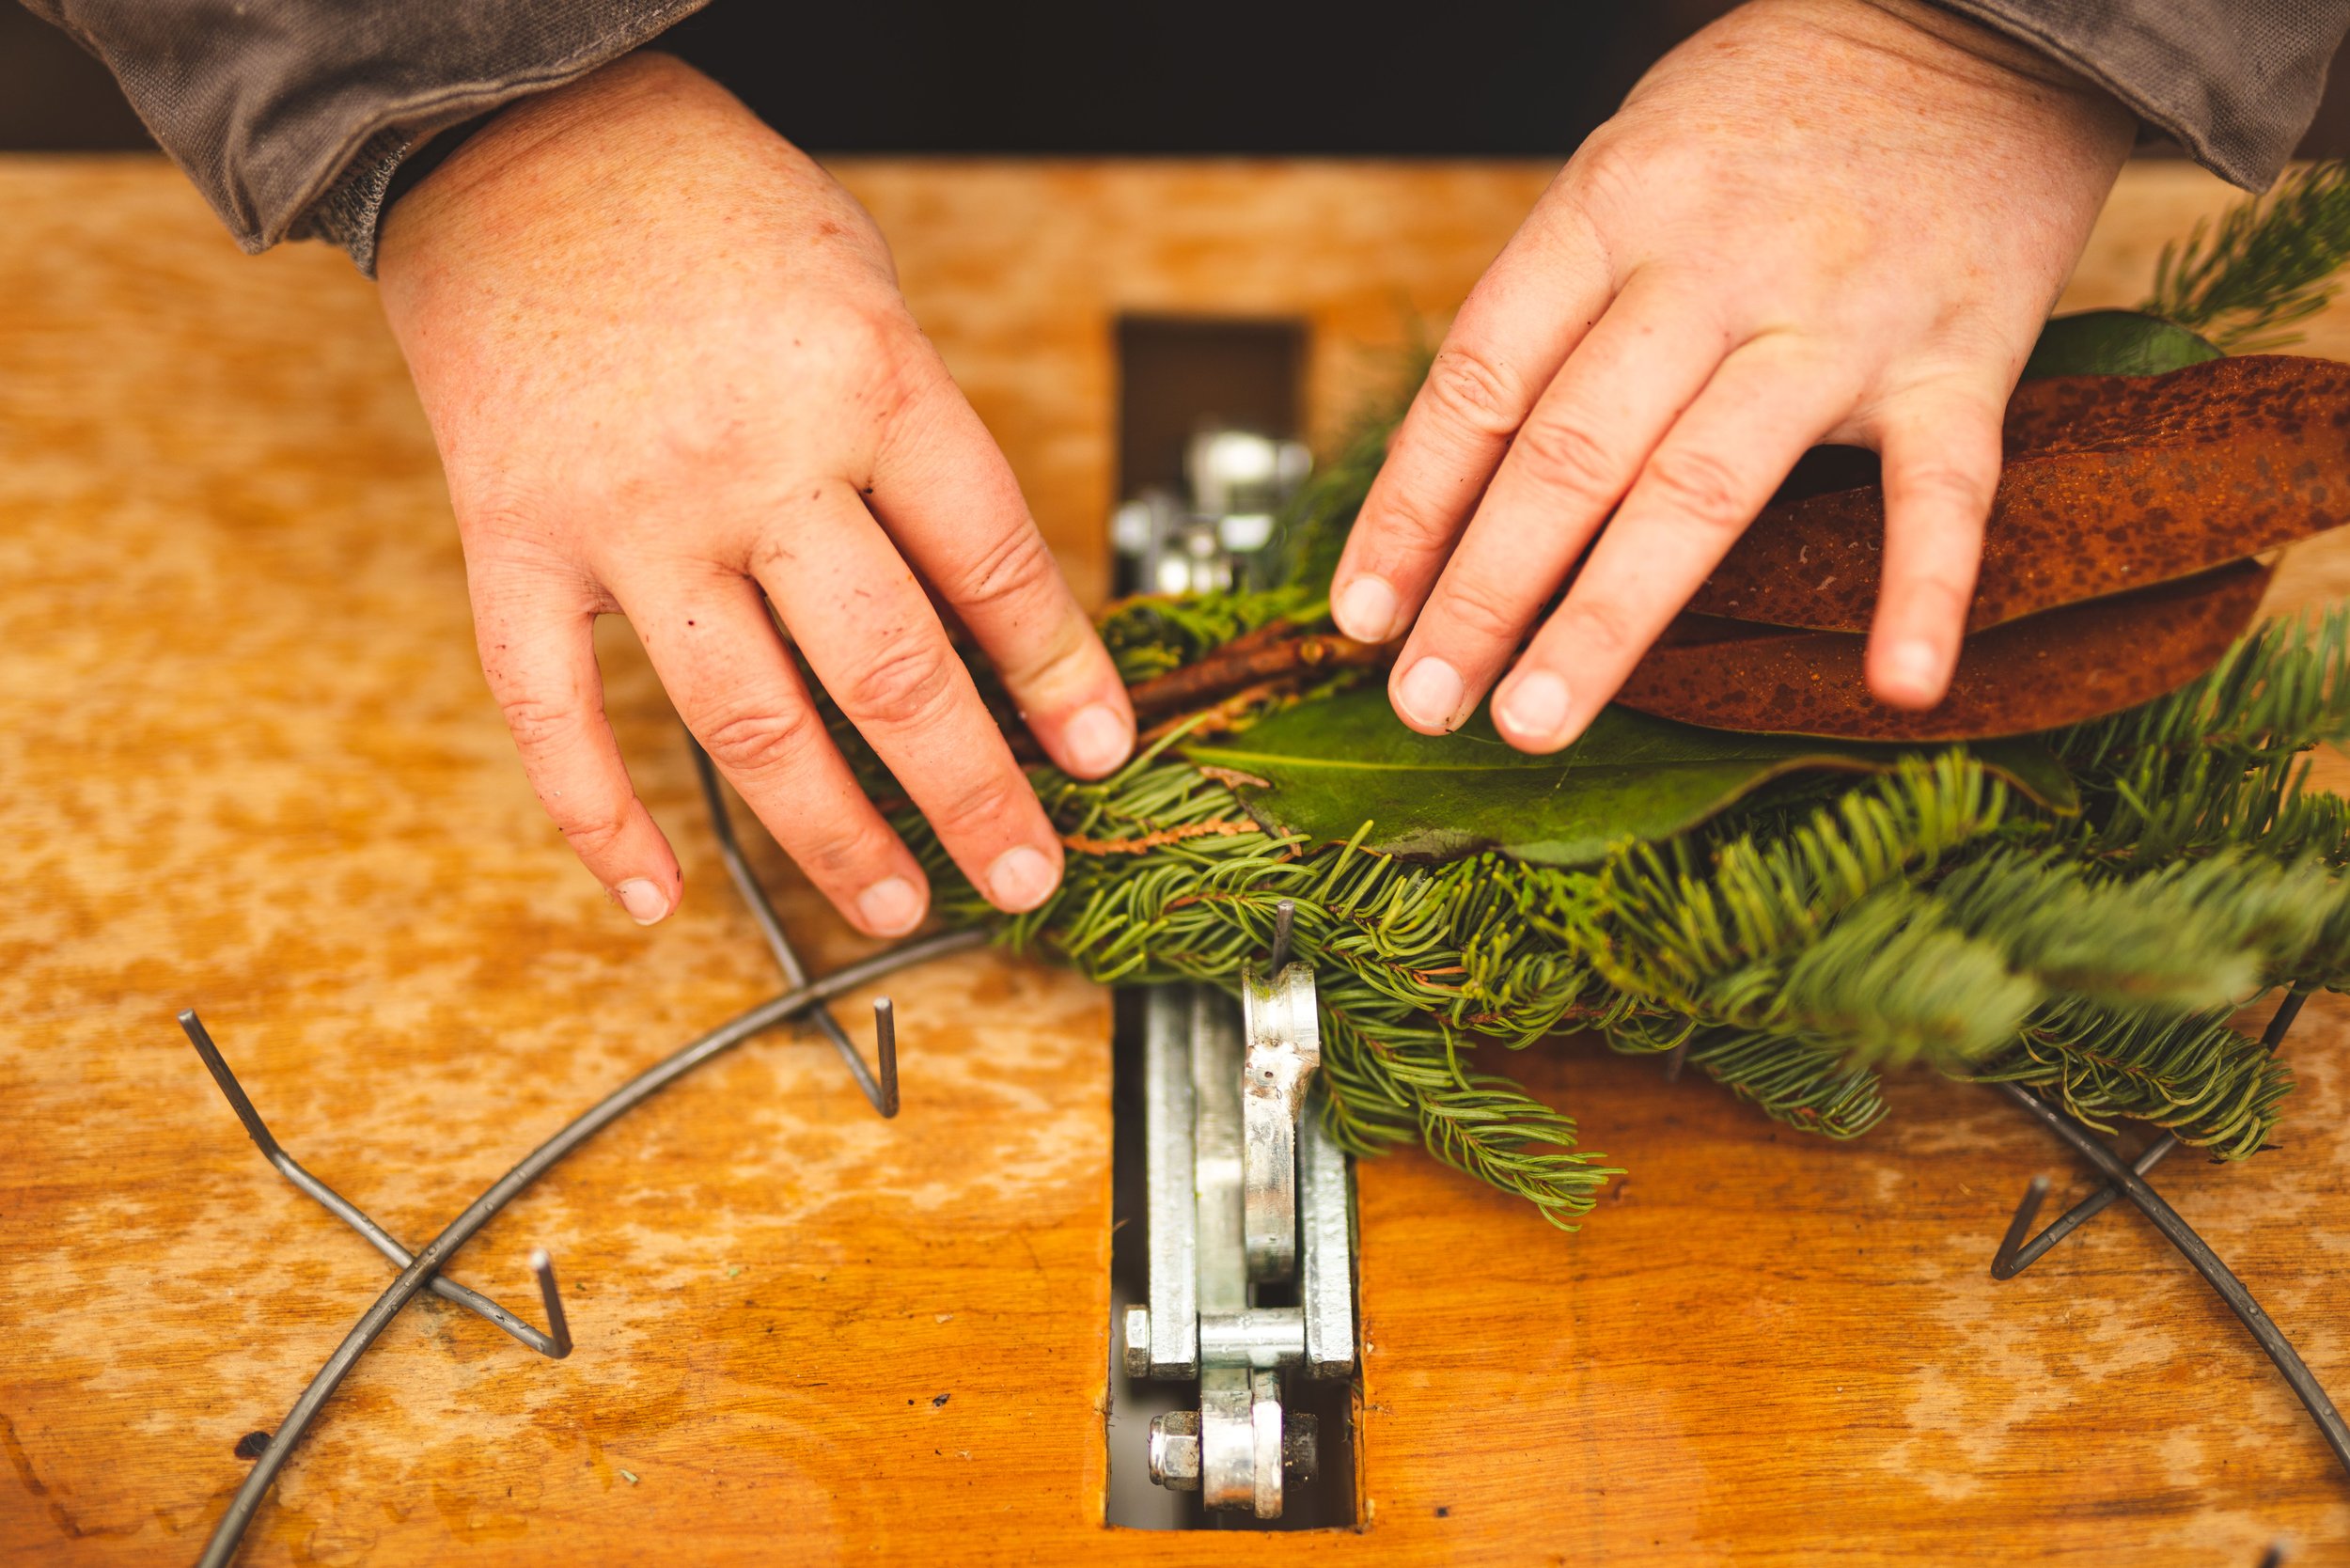
Take your wreath base and align the first prongs into the grooves of the clamping machine. Place your first bunch between the prongs. You want the top tips of your bunch to be halfway in-between prongs, the stems as mentioned to be about a quarter to halfway down in between the next prongs. It doesn’t have to be perfect but about there, if you leave the bottom stems too long you can always cut them after clamping before going to the next bunch to clamp. You will want to clamp about in the middle of you bunch, if not about 2/3 down. Once you position your bunch to your liking, making sure to keep your fingers safely off to the side and that the prongs are still centered into the grooves of the machine, place your foot on the petal and slowly push down to clamp making sure that each branch of the bundle is under the prongs. Then move your ring to the next set of prongs and repeat the process.
Getting the last bunch in is not glamourous. It really comes down to lifting the first bundle you clamped onto the wreath and shoving the last bundle under Make sure you are keeping the components of the first bundle out of the way of the prongs so you don’t clamp them by accident. This is also the part to really watch your fingers since it is the part of the process you are most likely to clamp your fingers since it is more difficult to see. Go slow and take your time.
Once you are done making your wreath, stand it up or hang it on the wall to give it a nice “hair trim.” Check the outer part and the inner part of the wreath. Don’t go crazy, just clean up the wonky pieces that are sticking out too much. This will make your wreath look more professional and complete.
This step is optional but to take the extra step in having the best life out of your wreath, spray it down with Wilt Pruf or if you don’t have that on hand, in a pinch you could use Crowning Glory (though Wilt Pruf is worth the investment). These products have an emulsifier that helps seal in moisture better. You can also lightly mist with plain water.
After giving your wreath a nice trim, add in your accents that need to be wired in. If you want, throw on a bow or we use a piece of fabric just for presentation.
Some additional tips:
In the beginning, you may want to stand your wreath up to inspect for the security of the bunches but as you make the wreaths, you will find you do not need to do this since you will be able to eyeball and know the size of bunches just by the feel.
Go slow and take your time, once you clamp down you can’t undo it.
If you miss some branches in the clamp, just quickly wire them to help better secure, the next bunch will also help hold them down.

Presentation and Care Guide
When presenting the wreaths, we present them with a plain piece of fabric with our business card, thank you note and care guide attached. Most customers have their wreath hook so the cloth is easily removed if they decide to take it off but it is also there in case a customer does like it. For our presentation, I find a clean simple look to be our preference. Wreaths are already one of our more expensive products to make, adding bows would increase cost and hike up our price point so we leave it to our customers if they choose to add their own bows.
In our care guide we give some basic tips and warnings. We also have the same care guide listed on the product description where they purchase online. Wreaths are a natural product, when they dry out they do shed and if they choose a wreath with holly or juniper berries, they eventually shrivel and drop. This doesn’t seem to be too much of a problem to our customers, most are realistic and understand the natural progression of a fresh wreath. I recommend always supplying a small care guide. Customers can do some strange things and we even had a customer once think the way to hydrate their wreath was to submerge it in a tub of water. Well, it ruined her wreath… and it was a hand-wired one (oops). So care guides for the win!
Since supporting small businesses is a big deal to our customers, we also began telling the amount of small businesses they supported by purchasing our product, which we felt was a nice little touch.

Holiday Wreath Care Guide
THANK YOU for supporting our flower farm with the purchase of a locally made wreath! We are excited to be apart of your holiday season!
Here are a few tips to get the best life out of your Holiday Wreath:
- Keep in a cool, wind protected location out of direct sunlight
- Lightly mist with water at least once a week, or more if you notice drying
- Note that berries and needles may shed, with that said we have had customer very happy with their wreaths leaving them hung on the door all winter long!
- Enjoy!
We hope that you enjoyed this blog and that it boosts your confidence if you are on the fence about taking your wreath making to the next level! If you haven’t already, be sure to check out our video where we walk you through the Mitchell No Hammer Clamp Machine and how to make a wreath with it, see below!
Until next time…
We are looking forward to helping you hand blooms soon! Happy Holidays! Jessica & Graham
See us in action making a wreath!
If you like our video, please subscribe to our YouTube Channel and hit the notification bell! It helps us so much so we can continue bringing you fresh content!