French Radish
Nothing screams spring more than radishes fresh from the garden! One of the first crops ready for us early in the season but is also one of the most versatile while being kid friendly.
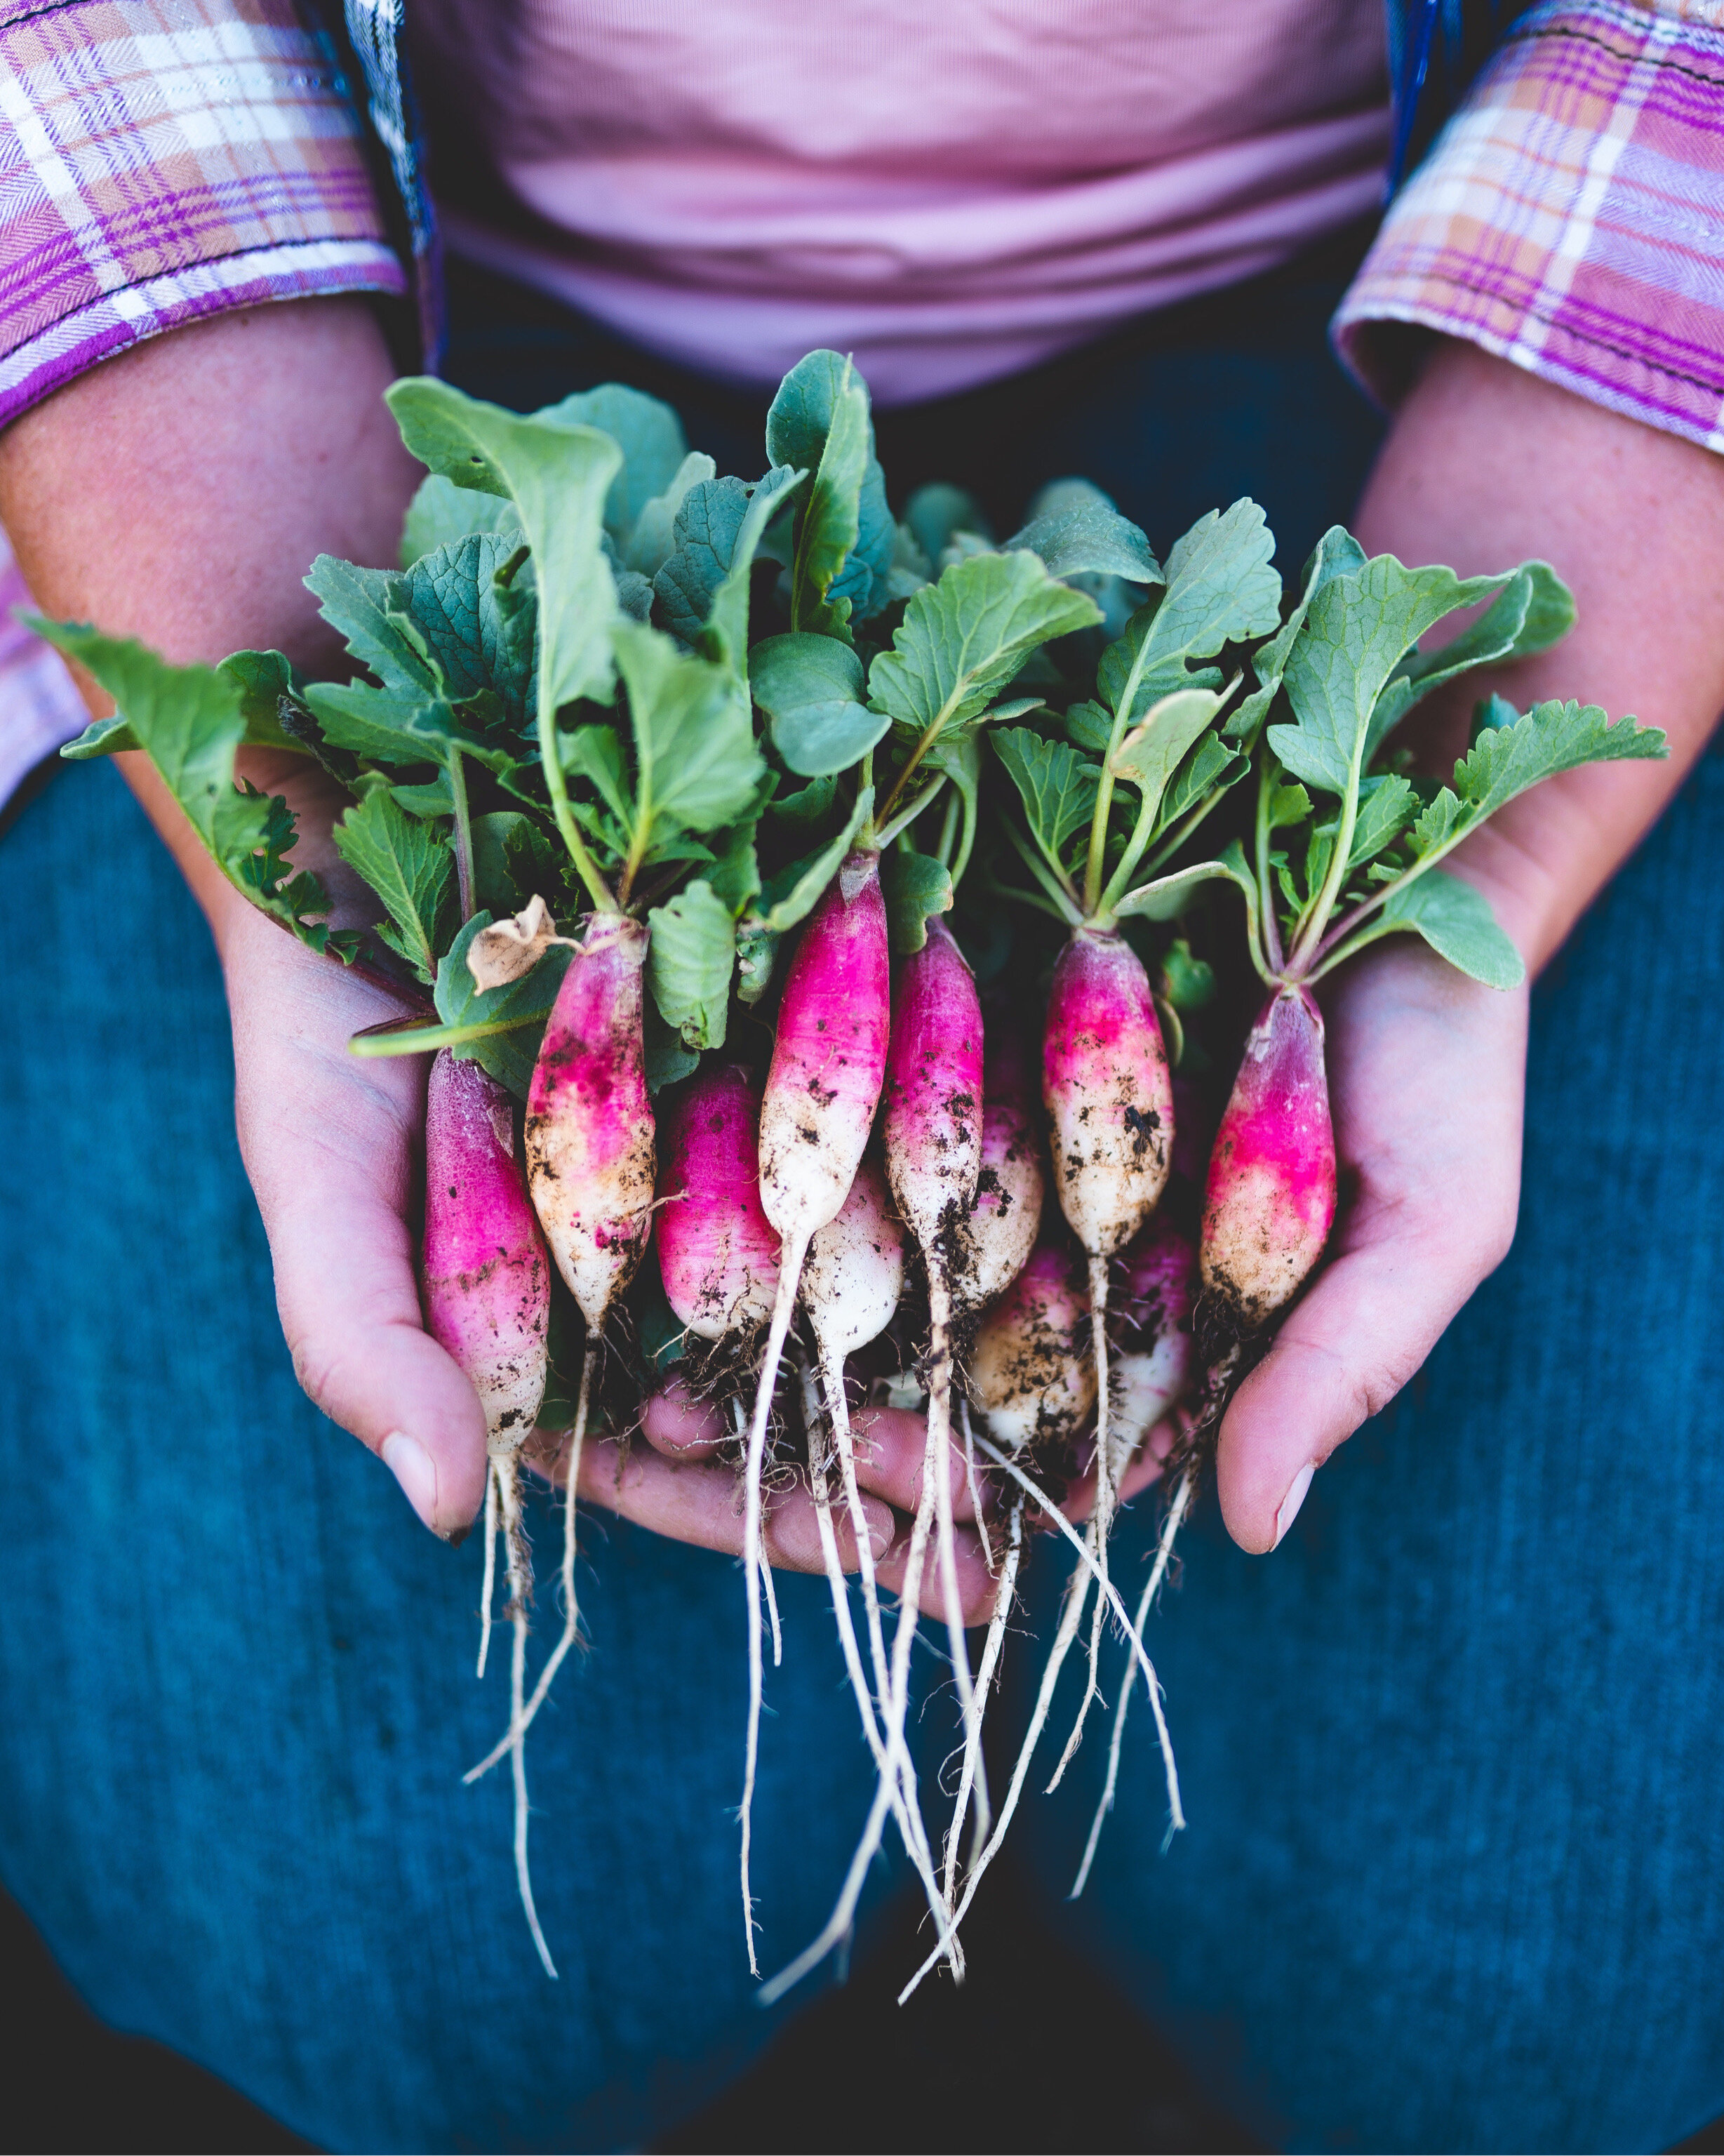
Radishes are actually related to broccoli being in the brassica family but it’s not the leaves that usually gets us excited about this crop (though the leaves are completely edible too!). Radishes come in all shapes, sizes and colors but today we want to focus in on the French Breakfast Radish.
French Breakfast Radishes plucked straight from the field is a whole new flavorful experience than snagging some from the grocery store. The flesh is crisp with water bursting in your mouth. This particular variety of radish is also more mild than many of the later varieties but is also a true spring crop for the locally grown producer. When grown too late into the season, once the heat begins to settle, the radishes become pithy and less enjoyable. Planting them at the right part of the season along with harvesting at their prime these radishes are delightful!
French Radishes actually got their name from folks eating them while attending the morning markets. A pinch of salt is a common way to eat these guys! To learn more about the French Radish’s history check out this article here.
Radishes are a low calorie food that has good amount of immune boosting vitamins and antioxidants such as Vitamin C. To get even more of those awesome benefits, buying from a locally grown producer is the way to go since storage depletes those antioxidants. Radishes have been known to help with diabetes, heart disorders, respiratory disorders but mainly radishes are known for helping with digestion with them being fiber rich but even more they help with the manufacturing of bile which sounds gross but is much needed! You can read more of the health benefits of radishes here. This was a quick article that I found more useful but there are plenty others that get more technical as well!
French breakfast radishes can be dressed down or fancied up. My girls love having tea time with radish tea sandwiches, which makes this vegetable even more enchanting! A vaseful of sweet peas sitting atop the table with pinkies up will sure to create a simple yet memorable afternoon tea! Your favorite bread, French breakfast radishes sliced thin with a touch of butter is all you need but bonus points for cutting the sandwiches out with cute cookie cutters to add to the whimsy. Make it a fancier version for an adult having them atop a rustic slice of bread with avocado and micro greens to accompany the radishes for a tasty and energy dense meal that’s perfect for the on-the-go individual!
These radishes are also wonderful featured in salads and even roasted!
The recipe we chose today is only one step harder than just slicing them and throwing them in a salad! Preparing the radishes this way is easy and they can be used in almost any dish from atop poached eggs and prosciutto for an elegant brunch or even alone as a side dish! You can get creative by incorporating chives or edible flowers that will be sure to delight.
Buttered French Breakfast Radish
Ingredients:
French Breakfast Radishes (amount desired but for recipe purposes we will say 1 bunch)
1 Tablespoon of quality butter (we love the Irish cream!)
Pinch of salt, if using unsalted butter
Optional: thyme, chives or other desired fresh herb
How to:
Wash the radishes and cut the tops off. Cut the radishes into long quarters. Set aside.
Melt your butter on medium heat. Optional: If using herbs, go ahead and add them now to allow them to fuse into the flavor of the butter. Cook herbs for about two minutes.
Once butter is melted, add quartered radishes. Cook them for five to seven minutes, until radishes are tender. Cook them a little shorter to have them more crunchy and a little longer if you are looking to have them more tender.
Taste and adjust seasonings as desired.
Serve radishes immediately over poached eggs and toast or as a side dish to accompany any meal.
Sit back and feel like a culinary master… over a dish that took less than ten minutes!
How to best store your radishes
If you are planning on eating your radishes within the week get Pinterest-y and tuck them in a wide mouthed mason jar with about an inch or two of water at the bottom.
If you are looking to store your radishes longer, this next method will give you an extra week of storage. Cut the greens from the radish. Moisten a paper towel and tuck it at the bottom of the provided bag then add back the radishes. Close the bag.
Using all parts of the radish
Radish greens and radish flowers are also edible!
If you are not looking to give the greens to your chickens or add to your compost the radish greens have a lot of health benefits giving their fellow members of the brassica family a run for their money. Step aside kale! The radish greens do have little prickly hairs so maybe not something to throw in your salad. Instead, turn it into delicious pesto!
Pesto is one of those magical sauces that makes everything more delicious from grilled meats to French fries to a tasty dip for carrots! Seriously… when in doubt, pesto!
Ready for how easy this is?
Radish Greens pesto
Ingredients:
Radish greens (thoroughly washed) about three to four cups (if you don’t have enough radish greens or want something with a more mild flavor substitute or mix with arugula or basil.)
1/3 Cup Cold pressed extra virgin olive oil (has more health benefits!)
1-2 garlic cloves (but you can add more if you’re looking to repel some vampires!)
Juice of a half of lemon (Meyer if they’re in season, they are worth it promise!)
1/4 Cup Nuts or seeds of your choice: pine nuts, almonds, pistachios, walnuts or sunflower seeds… honestly I just use what I have around!
Sea salt or kosher salt to taste
Optional: Parmesan cheese and a pinch of red pepper flakes
How to:
Toss all the ingredients into a blender or food processor. Blend/pulse until all the ingredients are nicely chopped up. If looking too thick, add more olive oil.
Place Radish green pesto into a mason jar, cover the top of the pest with a layer of olive oil to keep its beautiful green color.
Now sit back and once again feel like a culinary rockstar with minimal effort.
This is a basic pesto recipe where the greens can easily be switched up, have fun with it! The pesto will store in the fridge for about two weeks (if it lasts that long!)
Hopefully this post gives you a fresh way to look at French Breakfast Radishes and inspires you to get in the kitchen and create!

Here’s to happy and healthy eating!
Until next time!
Jessica & Graham