
How to Buy, Pre-Soak, and Prepare Anemone and Ranunculus Corms for Planting
The winter rains bring their own joys—like jumping in mud puddles with my girls—but as a flower farmer, my thoughts are often ahead, looking toward spring. Flower farming means living between seasons: caring for today’s tasks while planning for what’s to come.
This season, after weeks of revisiting last year’s growing notes and finalizing my succession planting plans, it feels incredible to start putting those plans into action. While our greenhouse (still the same humble one, now with better shelves!) fills with seed trays, some crops don’t need its protection—like ranunculus and anemones.
Ranunculus and anemones are some of the most rewarding flowers to grow. They require a bit of effort upfront, but once they start blooming, they’re unstoppable. These elegant blooms are a staple for any grower aiming to offer premium flowers, especially for weddings and events. It all begins with pre-soaking their corms—a simple but critical step to ensure a healthy, abundant crop.
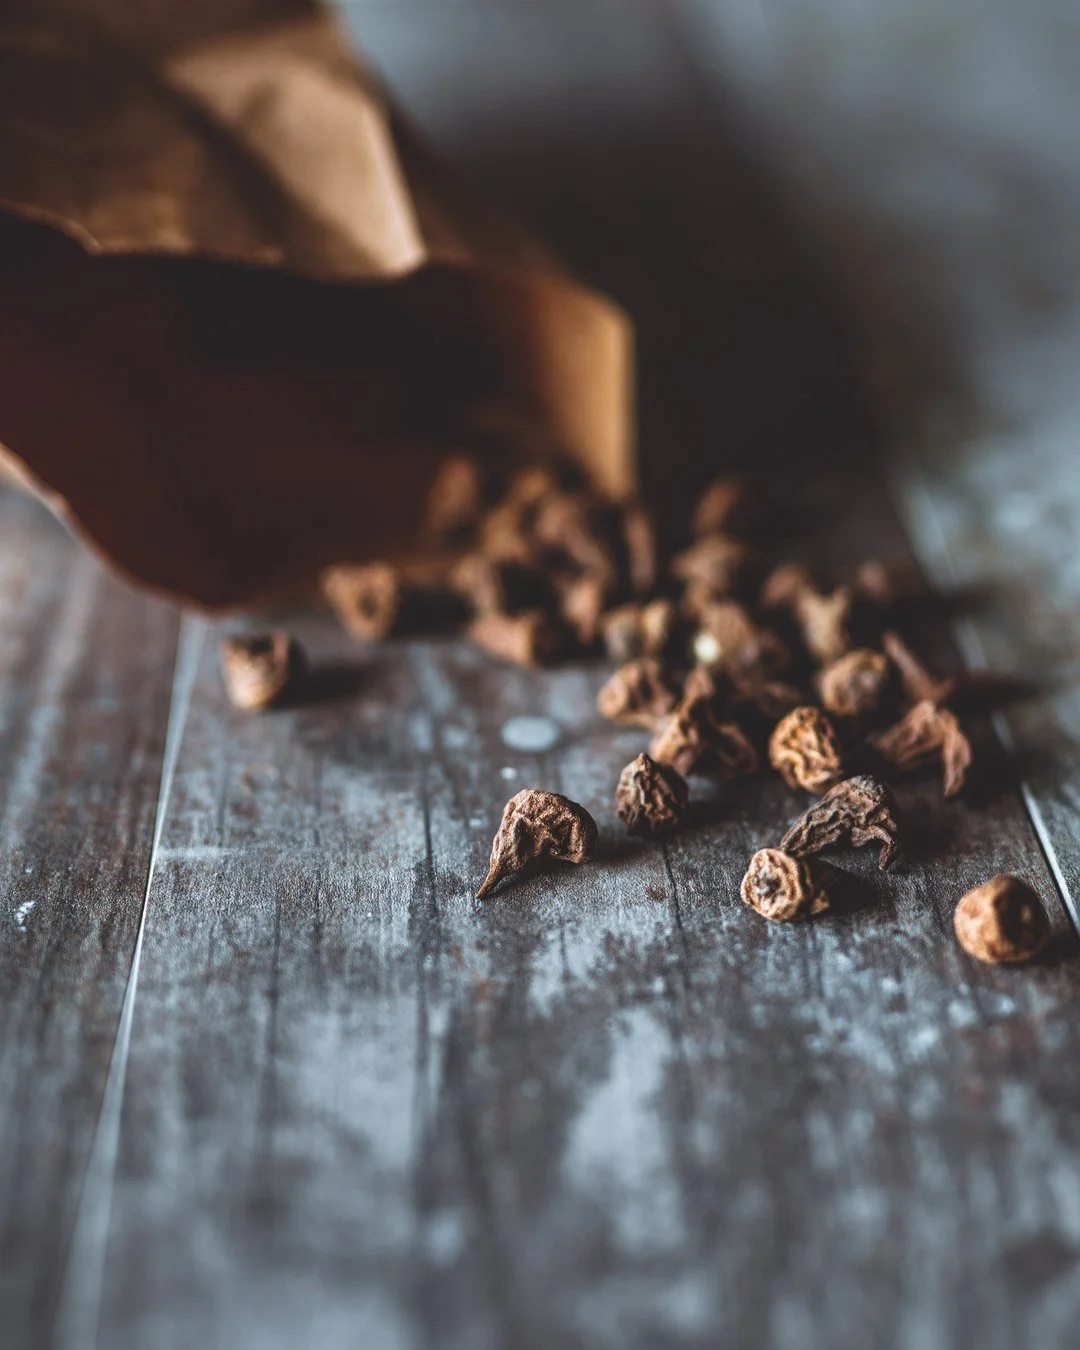
Anemone corms, ready to be soaked and planted for spring blooms.
Ordering Ranunculus & Anemone Corms
Investing in high-quality corms is a game-changer, but it’s not a magic solution. Success with ranunculus and anemones starts with careful planning and dedication. These luxury flowers demand a higher upfront cost, but their stunning blooms—and the premium price they command—make it worth the effort.
Whether you’re growing for weddings, florists, or high-end events, quality blooms begin with quality corms. Higher-quality corms yield healthier plants, larger flower heads, and a more productive harvest. These flowers thrive in controlled environments, like high or low tunnels, making them an excellent choice for growers willing to put in the extra work.
Benefits of Buying from a Reputable Wholesaler
Superior Quality: Healthy corms produce healthier plants, resulting in larger, more impressive blooms.
Unique Varieties: Access exclusive and exciting varieties not typically available through retail sellers.
Cost Efficiency: Wholesale pricing is often more affordable than retail, especially for larger orders.
Expert Support: Build a relationship with knowledgeable wholesale reps who can provide valuable guidance.
Reduced Risk of Disease: Wholesalers prioritize disease-free corms, giving you a better start.
Easier to Work With: Fresh corms are simpler to handle compared to older, saved ones.
When to Order Ranunculus & Anemone Corms
To secure the best varieties, plan to order corms in spring, ideally by June. Ordering early ensures access to trendy or hard-to-find colors and varieties, while late orders may leave you with fewer options.
Most wholesalers won’t require payment until the corms ship, which usually happens in late September or early October—perfect timing to prepare for planting season.
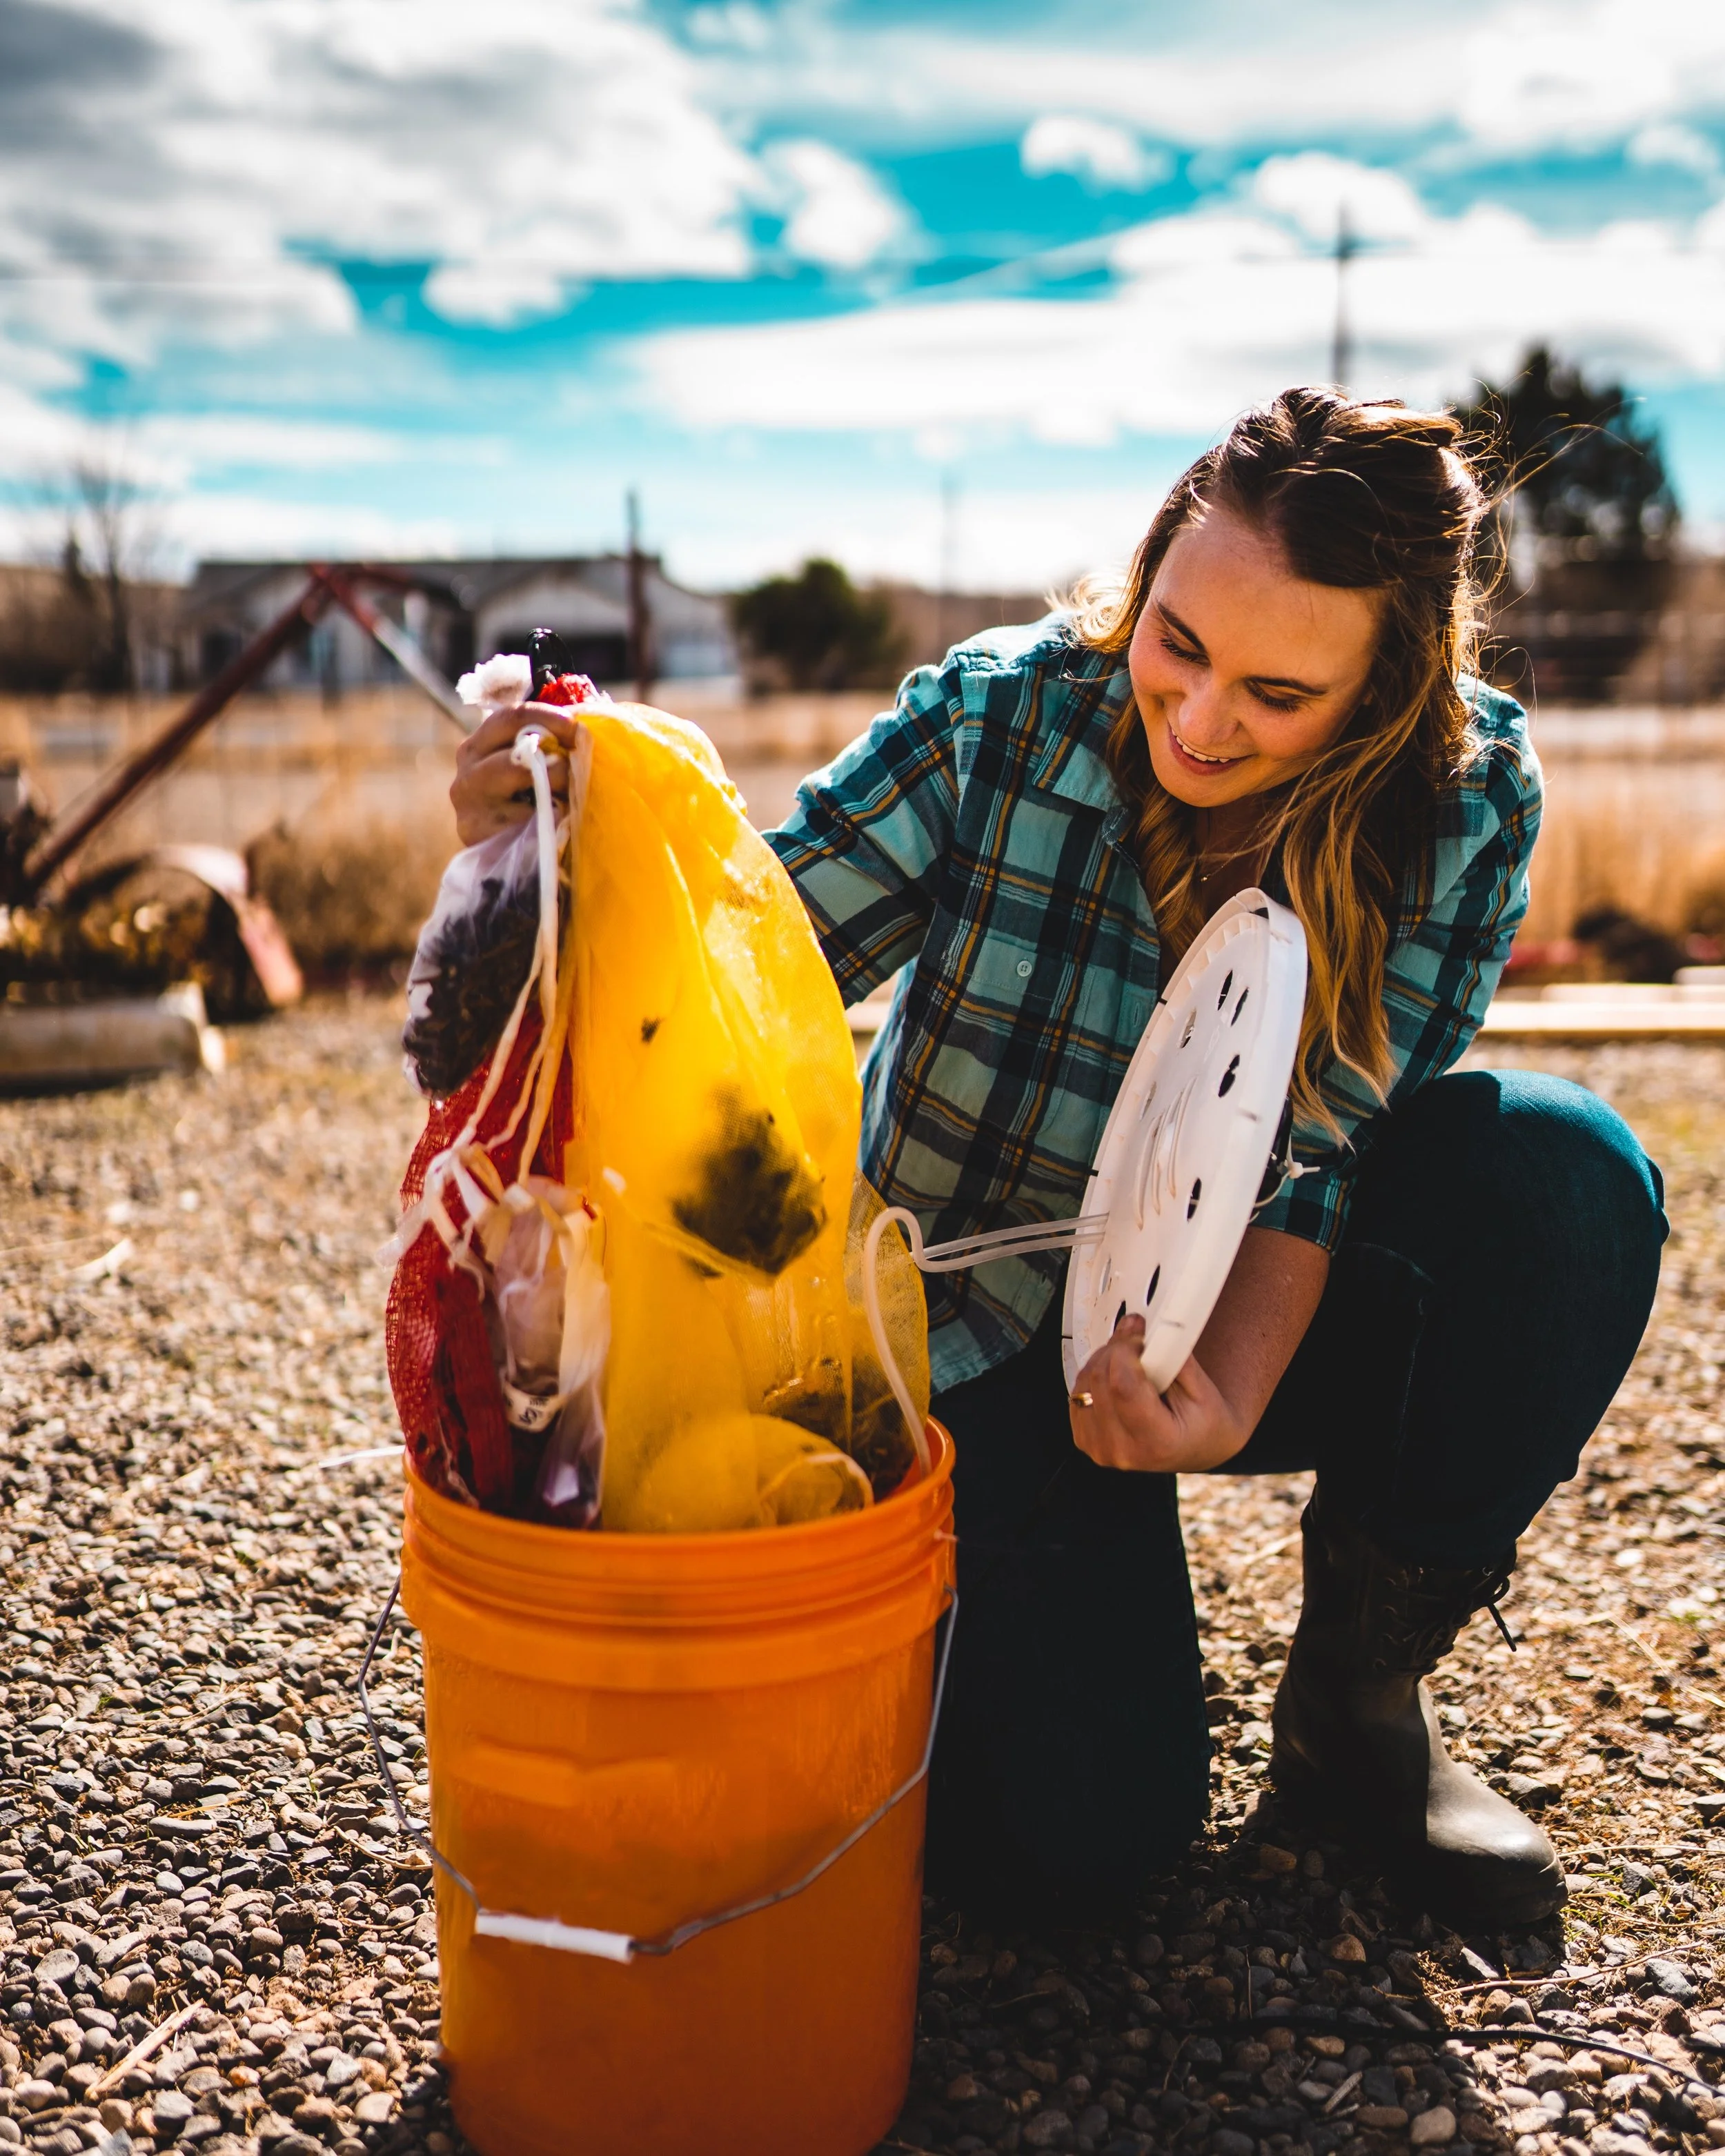
Setting up for corm soaking using a DIY system that doubles as a compost tea maker.
When to Soak Ranunculus & Anemone Corms
The timing for soaking ranunculus and anemone corms depends on your climate and growing setup.
Zones 8 and Above: Soak and plant corms in the fall for winter blooms.
Zones 7 and Below: Use season extension methods (e.g., high tunnels, low tunnels, or double tunnels) to protect corms from freezing. Soak your first succession in fall or winter, depending on your setup.
For most cooler climates, soaking begins in winter. In our zone, we soak corms in January and plant them out in February. A second succession follows about four weeks later to extend the harvest window into early summer.
Corms typically take 90 days from soaking to blooming, and each planting provides about three weeks of prime flowers. Staggered plantings prevent issues like smaller blooms or increased pests and disease caused by overextending a single succession.
Want to dive deeper into timing your planting? Read our blog When to Plant: Frost Dates, Soil Temps, and Timing for Flower Farmers for more guidance.
Want to learn more about staggered plantings? Check out our blog A Simple Guide to Succession Planting for Cut Flowers for tips on timing and maximizing your harvests.
Pre-Soaking Overview
When your corms arrive—whether fresh from a wholesaler or rescued from a clearance shelf—they likely won’t look impressive. Ranunculus corms resemble dried calamari, while anemones might look like shriveled bits of bark. Their dried appearance is intentional, keeping them dormant and preventing rot during storage.
To bring these dormant corms to life, you’ll need to rehydrate them through pre-soaking—a simple yet critical step that sets the stage for a successful crop.

Organizing corms by variety with labeled mesh bags for an efficient soaking process.
Equipment Checklist for Pre-Soaking Corms
Here’s what you’ll need to pre-soak ranunculus and anemone corms:
High-Quality Corms: Healthy, large corms yield the best blooms.
Mesh Bags: Keep varieties organized. Use craft store bags, repurpose packaging, or make your own.
Water-Proof Plant Tags: Write variety names and dates with pencil for durability.
Bucket: Use a clean, sanitized bucket large enough to hold the corms as they expand (e.g., 5-gallon size).
Water: Room temperature or cool is ideal. Avoid hot water.
Pro Tip: Before soaking, label your varieties, organize them in mesh bags, and set up your workspace. A little preparation makes the process smooth and stress-free!
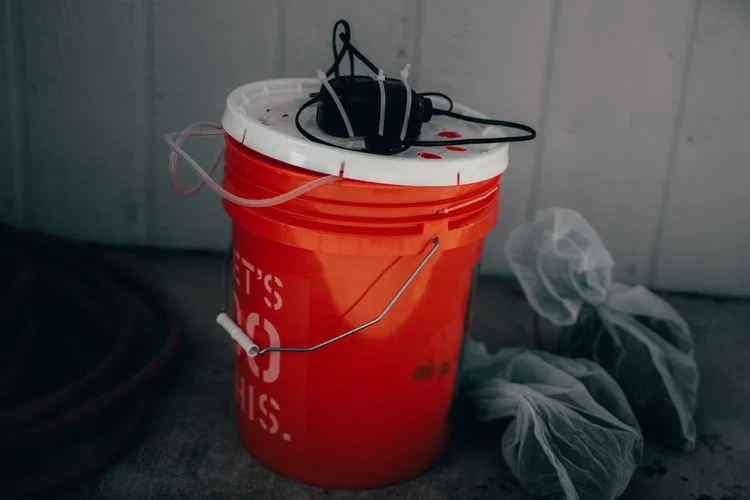
A simple DIY corm soaking bucket ensures proper oxygenation for healthier plants.
How to Pre-Soak Ranunculus & Anemone Corms
The success of your pre-soaking process depends on three factors: water temperature, soaking time, and your soaking method.
1: Water Temperature
Use room temperature or cool water to soak your corms. Avoid warm or hot water, as this creates an ideal environment for harmful bacteria and fungi.
2: Soaking Time
Corms need about 3–4 hours to rehydrate fully. Over-soaking can lead to rot, while under-soaking may not wake them up properly. Keep an eye on the clock for best results!
3: Soaking Method
Proper oxygenation during soaking is critical to suppress harmful anaerobic bacteria and fungi while promoting healthy root growth. There are two common methods:
Running Tap Water: Place your bucket under a faucet with a slight trickle to flush out old water and introduce fresh oxygen. While simple, this method is wasteful and less effective.
Aerated Water: Use an aquarium pump to add oxygen directly to the soaking water. This inexpensive solution minimizes rot and ensures even rehydration.
Want to build your own DIY corm soaking system? Check out our step-by-step tutorial here for a cost-effective and efficient setup!
Pro Tip: To further protect your corms, consider adding a fungicide to the soaking water during the final 30 minutes.
Avoid These Common Soaking Mistakes
To set your corms up for success, steer clear of these pitfalls:
Over-Soaking: Letting corms sit for more than 4 hours can lead to rot.
Using Hot Water: Warm or hot water encourages harmful bacteria and fungi. Stick to cool or room-temperature water.
Skipping Oxygenation: Simply soaking corms in stagnant water increases the risk of disease. Choose a method that introduces fresh oxygen.
Neglecting Labels: Failing to label varieties can create confusion later, especially if you’re planting multiple successions.
Dirty Equipment: Using an unclean bucket or mesh bags can introduce pathogens, undermining your efforts.

A pre-sprouted ranunculus corm, plump and ready to be planted.
Post-Soak Options
After soaking, you have two options:
Plant Directly: Move corms into prepared beds immediately after soaking. This is the simplest option but requires your planting space to be ready in advance.
Pre-Sprout: Allow corms to develop roots in a controlled environment before planting. This step reduces transplant shock and ensures faster establishment in the field.
What’s pre-sprouting? Pre-sprouting encourages root development before planting. It’s a game-changer for boosting success, especially in colder climates. Learn more in our Pre-Sprouting Ranunculus & Anemone Corms blog here.
See It in Action: Below is a quick video walkthrough showing how we soak and pre-sprout corms. Watch to see the process step by step!
Pre-soaking ranunculus and anemone corms may require some preparation and attention to detail, but the rewards are well worth it. These stunning blooms bring elegance and versatility to any flower farm, and starting them off right sets the foundation for a successful season.
Whether you’re planting directly or pre-sprouting, remember that investing time and care into these early steps can make all the difference. With the right techniques and tools—plus a bit of patience—you’ll soon be rewarded with armfuls of vibrant, healthy flowers.
Looking for more tips and guidance?

We are looking forward to sharing more blooms with you soon.
Jessica & Graham