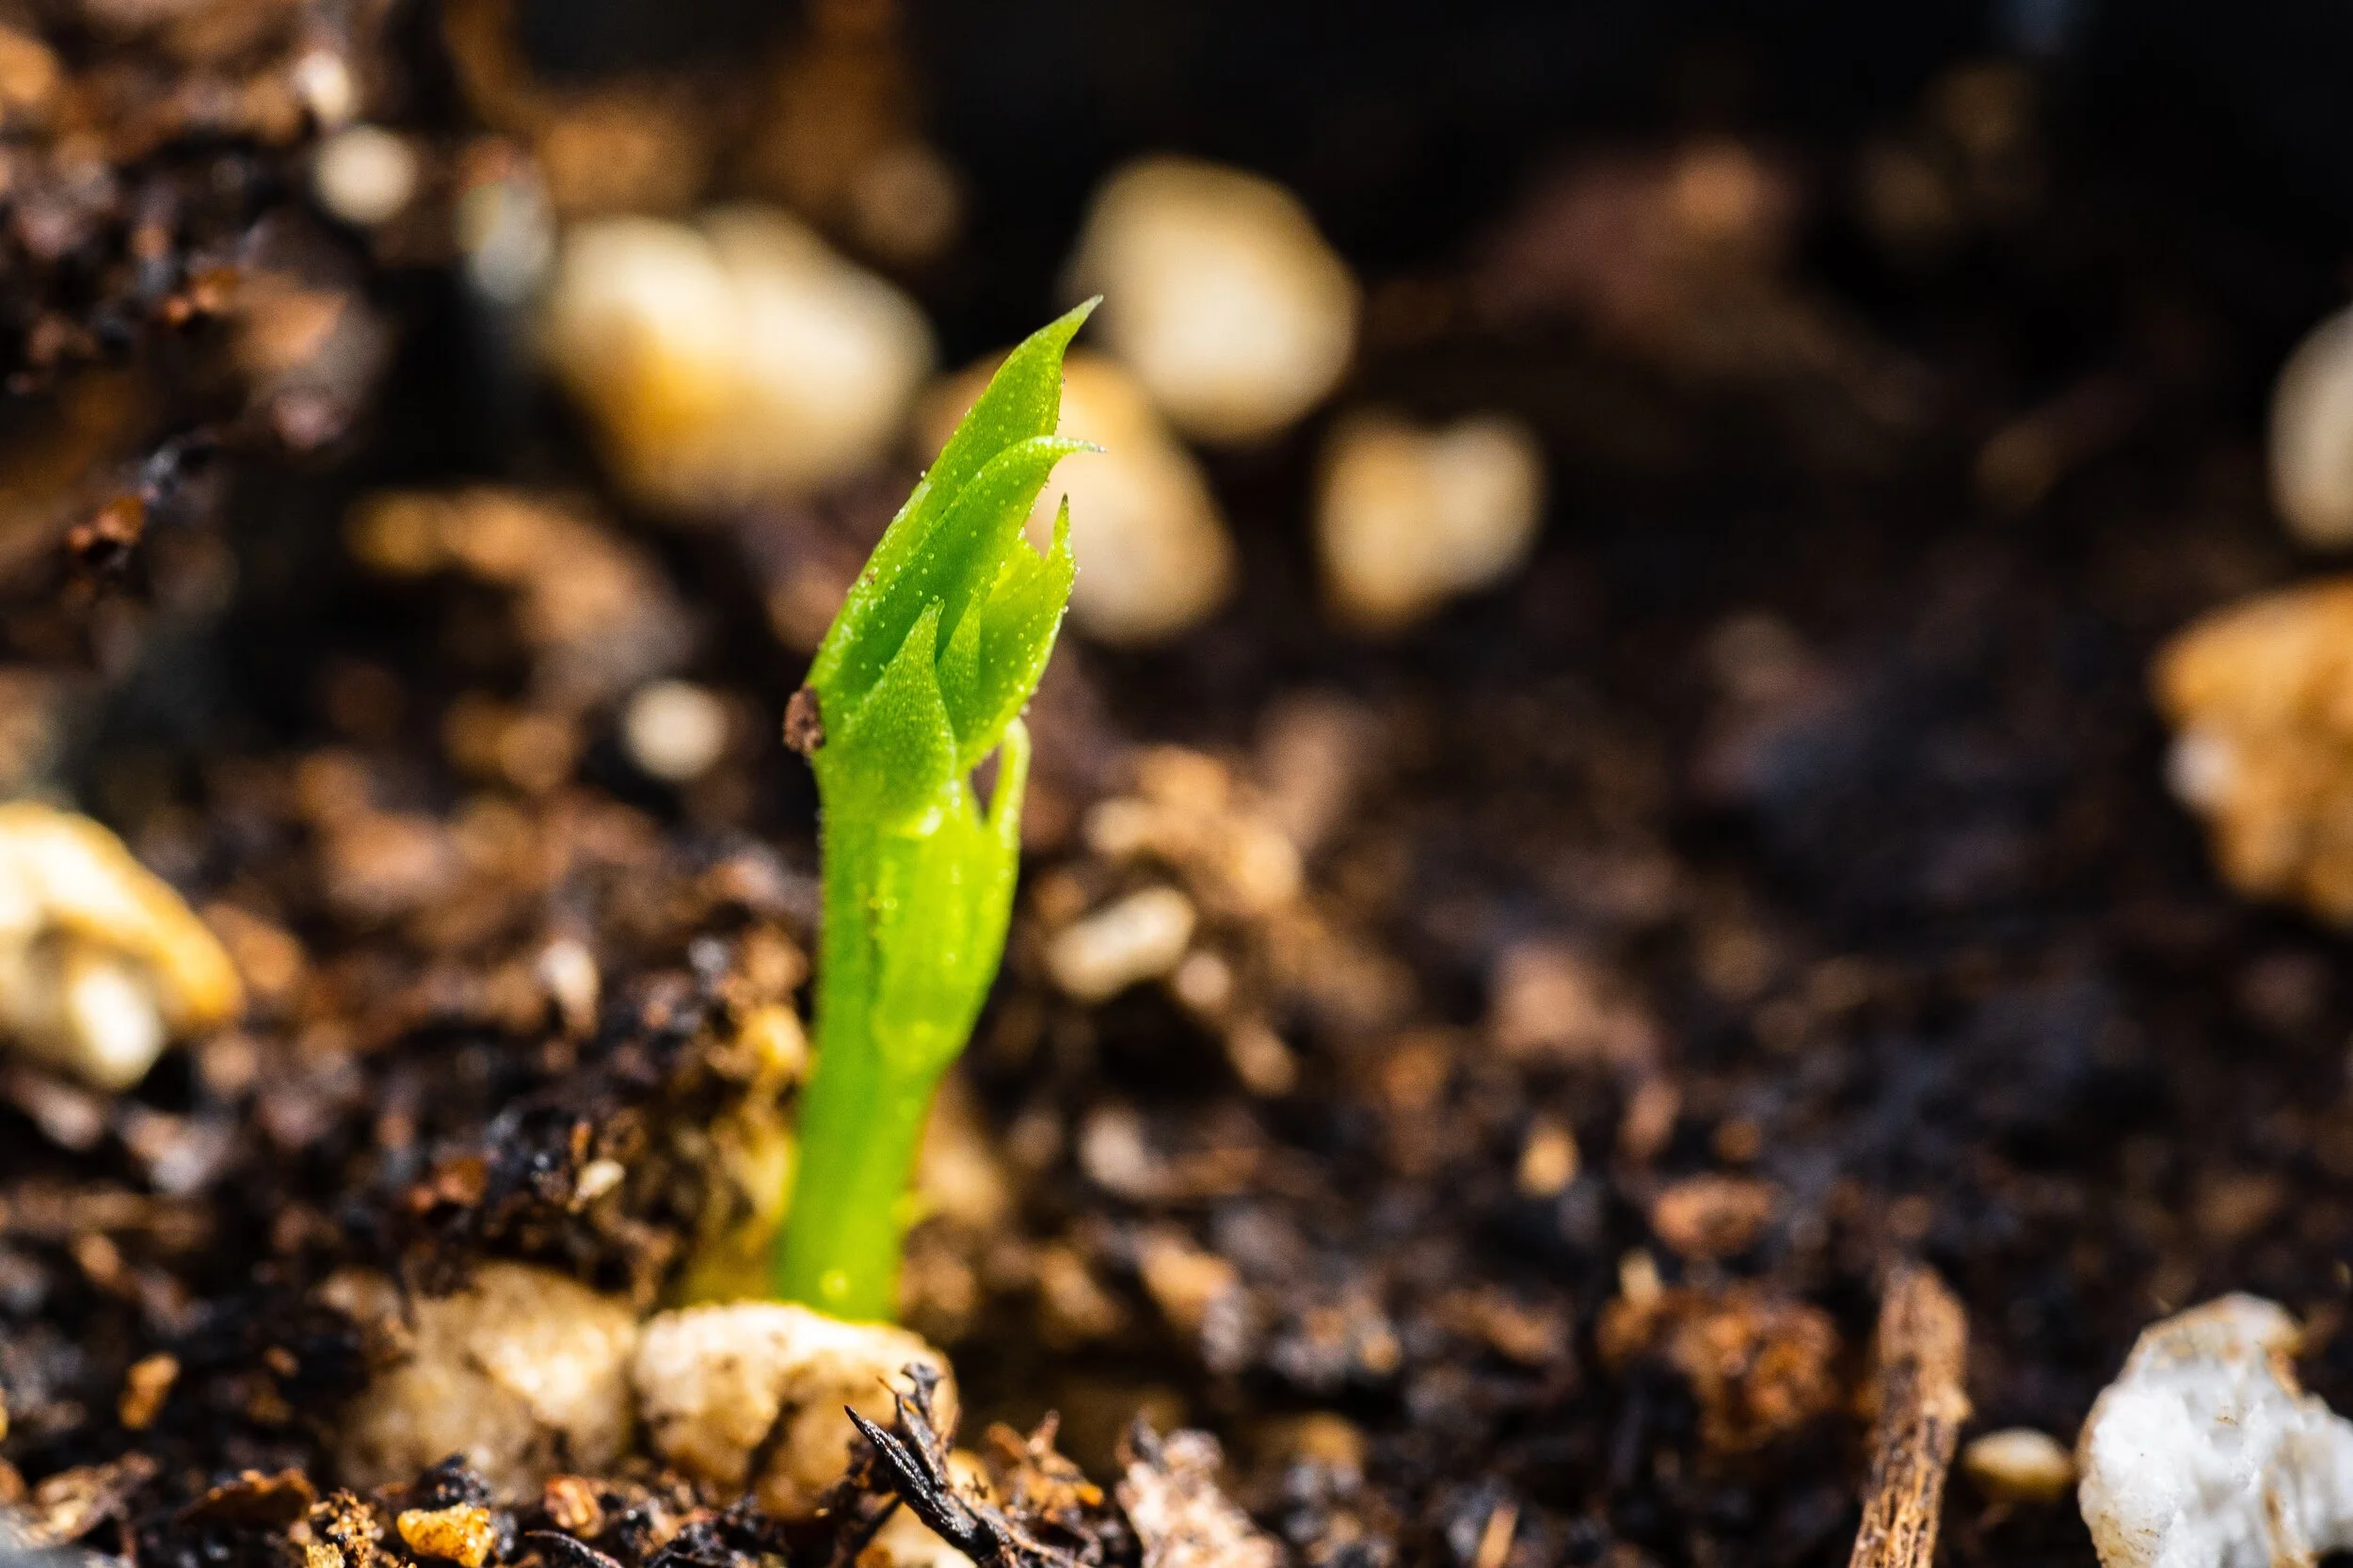
Nitty Gritty: Troubleshooting seed germination for the flower farmer
After multiple questions and conversations with people, I realized that the biggest struggle with starting plants from seeds is getting them to germinate. Once a week, then two, comes and goes with no signs of germination guts begin twisting, self doubt is planted and actions begin to be driven by panic.
You begin hovering over the barren seed trays wondering what you should do next. Take them off of heating pads, moving them to a different area, more watering, removing the dome lid or give up and toss them into the compost pile? We all do it, especially in the beginning.
You just spent five dollars to get these measly ten sweet pea seeds, what the heck? You can’t reorder... this has to work otherwise (gasp) there won’t be flowers!
Then you ask: Why aren’t my seeds germinating? What am I doing wrong?

There could be a number of reasons. Most of the reasons won’t have anything to do with you failing. Come on, don’t make it all about you! You’re not failing. Most likely you need to be more patient and give the seeds more time. Simply because the back of a packet says five days, a week, two weeks does not mean that if your seeds take longer to germinate you failed. It doesn’t mean they won’t germinate at all. Those seed suppliers have their systems dialed in, that is the general/optimal amount of days under ideal conditions with fresh seeds. Don’t we all wish we had the perfect seed propagation setup? The honest truth is, a good chunk of us are using our kitchen tables, basements and kitchen windows. I know, I have my little greenhouse now, but I started plenty of seeds at my kitchen table and spare room before Graham built that for me. There are still some varieties that I still need to start indoors, such a Lisianthus. The little greenhouse was an absolute game changer but I also realize it’s not in the cards for everyone’s situation.
With that said, people have been growing from seed for centuries without an “ideal” setup. Don’t think your boot-strapping seed starting setup is the reason your seeds are not germinating... at least not right away.
Before diving into seed germination I want to mention that if you haven’t already read our blog Nitty Gritty: seed starting for the flower farmer you should. This post is going to be written under the assumption you have. If you haven’t and are experiencing seed germination concerns that post will help you to also pinpoint and keep from repeating basic mistakes.
Ok, with that said, let’s get into a little bit of the nitty gritty behind seed germination and troubleshoot the why’s behind no germination or delayed germination.
Let’s start with troubleshooting some elements that could be contributing to the lack of germination before you even put a seed in the substrate!
Germination rate
One of the perks I love about purchasing seeds from Johnny Seeds is the amount of information they provide in their catalogs and on their seed packets. One bit of information you do not get until seed packets are in hand is the percentage of germination success rate. Not only does it give additional information to determine the amount of seeds that should be sown, it also allows to better troubleshoot. For example, if the Tetra Feverfew has an 87% germination rate and I’m seeing a 20% germination rate, I then have some troubleshooting to do. 100% germination rate is not going to happen. Some seeds will be duds.
Furthermore, some of the seedlings will not thrive, despite your best efforts, they may be inferior naturally. Then you are going to make plenty of “oopses.” Don’t beat yourself up, take notes and try to learn from those mistakes. Also, embrace that life happens and seedlings will become casualties, it happens to the best of us! Wipe those tears, start fresh or order plugs!
Also, I find some pelleted seeds take a little longer for the coating to breakdown for germination. If you have a seed that is pelleted, consistent moisture is going to be key in breaking down that coating. Seeds I receive pelleted most often are: Lisianthus, foxglove, dusty miller and some varieties of scabiosa. Typically, the description of the product will tell you if it comes pelleted. Pelleted makes seed sowing easier, personally not my favorite but some seed varieties can’t be avoided.
What to do: You can also do a quick germination test on your own using a damp paper towel and a plastic baggie. Place about ten seeds or so on the damp paper, keep warm and from drying out. Check seeds every couple days and watch for germination, see how many seeds germinated versus those that didn’t and it will give you a quick idea of the germination rate.
Mixes will germinate at different times
Variety mixes are great. Purchasing single colors of each variety can add up quickly. If you are not growing for wholesale and weddings, you most likely are purchasing color mixes to save a little bit of money. If you are seeing certain seeds germinating fast and then nothing for a number of days and it’s a mix: don’t panic! Different colors germinate at different rates. Another note (kind of not related but is related…) if your seedlings have slightly different coloration in comparison to each other do not fret. For example, darker varieties of snapdragons will have purple or darker coloration on their leaves than say white varieties. Give the seedlings time. Don’t fret about nutrient deficiency or of being too cold unless you are seeing these symptoms across the playing field. They are fine and should not need to be fertilized for about two weeks after germination, if you used soil mix that has nutrients in it. Just because leaves are purple on plants does not automatically scream cold damage or phosphorous deficiency! It can, but if they’ve been fed and protected from the cold, take comfort in that it most likely a darker pigmented variety of flower.
What to do: have some patience and take notes of the varying germination rates.
Freshness of Seed
Sure, you have some seeds your grandma gave you from the 60s and they germinated. That’s awesome! Seeds kept in a cool dried place should store for much longer than the “expiration date” on the packet but that doesn’t mean you don’t lose viability. Some seeds keep better than others. There are certain varieties that the freshness is imperative. I have found that I struggle getting strawflower and orach to germinate for me if the seeds aren’t bought fresh or saved each year. It is also important to purchase these guys from a reputable seed company that sells fresh seeds! If your seeds are getting pretty old, you can expect spotty germination and need to bump up the amount of seeds you sow to make up for that.
What to do: check the date on the seed packet! Check seed germination rate using the method mentioned above. If they are more than a couple years old and the test is still showing troublesome germination rates, get a fresh packet of seeds and see if they germinate for you.

Substrate
Having quality, professional grade substrate (potting soil) is a must to have proper drainage and to be fluffy enough for those tender roots. Typically, when someone shows me their struggling seedling it is because they did not use quality substrate to seed start. No, miracle grow is not quality. Sunshine professional mix or something similar should be used. If you made your own potting soil reconsider your recipe and quality of ingredients. Perhaps save yourself some time and hassle by ditching the DIY methods and investing in a professional potting soil.
What to do: consider switching substrates.
Sanitation
Sanitation is huge. This does not really effect the actual germination of the seed but it can cause seedlings to die and damp off.
Your trays should be clean and sterile, especially if you have battled with disease in the past. Equipment should also be sanitized in between uses. This comes in more when dividing dahlia tubers or taking cuttings for propagation but make it a habit. Always assume disease is lurking in the shadows ready for it’s opportunity to attack! Do no let your seedlings become unnecessary casualties by skipping the step of sanitation.
Also, going back to quality substrate. Use fresh substrate with each batch of seeds. This may be silly of me to say but do not recycle substrate for seed starting. Once again, pathogens, bacteria and fungi can be in that soil. If you are making your own potting soil, be conscious of the ingredients using. If you are using some garden soil be sure to use disease-free. If you have had symptoms of disease do not use. Only use high quality compost that is from a reputable source that is finished. If you are using your own compost, send it in for a compost test before using.
What to do: Wash trays in between uses using dish soap and either diluted bleach or vinegar. Using soap is not always necessary but if you have build up from hard water, etc it can help scrub that ick off. If you had disease problems: use bleach. I’m not a huge fan of bleach but it has its place and will alleviate heartbreak. Sun dry trays before placing in storage. Also, use quality “sterile” and soil-less substrate for seed starting.
Part of the fun in flower farming is all the amazing varieties of flowers to grow! Each variety has it’s own habits and requirements that needs to be considered.

Think like nature
Different seeds have different needs. It helps to think about the natural season you see the seeds begin to germinate and provide them with those ideal, natural conditions. Appreciating and understanding each flower and their rightful season. For example, you will not find cosmos growing wild in our cold, high desert climate in the middle of winter! They need heat! So, not only are they cold sensitive but these summer flowers are also affected by daylight hours. On the other hand, I’m not going to have ranunculus thriving in August here, it gets way too hot and they shut down.
Note: there are seeds that have been “primed” which means they are ready to go and stratification is not necessary. I often see this with poppy seeds, where they have been “primed” for speedy and optimal germination.
What to do: Learn the climate, environment and conditions necessary for the particular variety you are growing to thrive. Is it a hardy annual? A tender annual? Just the answers to those two questions alone will give you a launching point in deciphering the lack of or spotty germination on certain varieties.
Seed Stratification
If you’ve read my seed starting blog as mentioned above, you are familiar with this, but just in case you didn’t, I am going to go over it really quick. The idea of stratification is waking up that dormant seed by tricking it into thinking it had laid dormant long enough, as would happen in nature. Stratification helps the success and speed of germination. There are a few different methods of stratification that different seeds may benefit from: cold and physical stratification (knicking and soaking).
The main stratification I have found to effect seed germination, if skipped, is cold stratification. Cold stratification is needed for many hardy annuals such as Bells of Ireland and Larkspur. The seed needs to be tricked into thinking it has gone through winter in order to break dormancy. If you have a hardy annual double check the growing conditions. If you sowed and put those seeds directly on the mat without chilling the seeds for 2-3 weeks beforehand that could be your problem.
What to do: Try taking the seeds off the heat mat or put it in a cooler place like an unheated garage for 2-3 weeks then you can resume your seed germinating regime. Just in case, go ahead and pre-chill seeds for a back up succession.
The best resource, other than the seed packet, that will give you these instructions is the Specialty Cut Flowers book written by Allan Armitage & Judy Laushman. I cannot recommend this book enough.

Temperature
When we are talking temperature for seed germination we are talking about the soil temperature. Typically, most seeds are going to germinate between 60-70 degrees Fahrenheit. Some seeds can handle a little cooler temperatures and some a little warmer. Overall, this is the acceptable soil temperature for majority of the varieties. Once the seeds germinate, conditions may need to be changed for the seedling. If you want the seedling to grow, a minimum sixty degrees Fahrenheit soil temperature is needed. Much lower than that, won’t necessarily kill a seedling but it definitely won’t promote root growth.
Having a heating mat with the temperature gauge is crucial for this part, especially with fussy germinators such as Lisianthus and eucalyptus. Sure, I have thrown them in the propagation greenhouse but germination becomes spotty and takes much longer than the five to seven days stated on the seed packet. During the day they were plenty cozy but at nighttime, even with a space heater, the soil was getting too chilly for them.
Another related element of soil temperature is the size cells or container you are using to germinate seeds. The larger the cell, the more it is going to take to warm the soil. If you have a tiny snapdragon seed swimming in a giant gallon growing container (I know, extreme example) it is going to have a tougher time growing. Sometimes giving a seedling too much room isn’t in your favor. Start them in smaller cells, no less than 50 but I prefer to start most crops in 128s-288s. There are a handful of varieties that are outliers of my rule.
It saves me space and many of the crops, we have found, can be planted out pretty small!
What to do: is your soil too cold? Too hot? Using a soil thermometer or gauge for a seedling mat will give you the information needed to assess if you are giving the seeds the proper temperature to germinate. Hardier crops can handle getting colder but that doesn’t mean they will be growing as quickly as needed. Inconsistent soil temperatures can cause spotty germination, slow growth or if too hot frying of the seed/seedling. If soil temperature is too cool, put seedlings in a warmer area or on a heating mat with a dome lid. If soil is too hot, put in a cooler spot and remove from heat mat. Plan on doing a back up succession in case seed has been too damaged from heat.

Light aides germination
Really, the size of the seed can tell you whether or not the seed needs sunlight exposure to germinate. Think about it: if it is a itsy-bitsy seed, it won’t need to be hardly covered (if at all) with soil. That tiny seed is going to start as a minuscule seedling that can easily be taken out by too much soil and won’t get the light it needs to grow healthy and strong. This goes back to basic seed starting 101, where you want to sow the seed about double the depth of its size. Some seeds are so tiny covering them with our clumsy hands will be too much, then throw in overhead watering, thus why these little fellas typically come with instructions to bottom water. They can easily become buried and are too tender to reach the necessary sunlight which may cause them not to be able to germinate.
What to do: Avoid burying tiny seeds too deep by bottom water or gently spritz the top of the soil until germination occurs. Bottom water seedlings while they are young to avoid displacing their tiny root systems or burying the seed. If you have provided the seed all it’s other requirements: proper soil temperature, time and necessary light and still are not seeing germination then the seeds have probably been too buried. Sow a fresh succession as backup.
Just to name a few seeds that you are better not covering: snapdragons, Iceland poppies, lisianthus, nicotiana, ageratum, amaranth and foxglove.

Darkness aides germination
Typically, larger seeds need to be covered and are forgiving if they get some light but darkness is essential to certain varieties of flowers. Chinese-forget-me-nots and bupleurum are examples of seeds that need darkness to germinate. I find stacking other trays on top of these guys or sticking them under the bottom shelf in my greenhouse helps to ensure proper darkness needed to successfully germinate them.
What to do: If you didn’t cover seeds that need darkness to germinate, cover them! Cover them with soil, vermiculite, stack a tray on top of it or place it under a bench in your greenhouse. They won’t cooperate unless those seeds have the necessary darkness.
While scabiosa, on the other hand, is a larger seed but appreciates light to germinate. There are basic rules of thumbs but knowing the specific needs of the particular variety you are trying to grow is essential to success.

Moisture
The surface needs to stay moist, not saturated and not dry. If you keep your trays too wet some seeds will protest and not germinate. Algae is going to happen, especially when winter sowing. It’s cold and dark. Some algae is not a problem but allowing algae and mold to take over can become a problem if there is not enough sunlight and air flow on top of overwatering. It can quickly overpower those infant seedlings and cause dampening off before you even realize the seeds have germinated!
The surface also can’t be bone dry. This is always my battle with the few seeds I start indoors- I forget about them! I am an indoor house plant and seedling killer! Anyways, don’t be like me. Don’t let your little seedlings die a crispy death. I like to sprinkle some vermiculite on the surface when I sow the seeds, unless they need light to germinate. Then vermiculite is sprinkled after germination. The vermiculite helps keep the surface from drying out on me too quick.
What to do: you need to be the tightrope walker of seedling watering. You’ll get the hang of it! If the soil looks dried out: increase the watering (it may be too dry for the seeds to germinate!). If a dome lid is not being used, use one! If the soil is wet and has algae/mold growth: decrease watering and increase air flow. If a dome lid is on, take it off for a few hours each day. A light dusting of vermiculite will help to regulate soil moisture on the top and suppress algae/mold growth. If you are really concerned about fuzzy mold and algae, you can lightly scrape off the build up or spritz with hydrogen peroxide to introduce oxygen (which is helpful more for mold).

Now that we went through troubleshooting all the basics. If everything has checked out then that leads me to the last part…
Patience
Patience is a concept that I bring up over and over again. It is definitely my biggest struggle! Especially in the first couple seasons. Flower farming has definitely taught be patience. You would think motherhood would have… nope flower farming! Depending on your set up for seed starting, time of year you are starting seeds, etc you will see different results in seed germination. For example, I sowed a tray of sweet peas back in mid-November (it is now mid-January) and though most of the seeds had germinated, I am still seeing new seedlings pop up! Two months later! I did not have the sweet peas on a heat mat, just tossed them in the propagation house and let them do their thing.
Give your seed germination a reasonable amount of time, through experience you will learn what that time frame is for each individual flower variety. Take into consideration your particular setup. I realize that it is not realistic for each person to have a seed starting chamber or propagation house or heck, be able to invest in enough heat mats and lights for every single tray of seeds! In time, you will be able to invest more heavily in the correct equipment for optimal seed germination (I know we are still working on being able to invest in a better setup!). You may experience slower or spotty germination on the trays where you can’t get them on a heating mat, be patient, start them earlier than it states on the packet if that is the case. Do the best you can within your growing means.
Flowers want to grow, we have that in our favor!
Hopefully this post helped you to better troubleshoot the lack or delayed germination of your seeds while suppressing being driven by panic and uncertainty. The reality, crop failure will happen to the best of us. Equipment can fail in the middle of the night or trays can get knocked over. Keep notes of your methods and tray locations. Take notes of sowing dates, thoughts behind that sowing date (was it an experiment of sorts?), germination dates, plant out dates and when you begin to harvest. Note first fertilizer, hardening off: there is a lot of information to record! Take notes of the failures and the successes so you can better learn from the mistakes while having a breadcrumb trail to repeat the successes.
Now if you made it this far and are in need of a laugh here’s a link to a good ‘ol classic that always cheers me up!
Happy Growing!
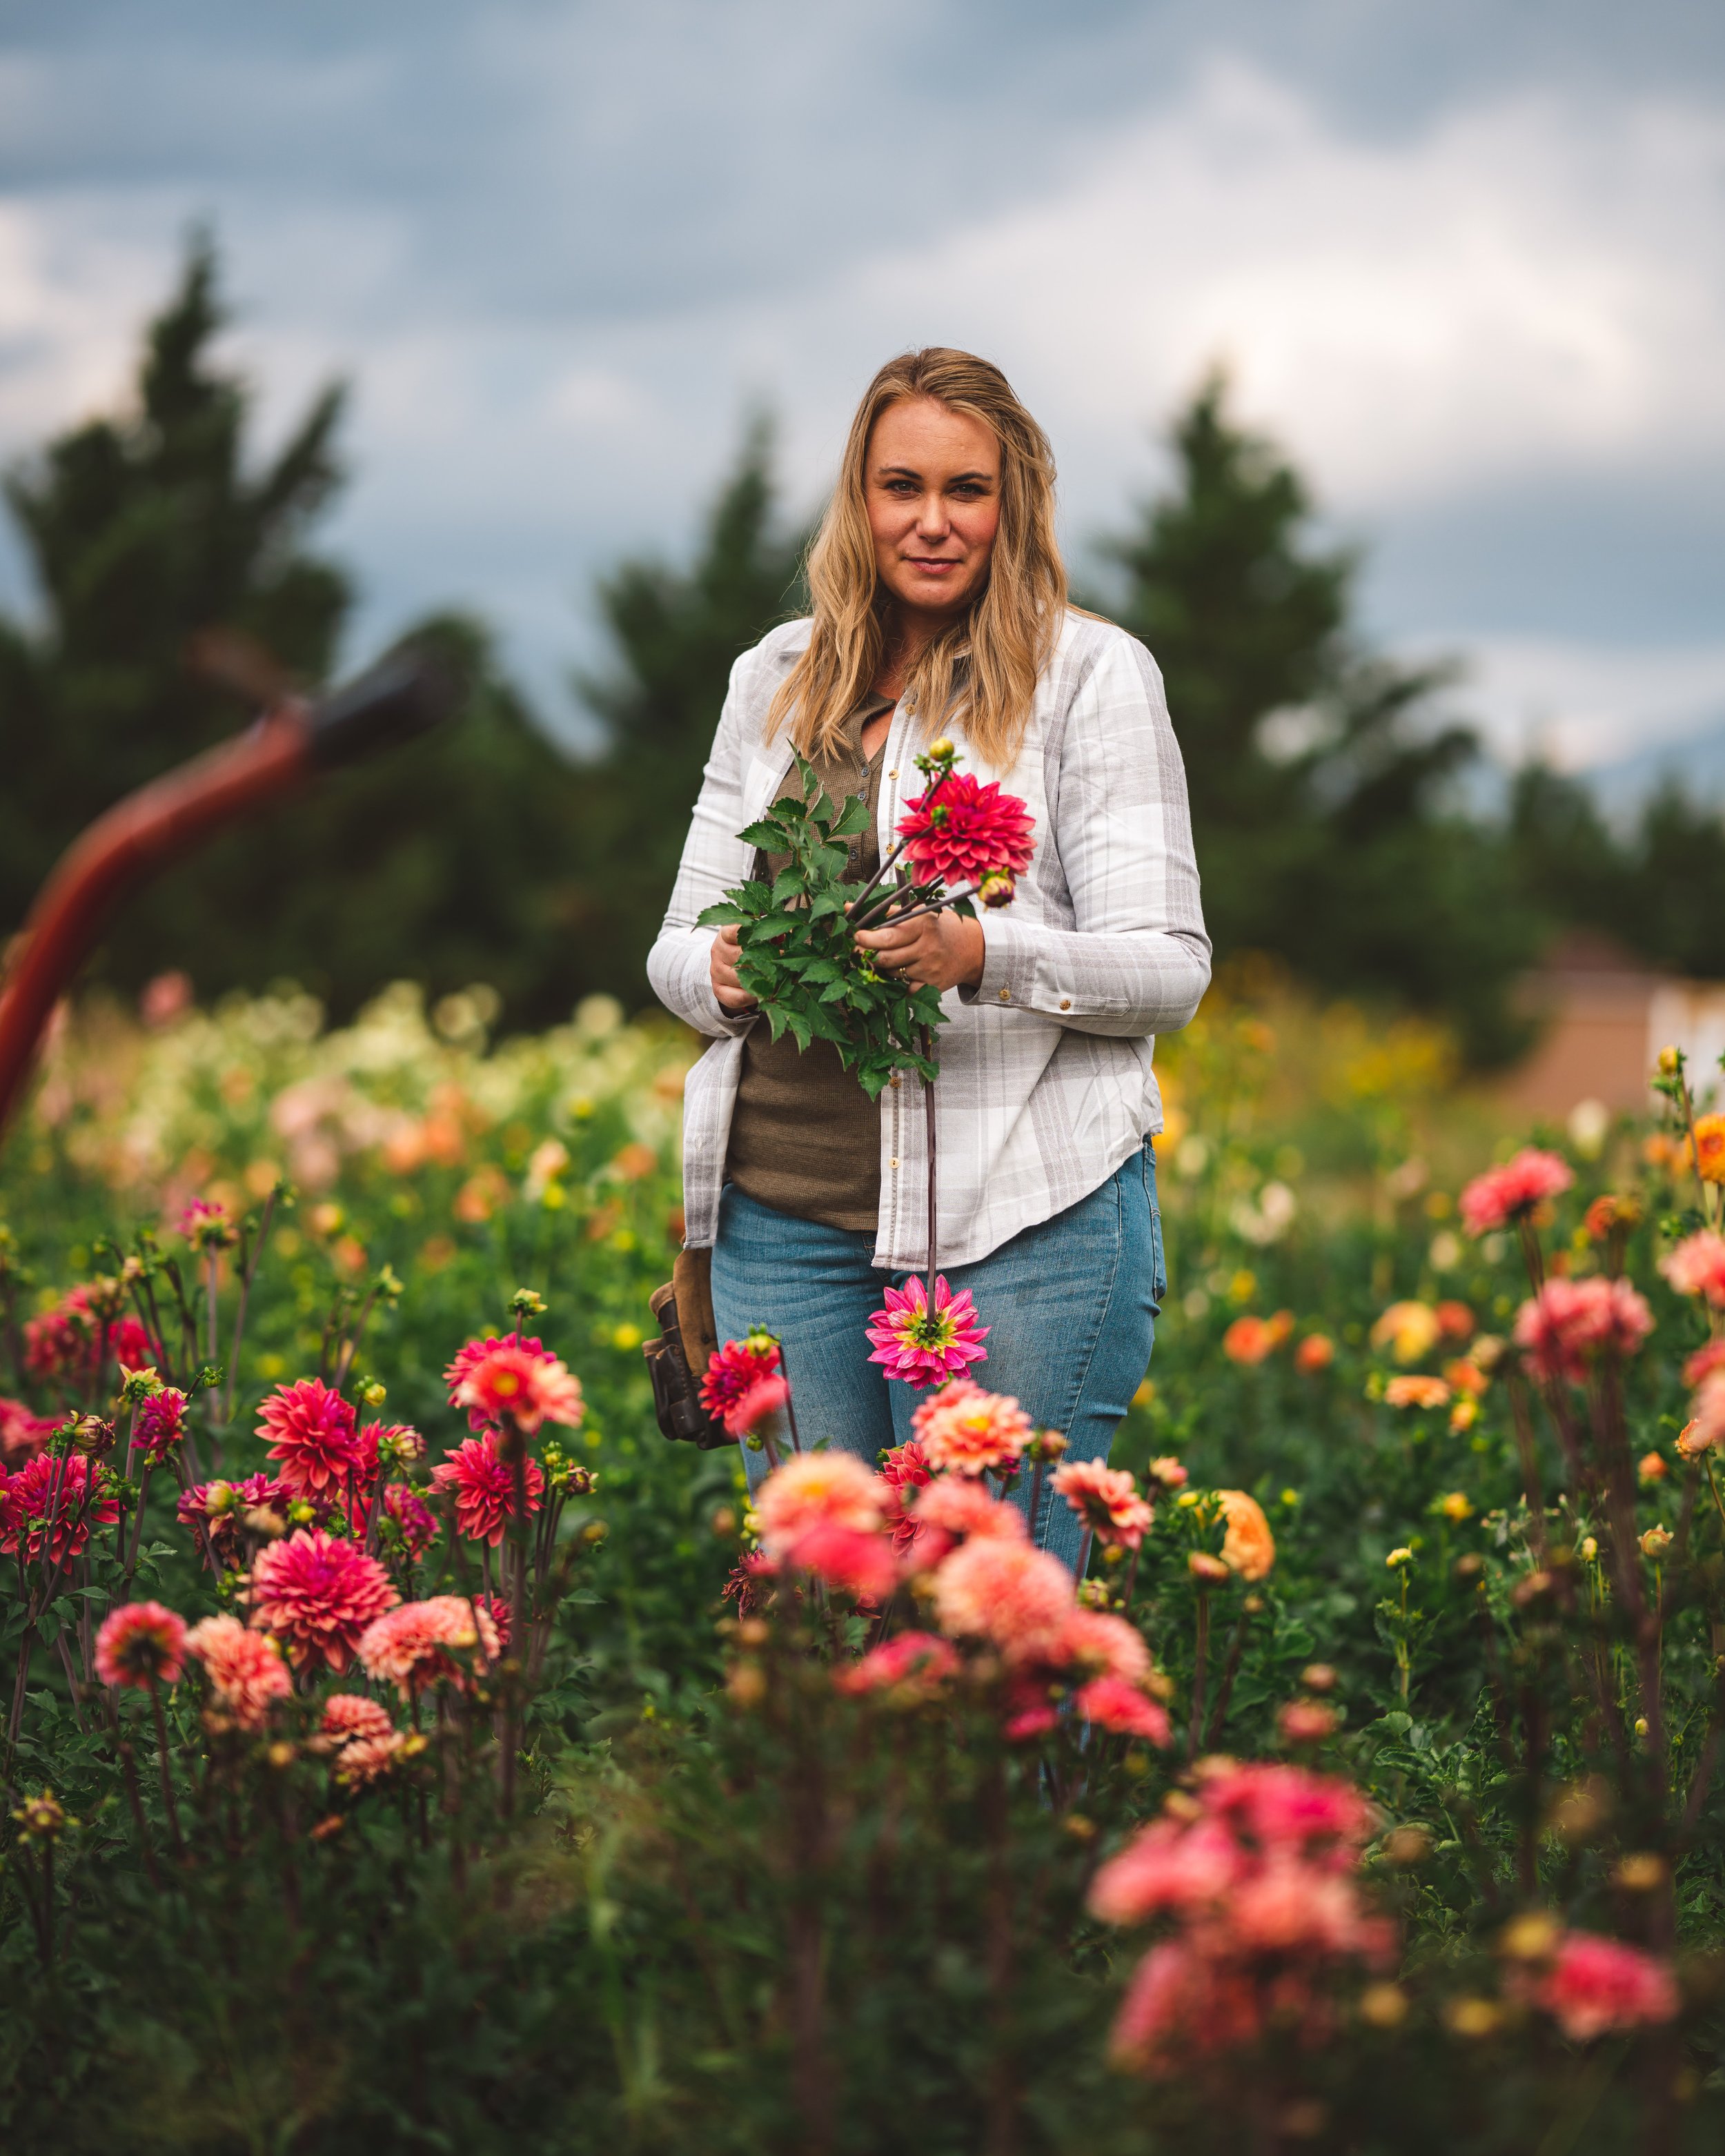
We are looking forward to helping you hand blooms soon. - Jessica & Graham